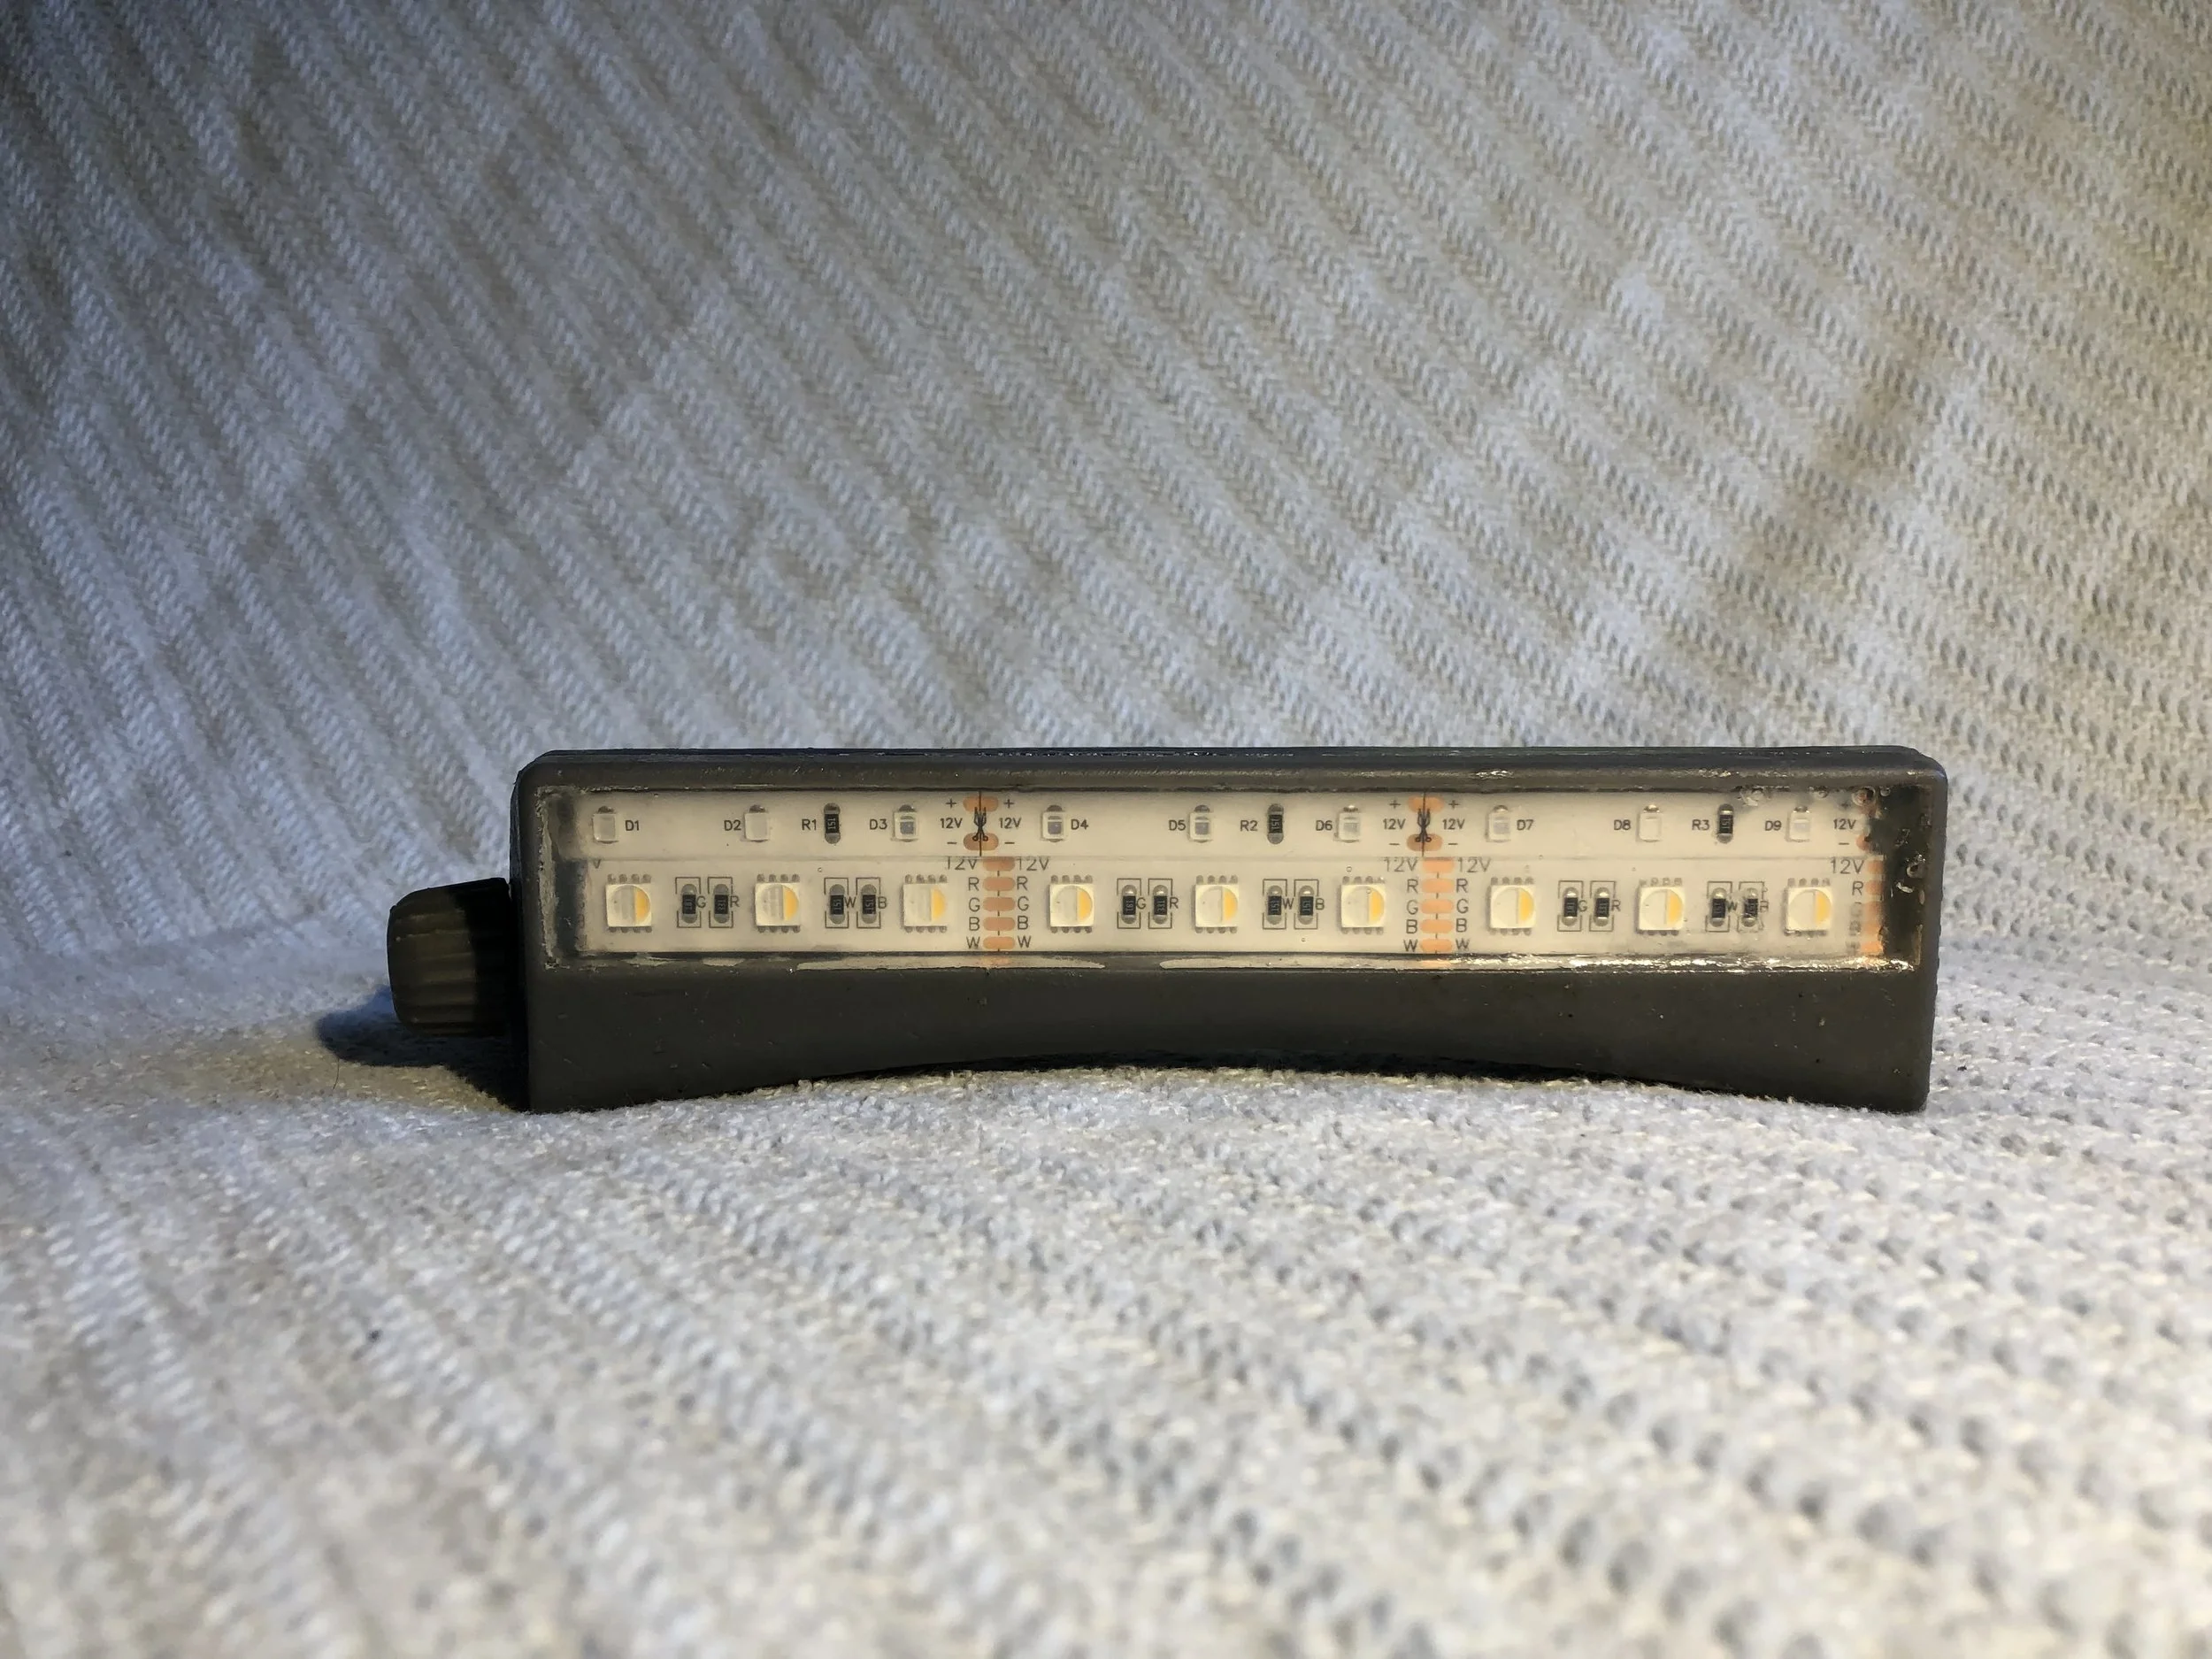
IMG_6507.jpg

Project Outline 

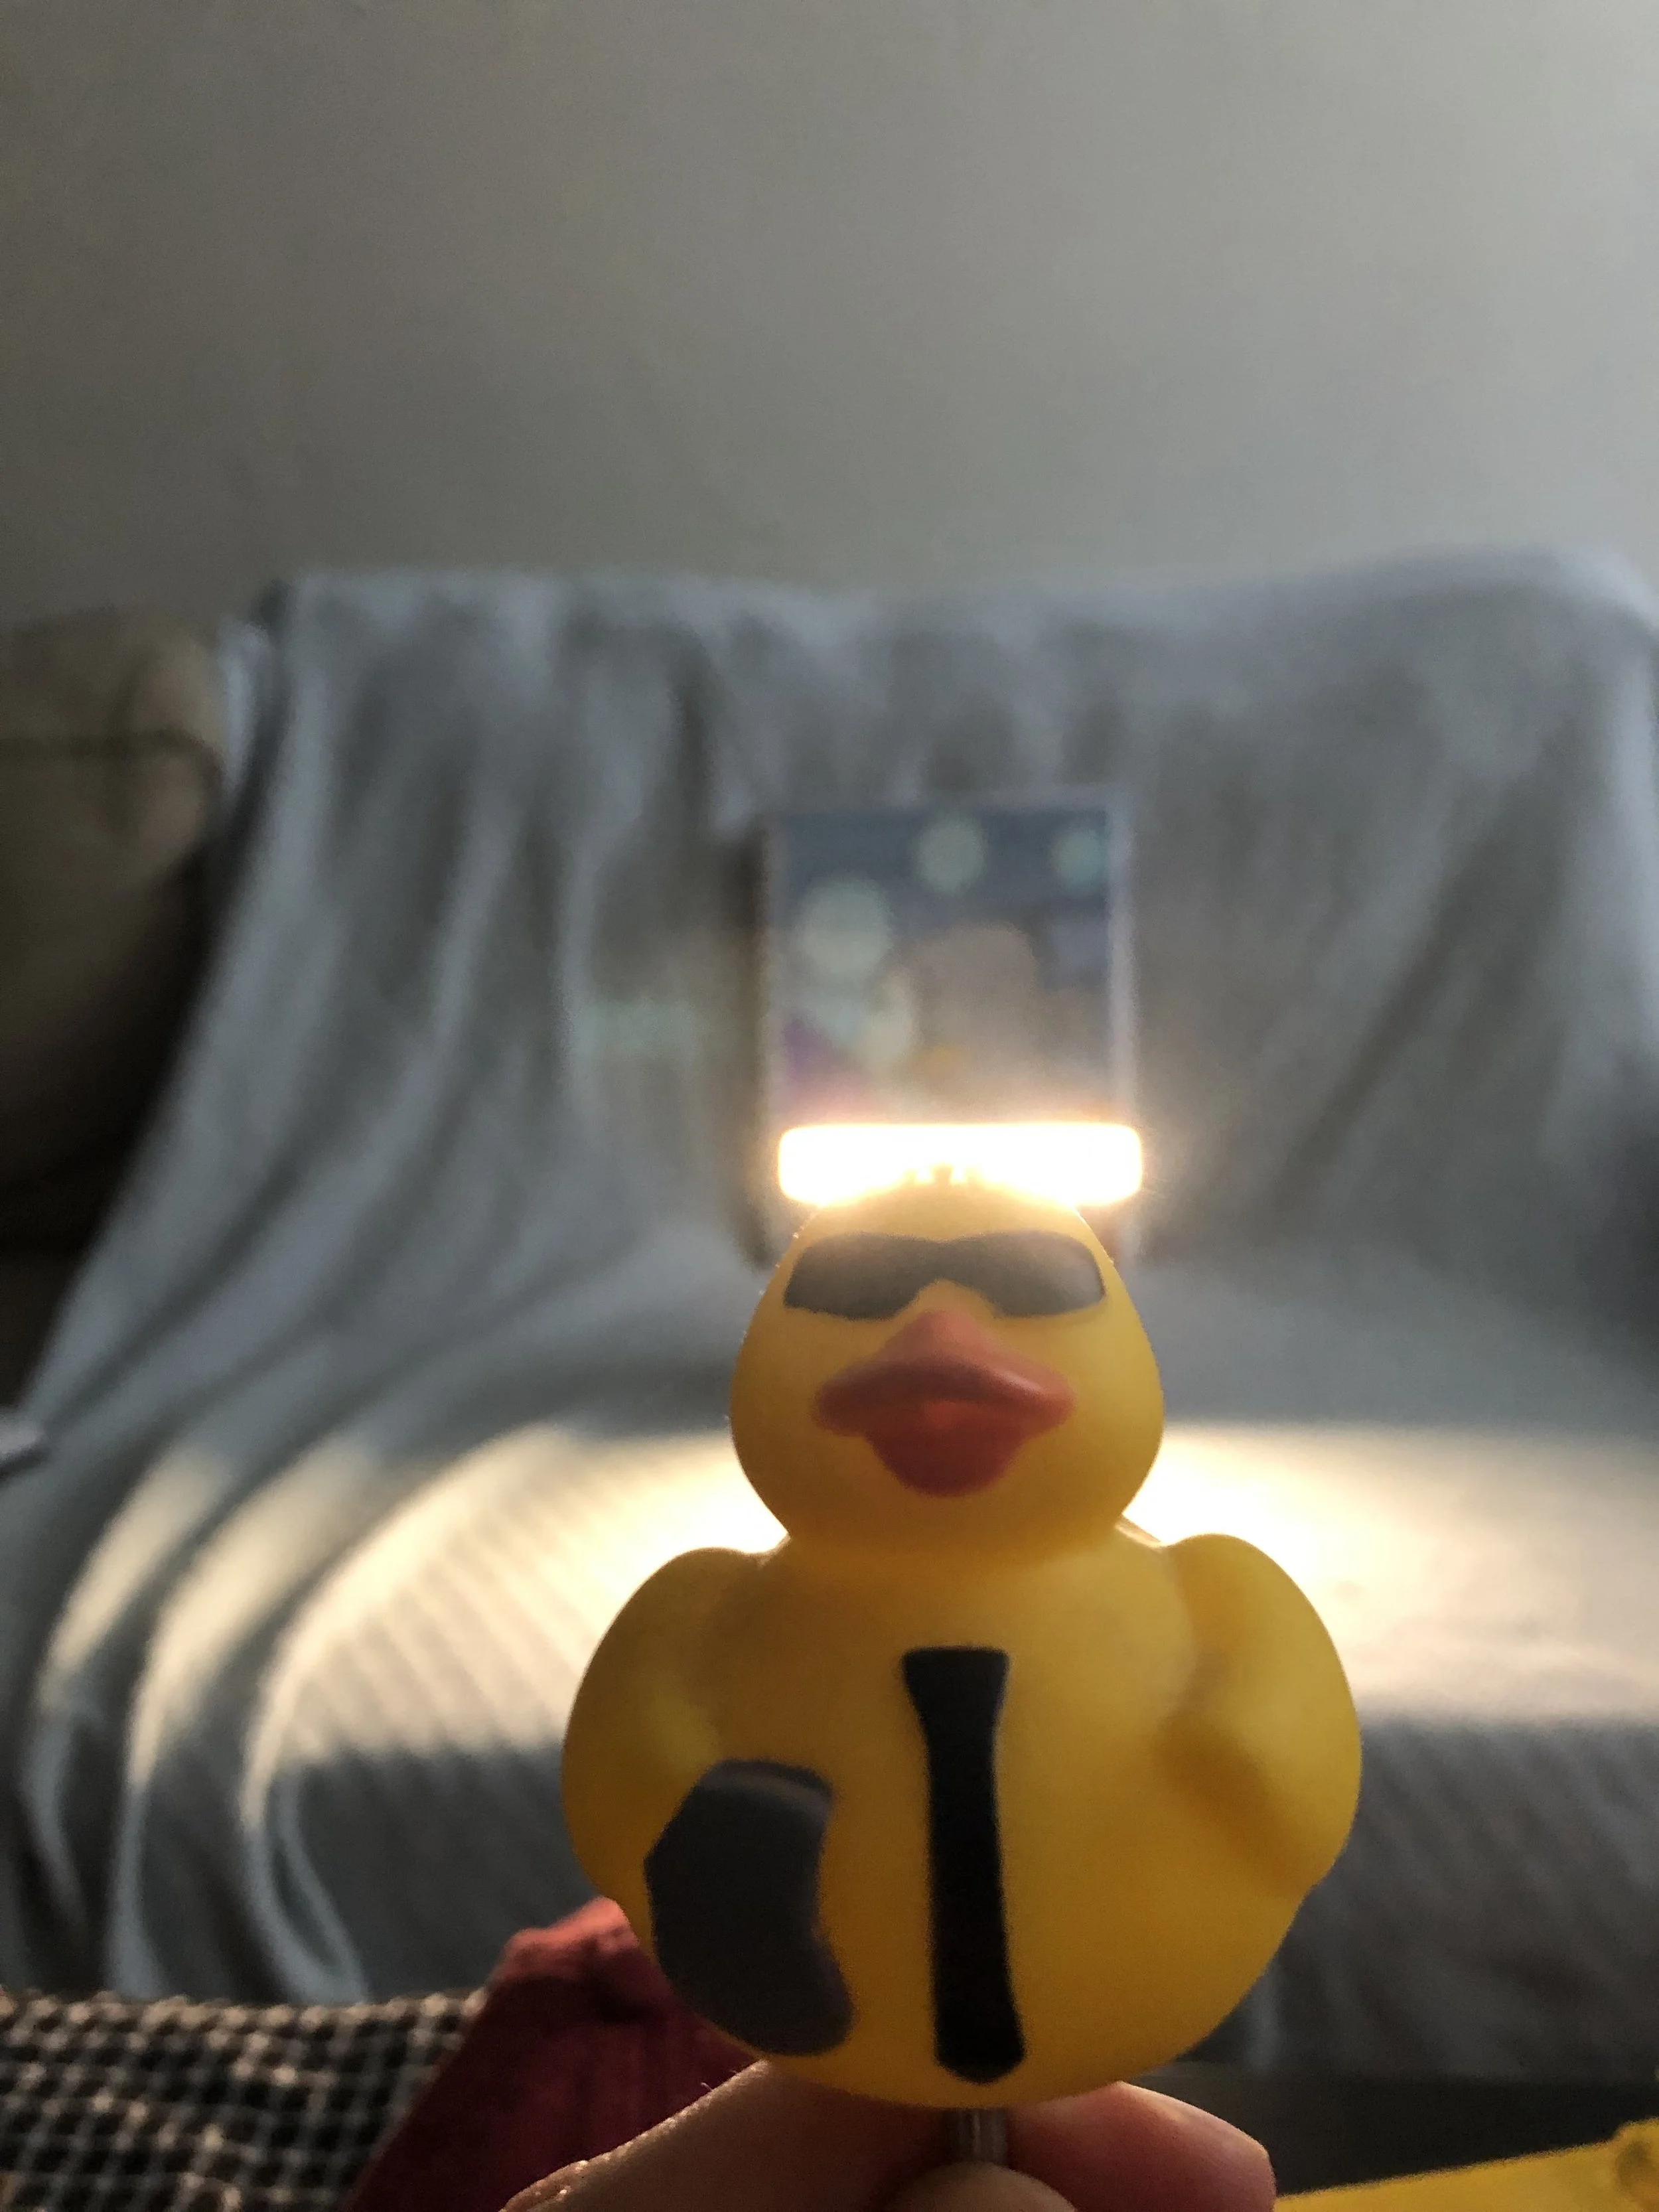
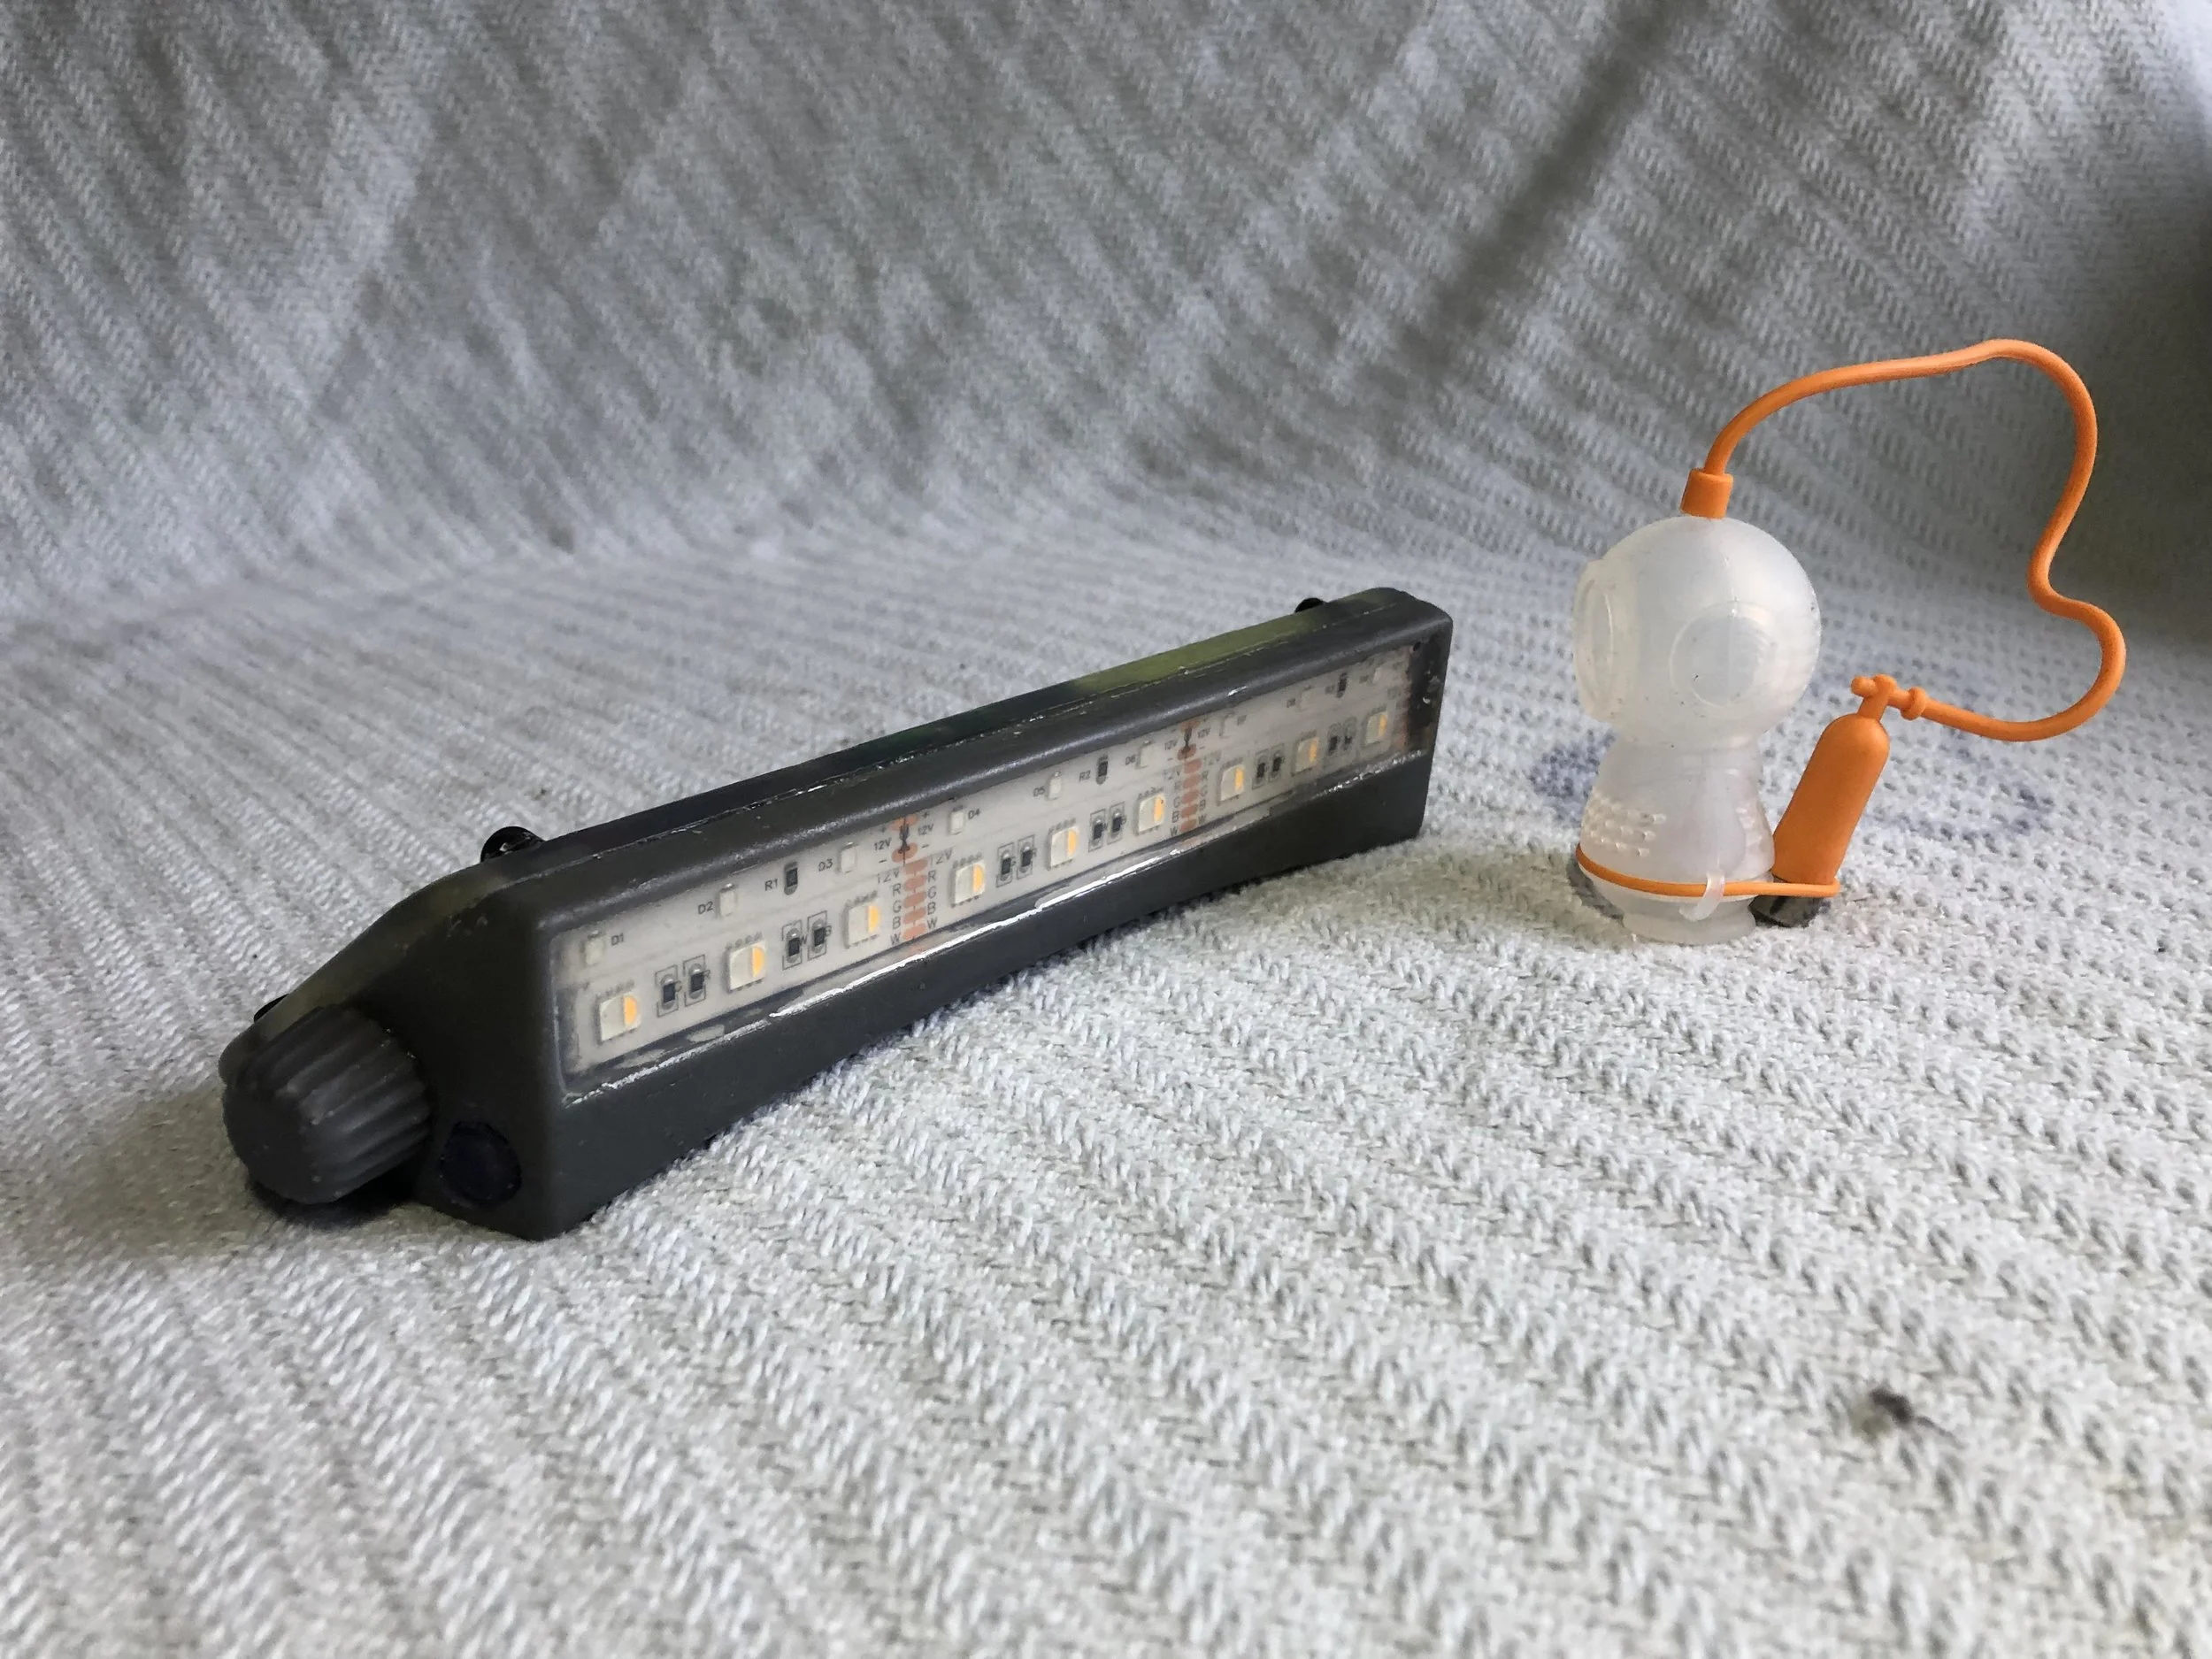
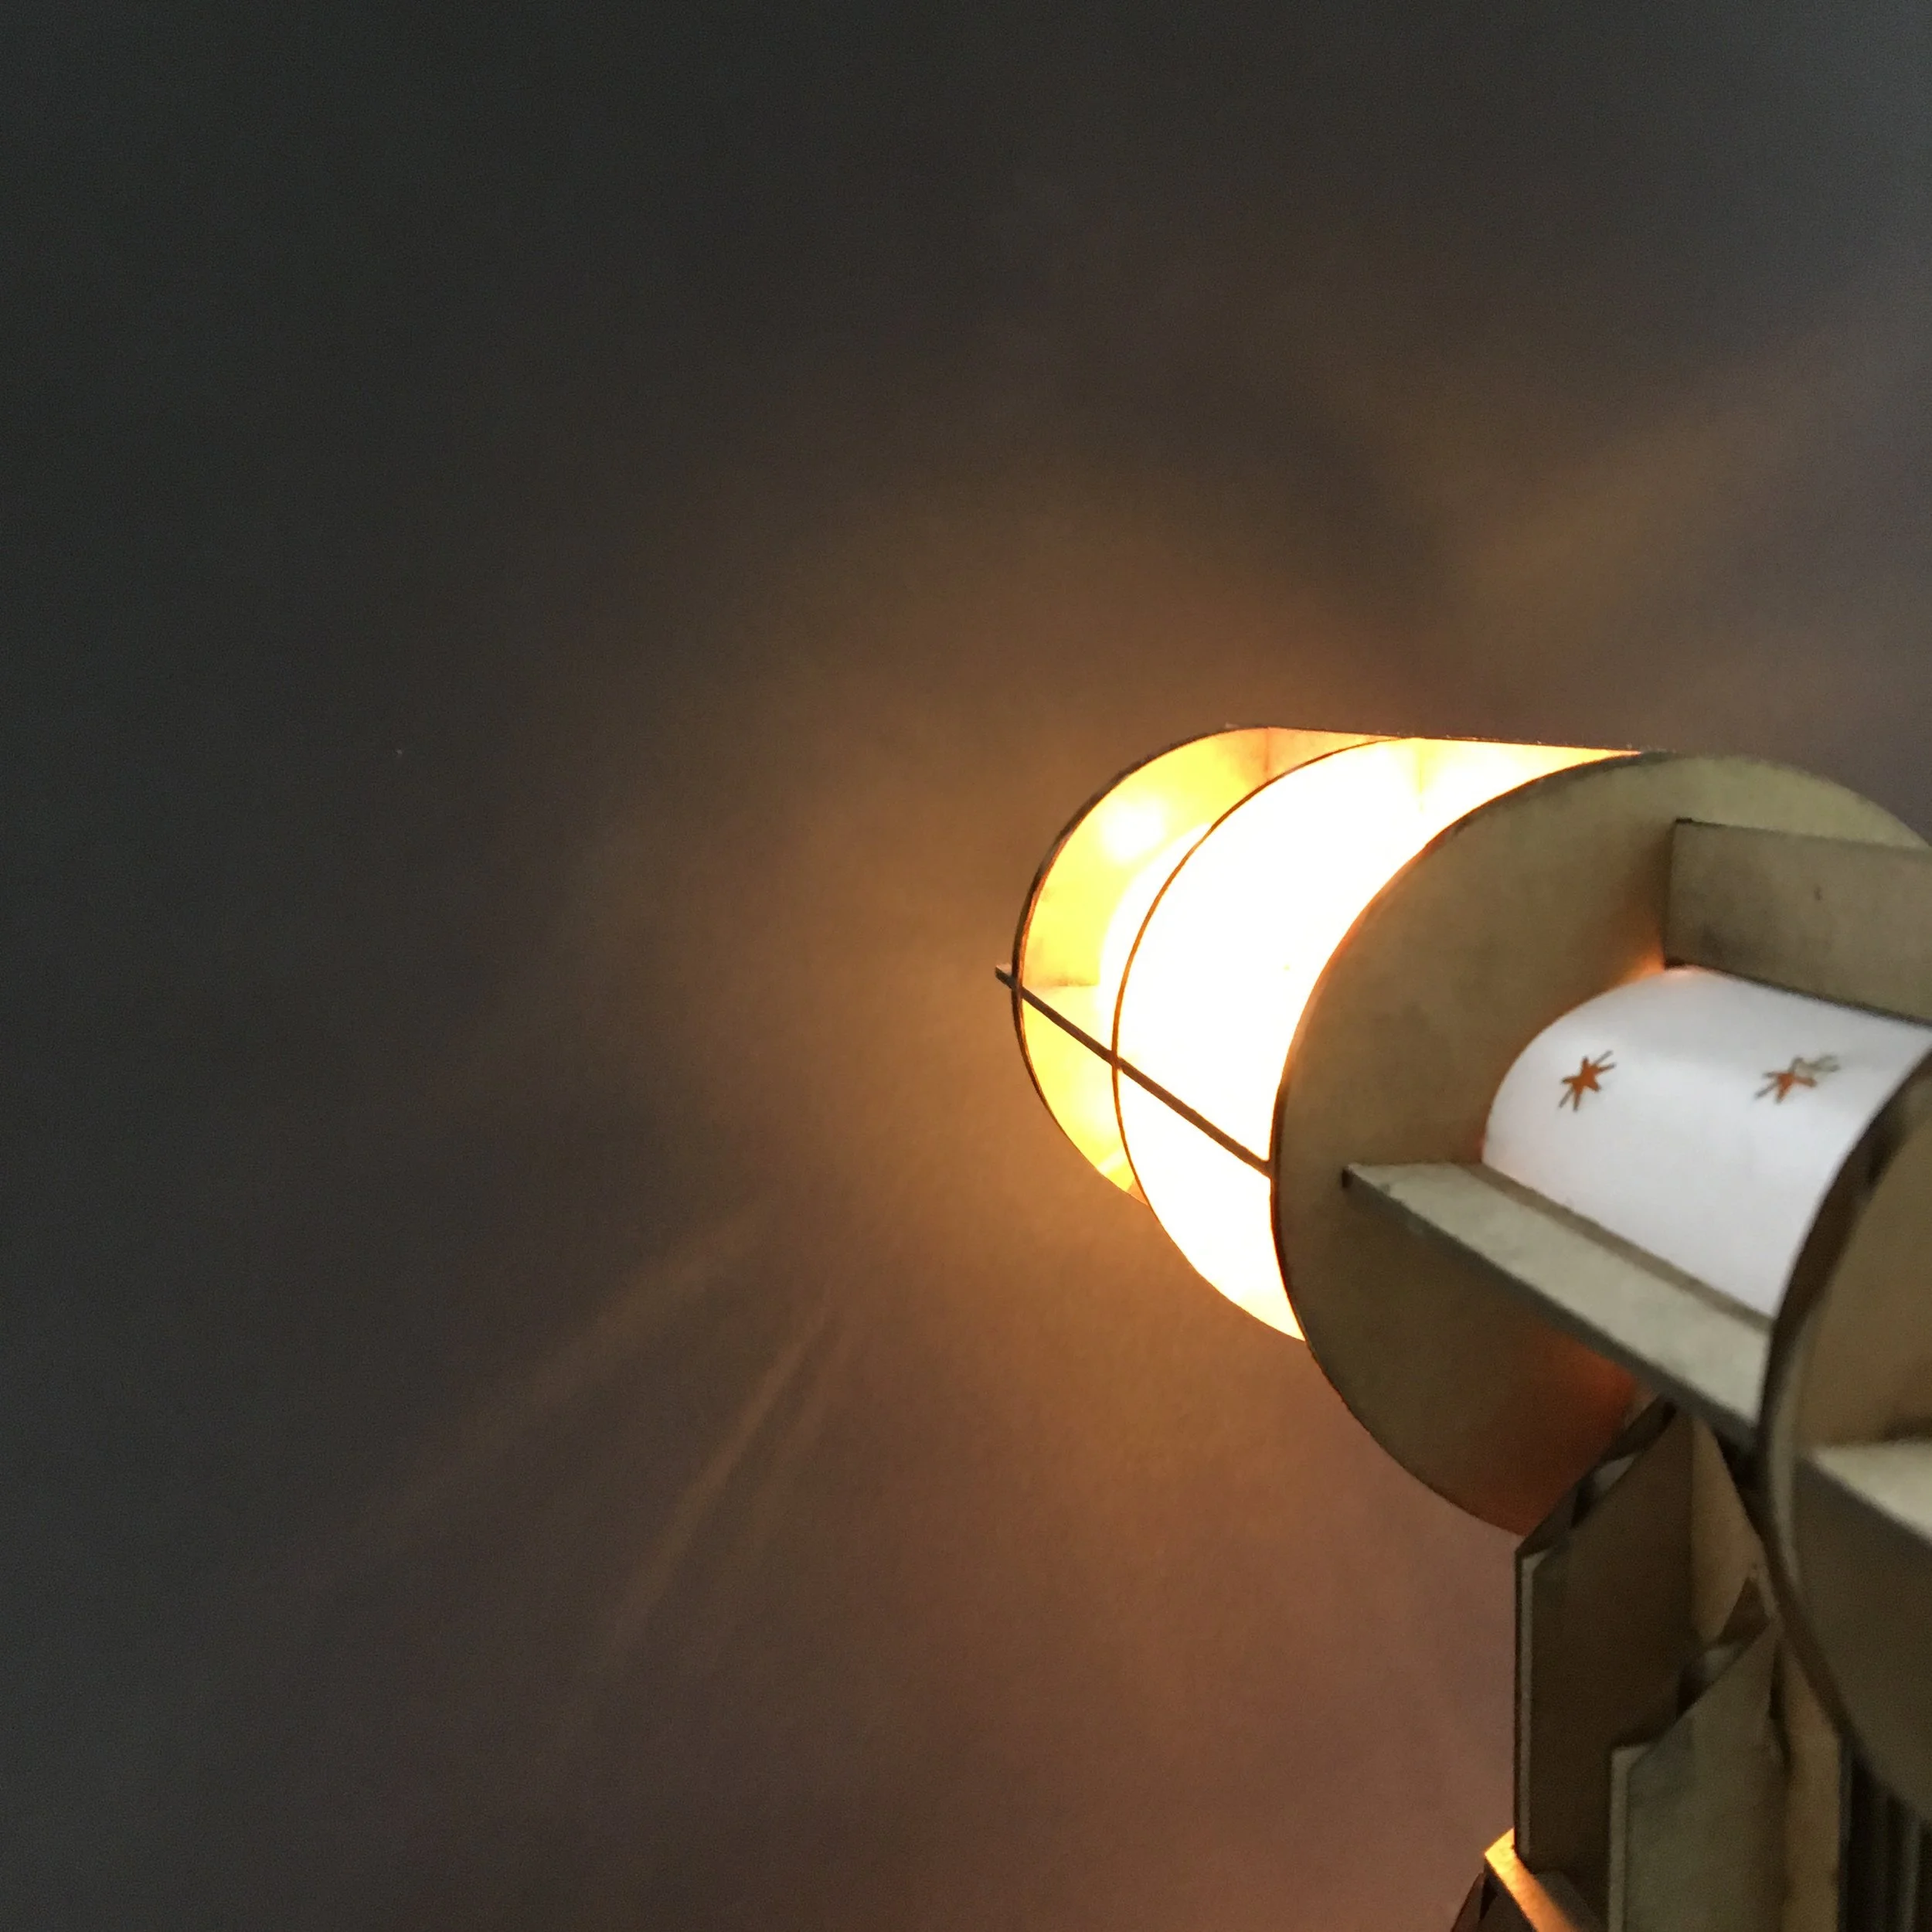
The idea here was to create a super bright head light for divers. Current dive lights require the use of hands which can be a huge hindrance to any sort of work underwater. This is especially true in the case of scientific diving and reef restoration. Low budgets demand a simple and adaptable solution and DiveLight meets those needs. In addition to this, the options to change the light color and even change to UV allows divers to explore how colors change with depth and varying light levels as well as admire phosphorescent corals.

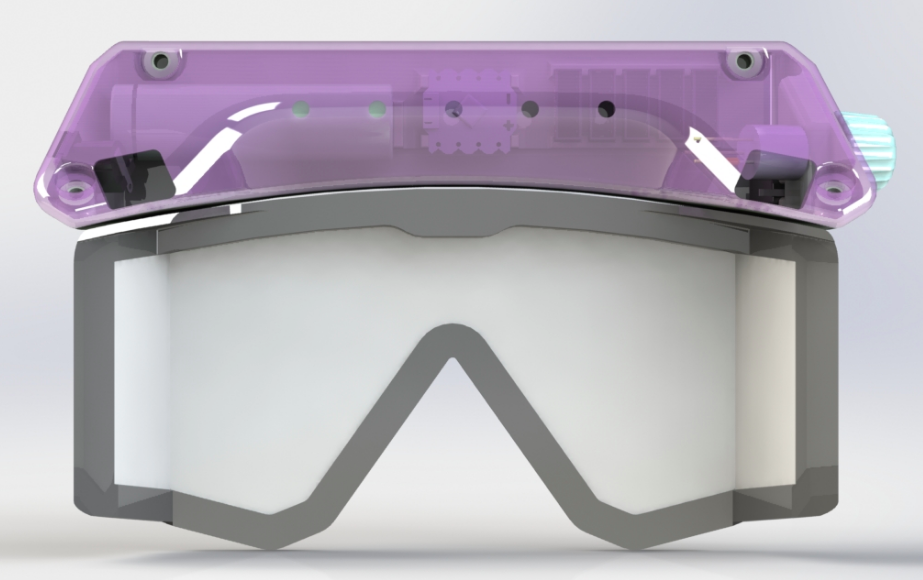
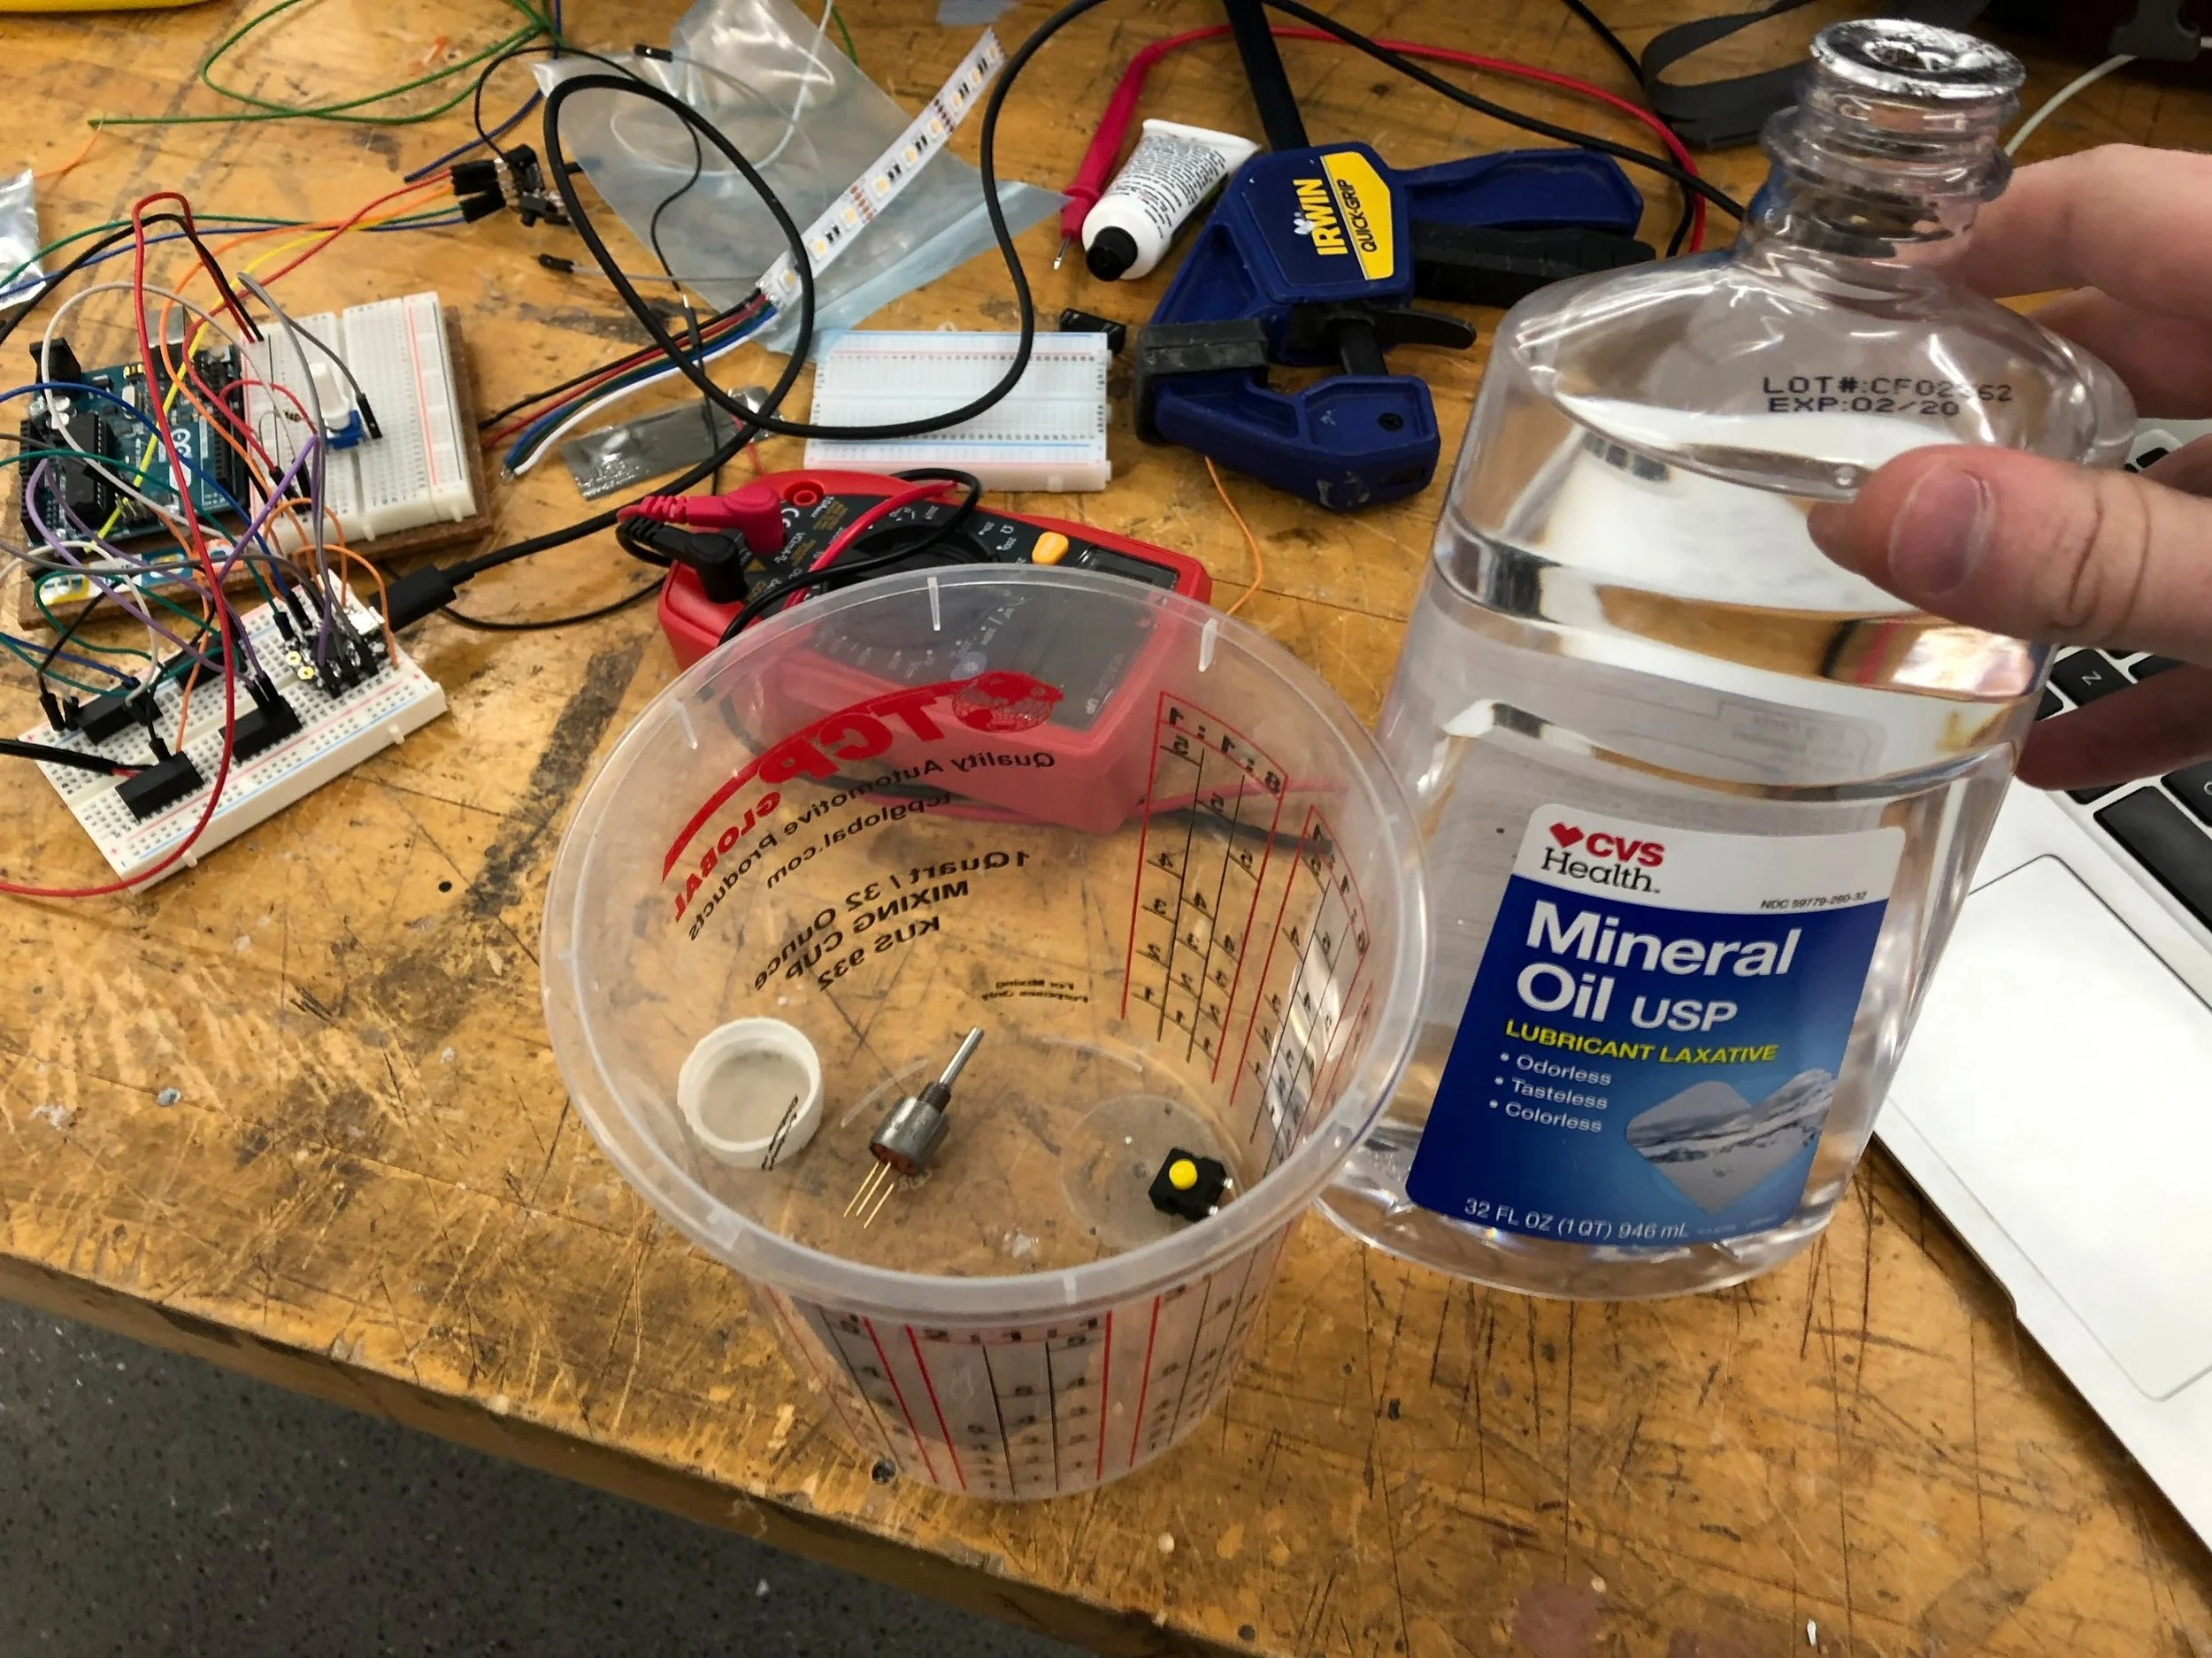
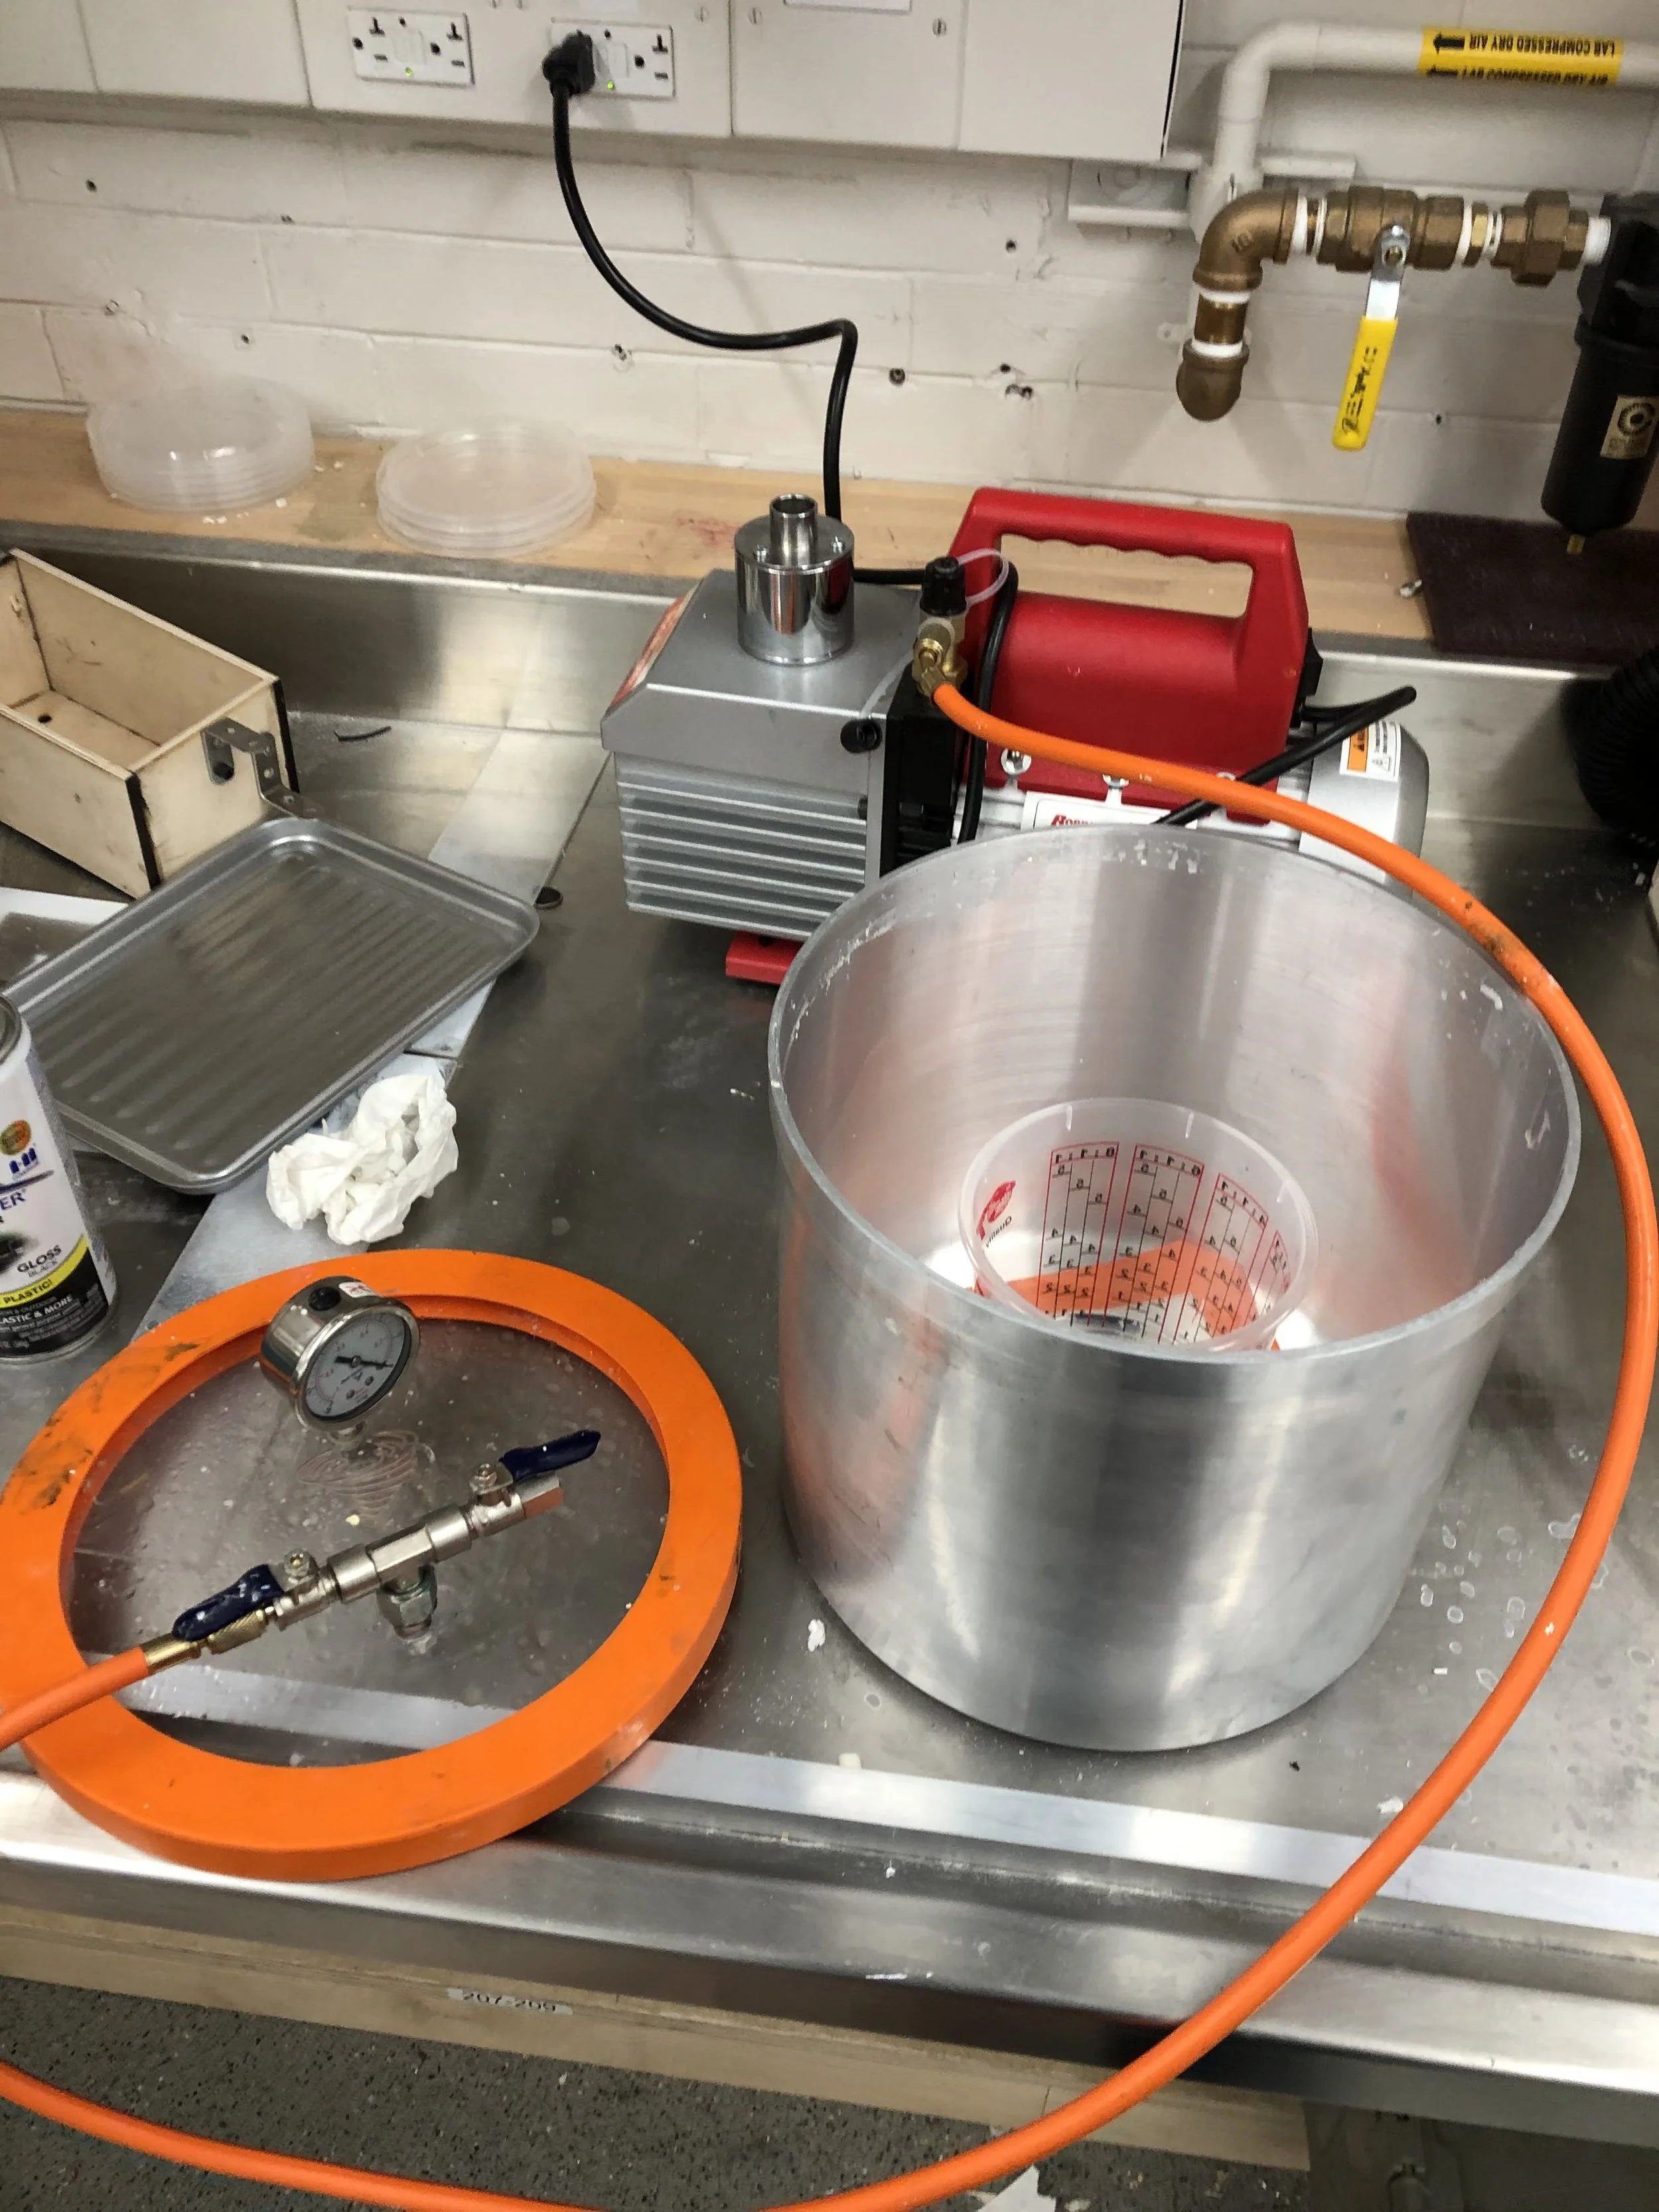
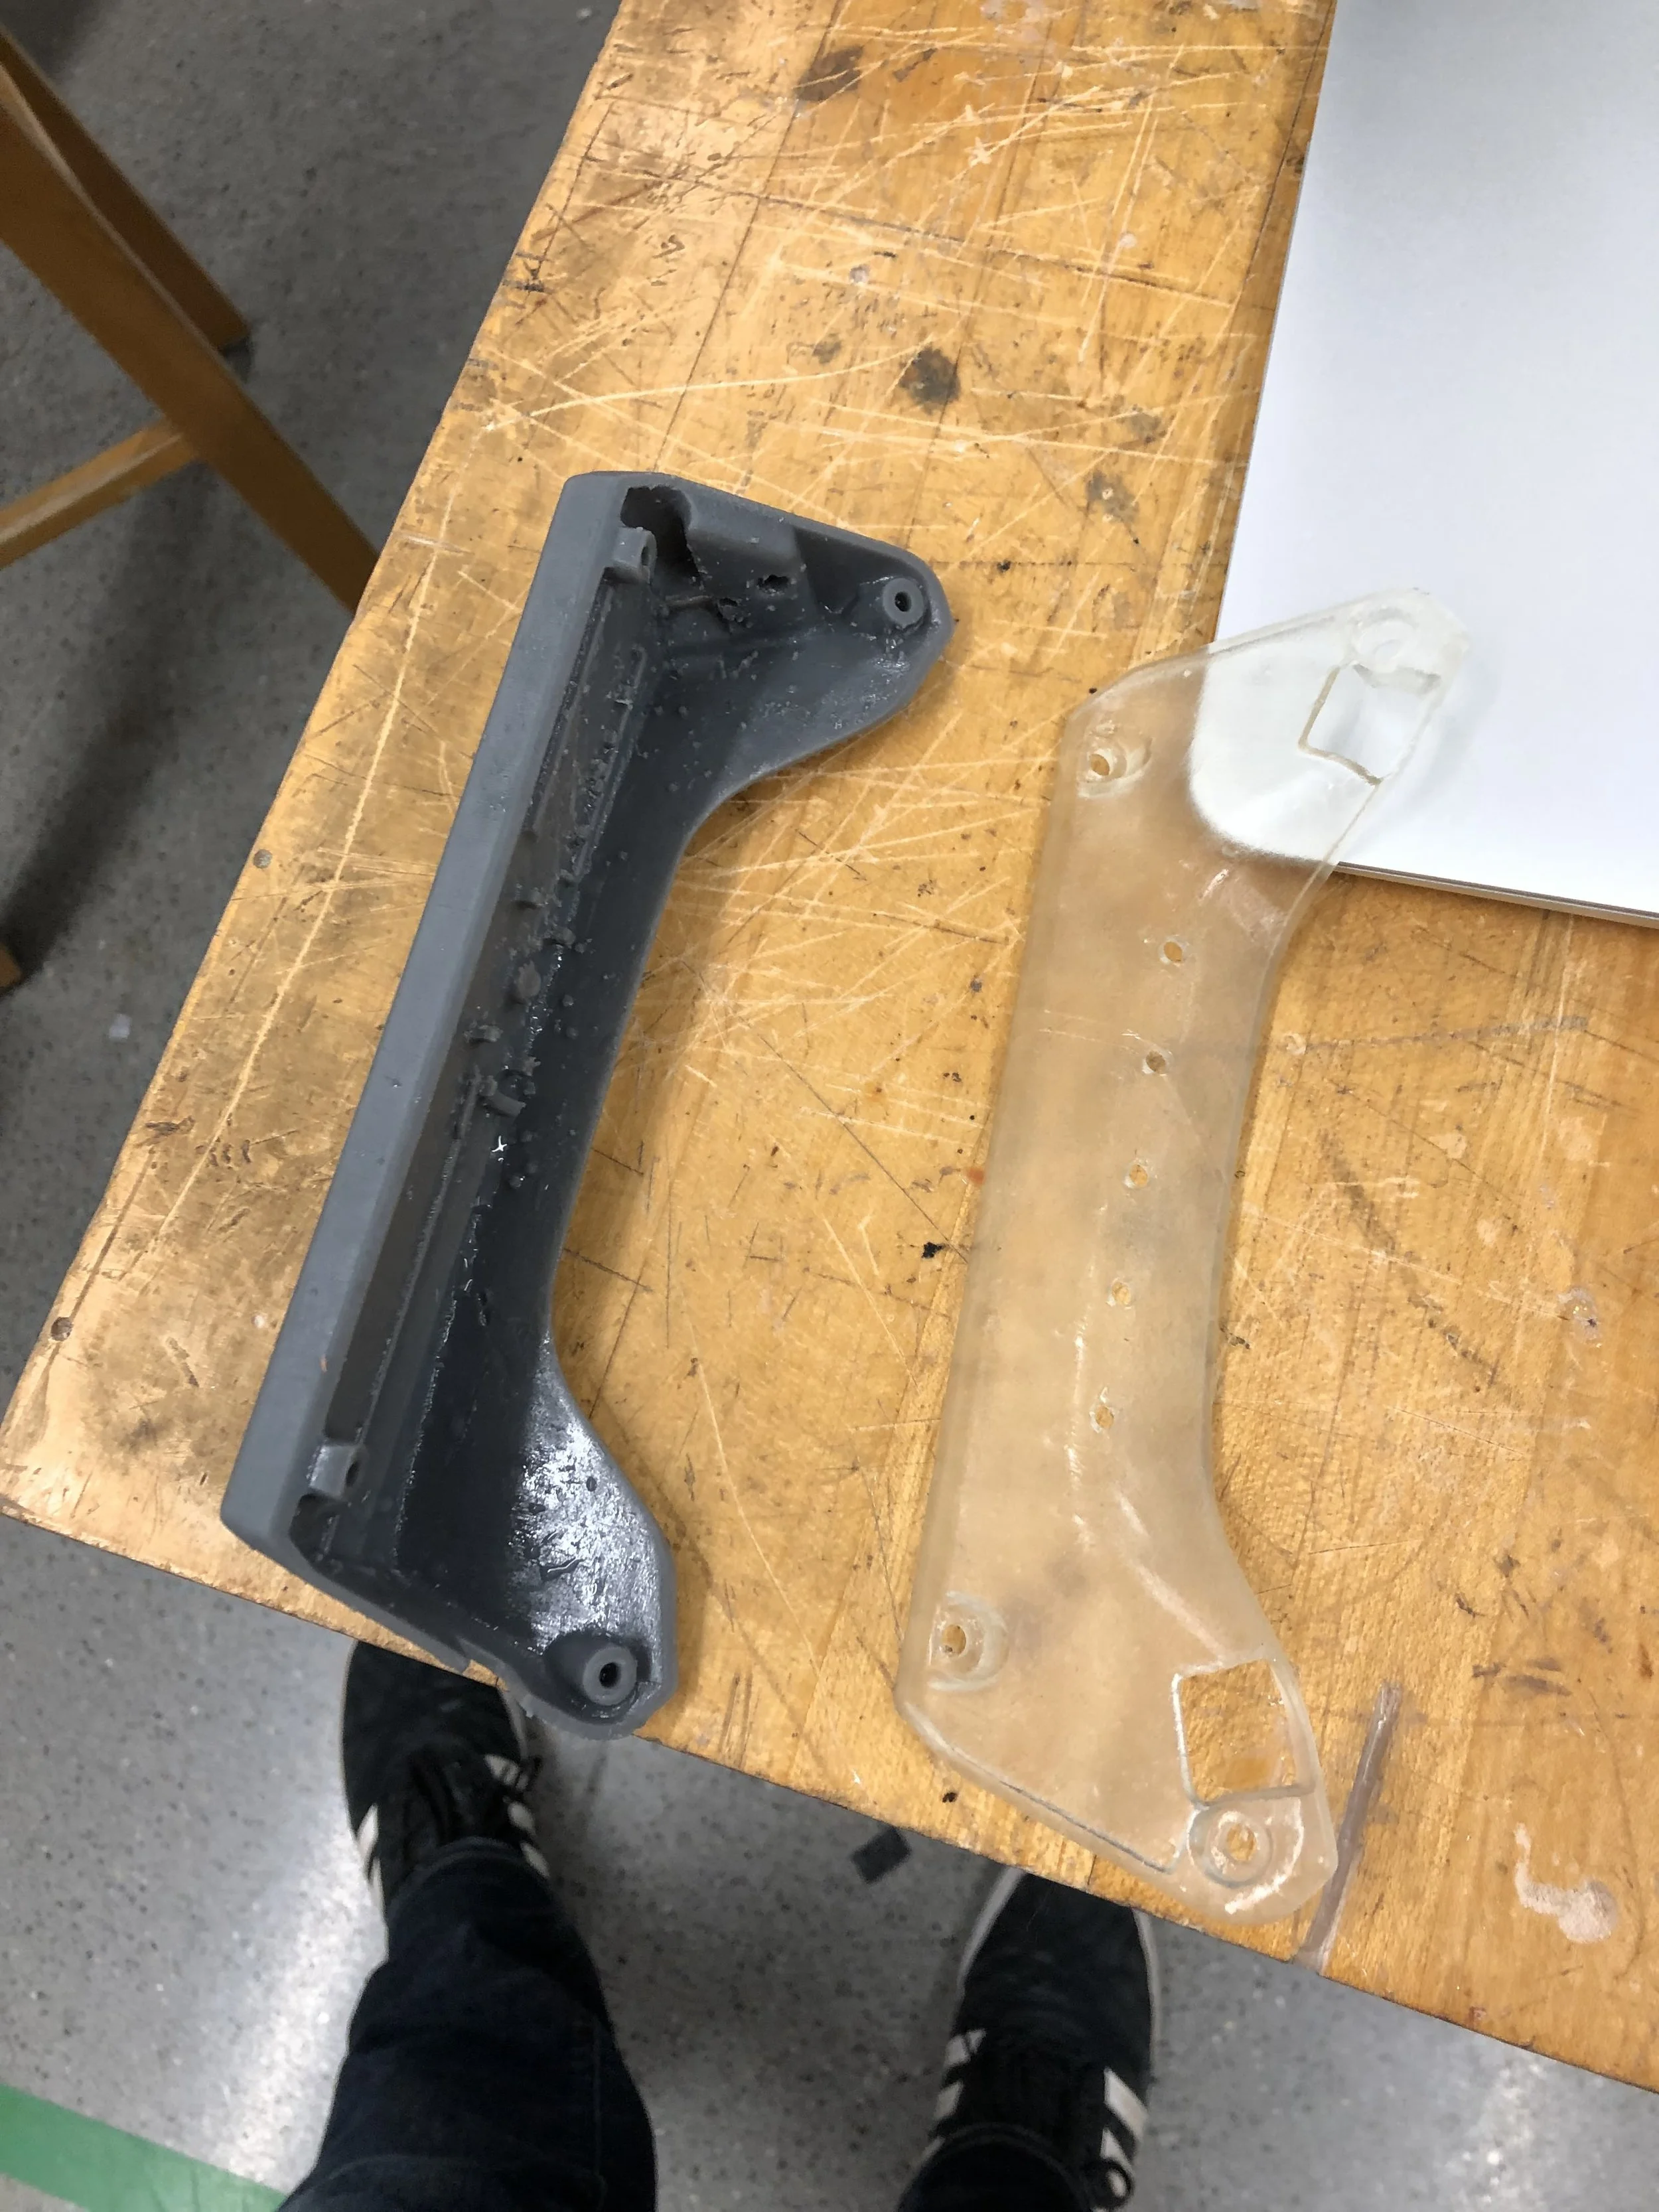
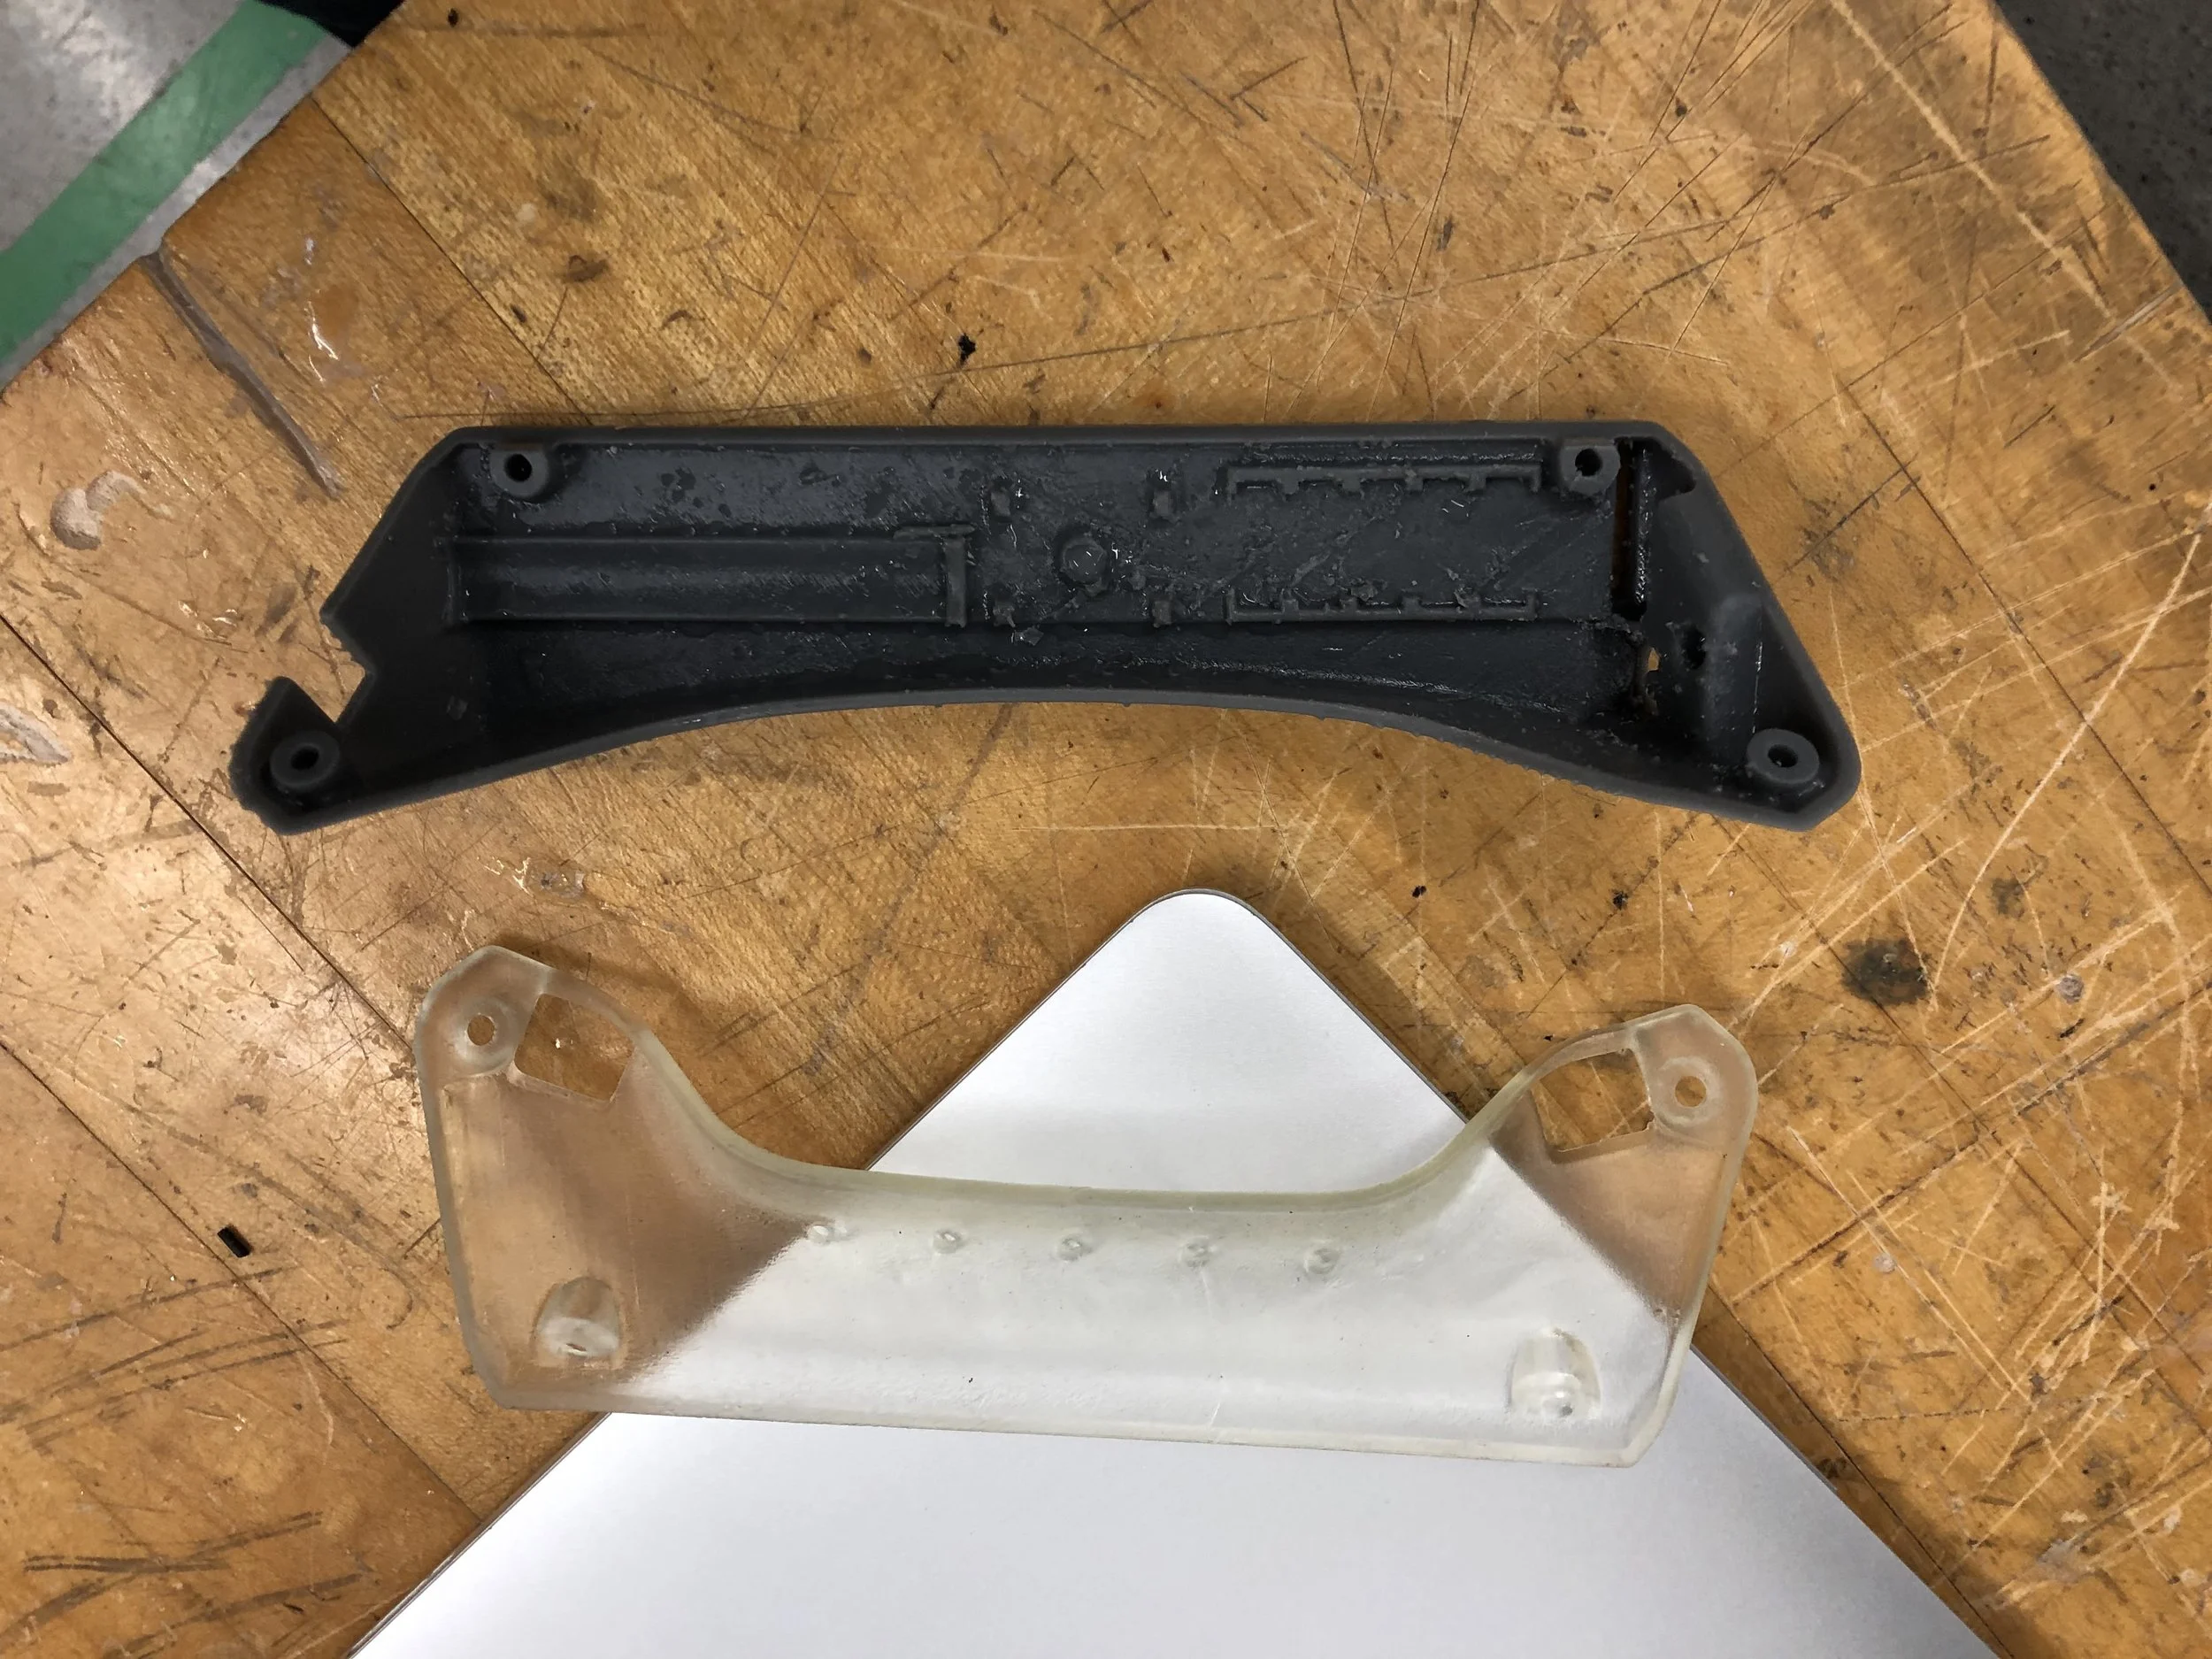
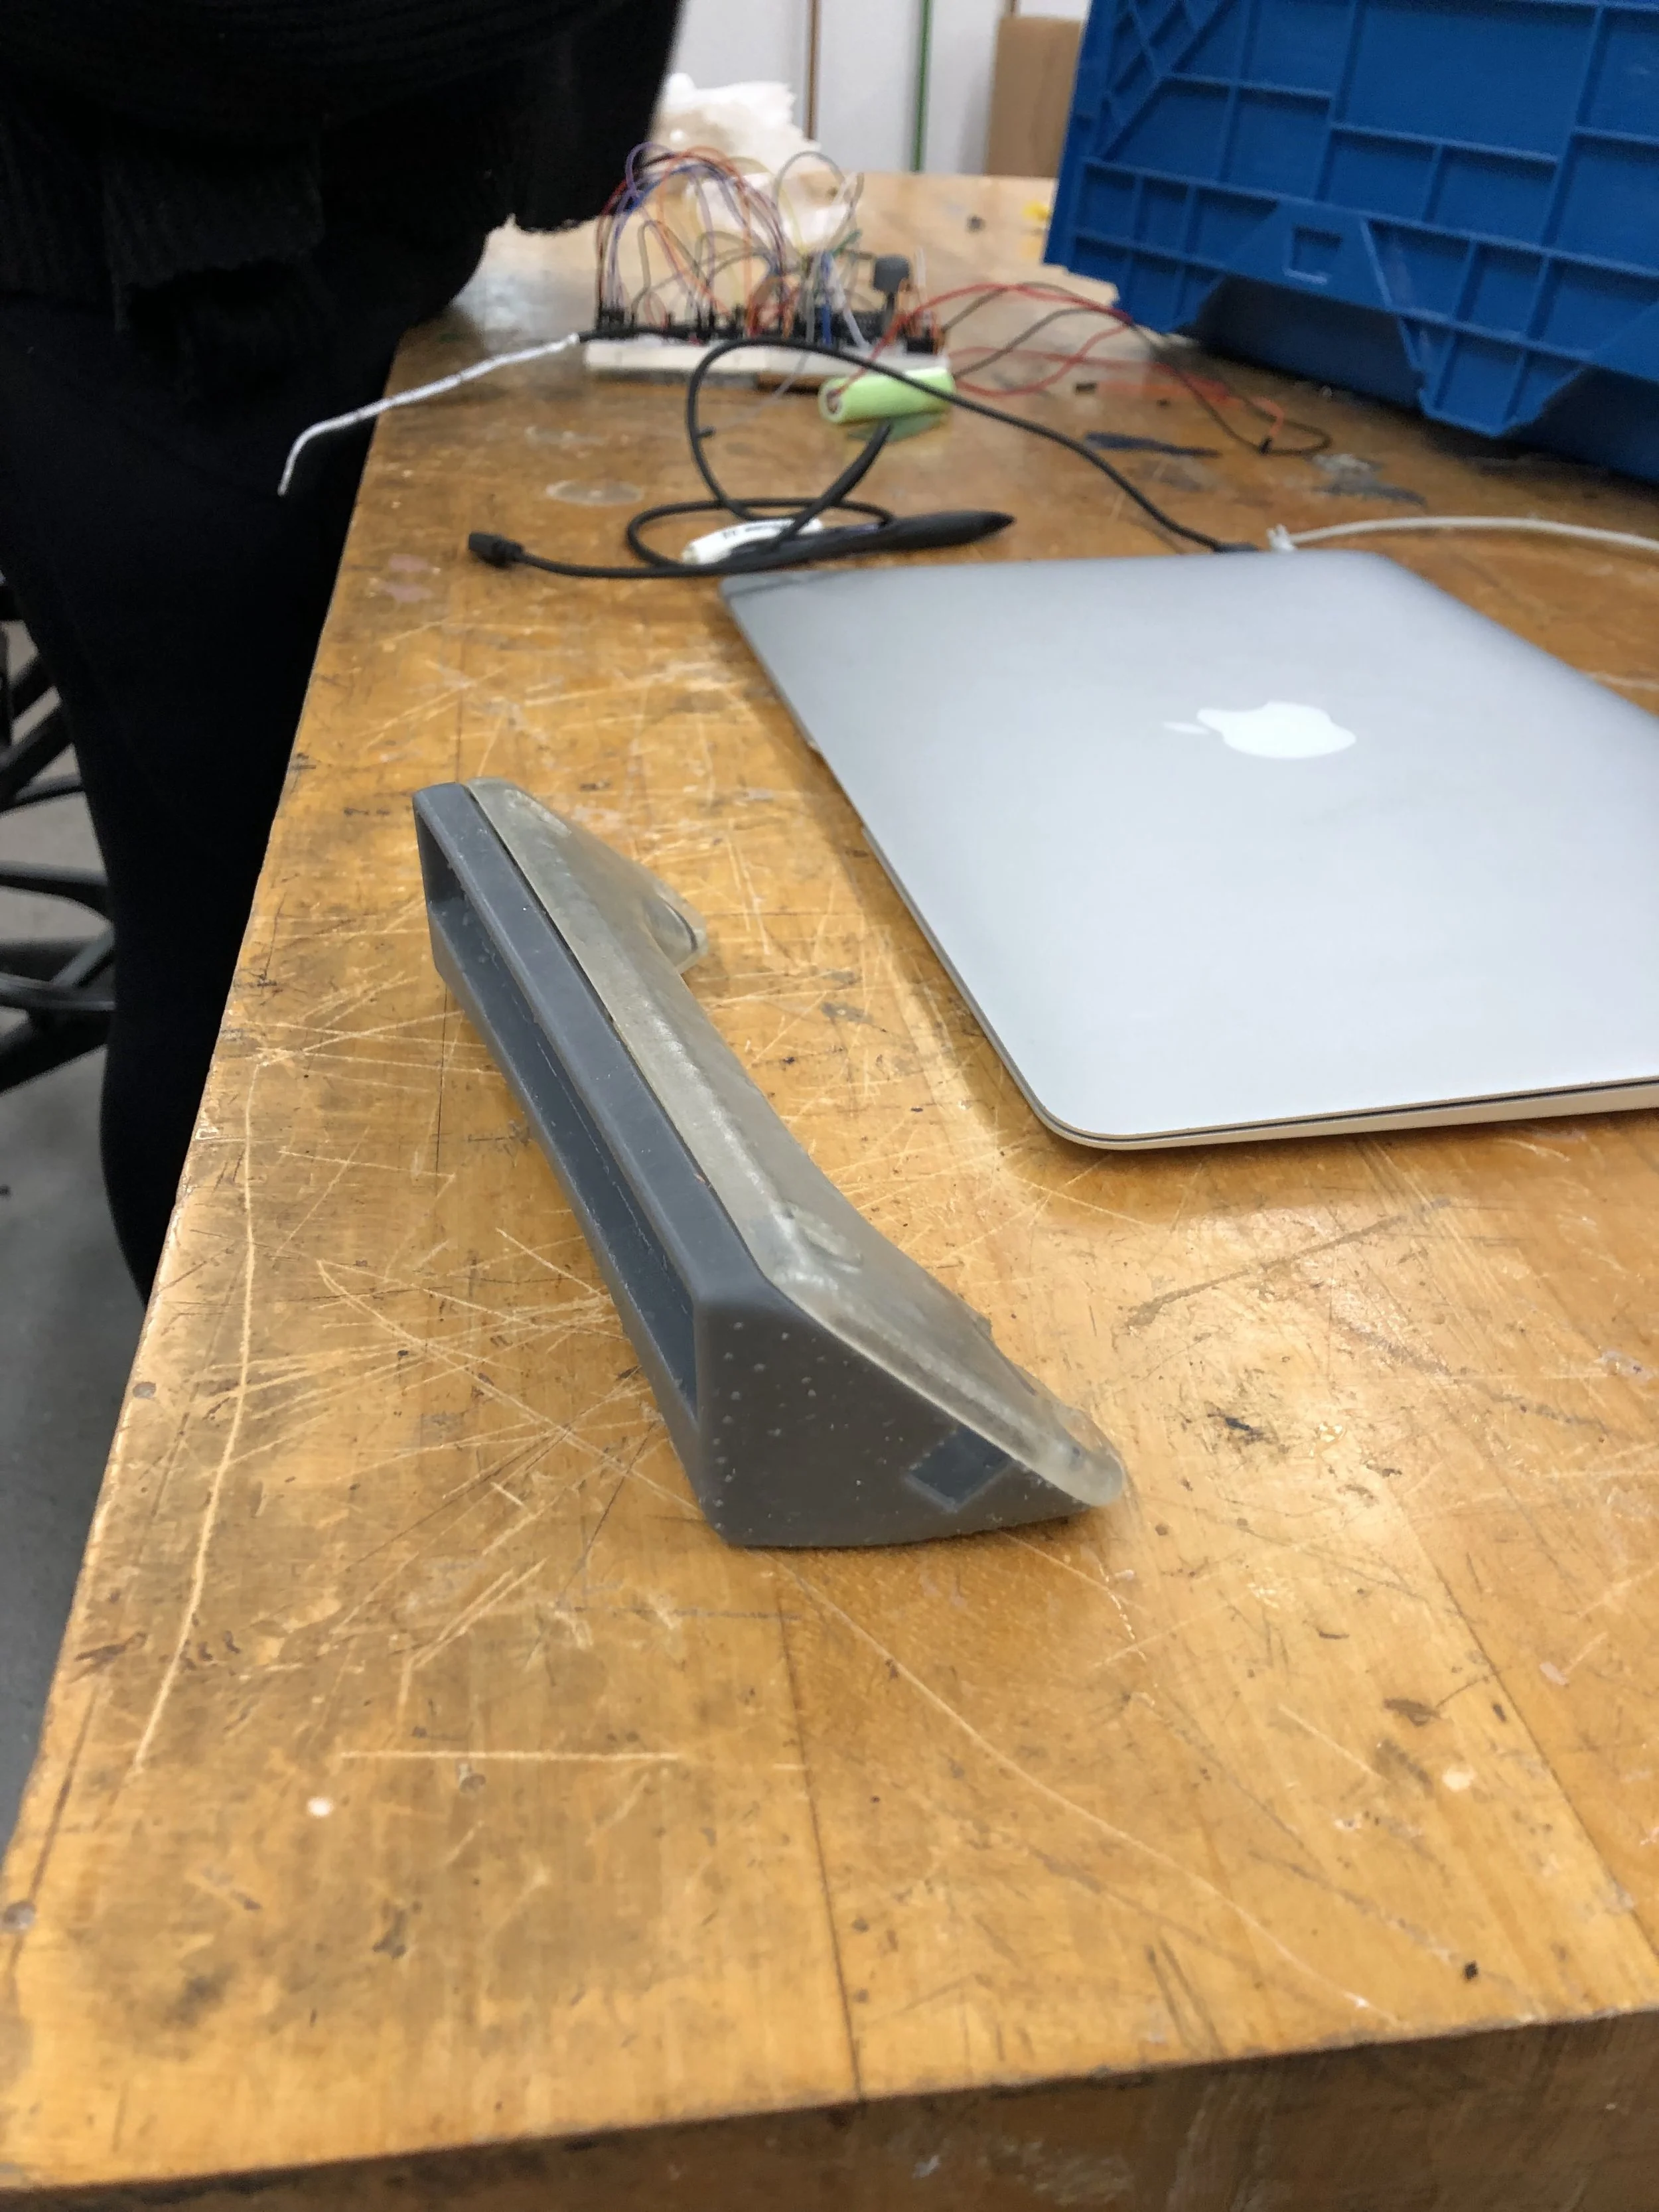
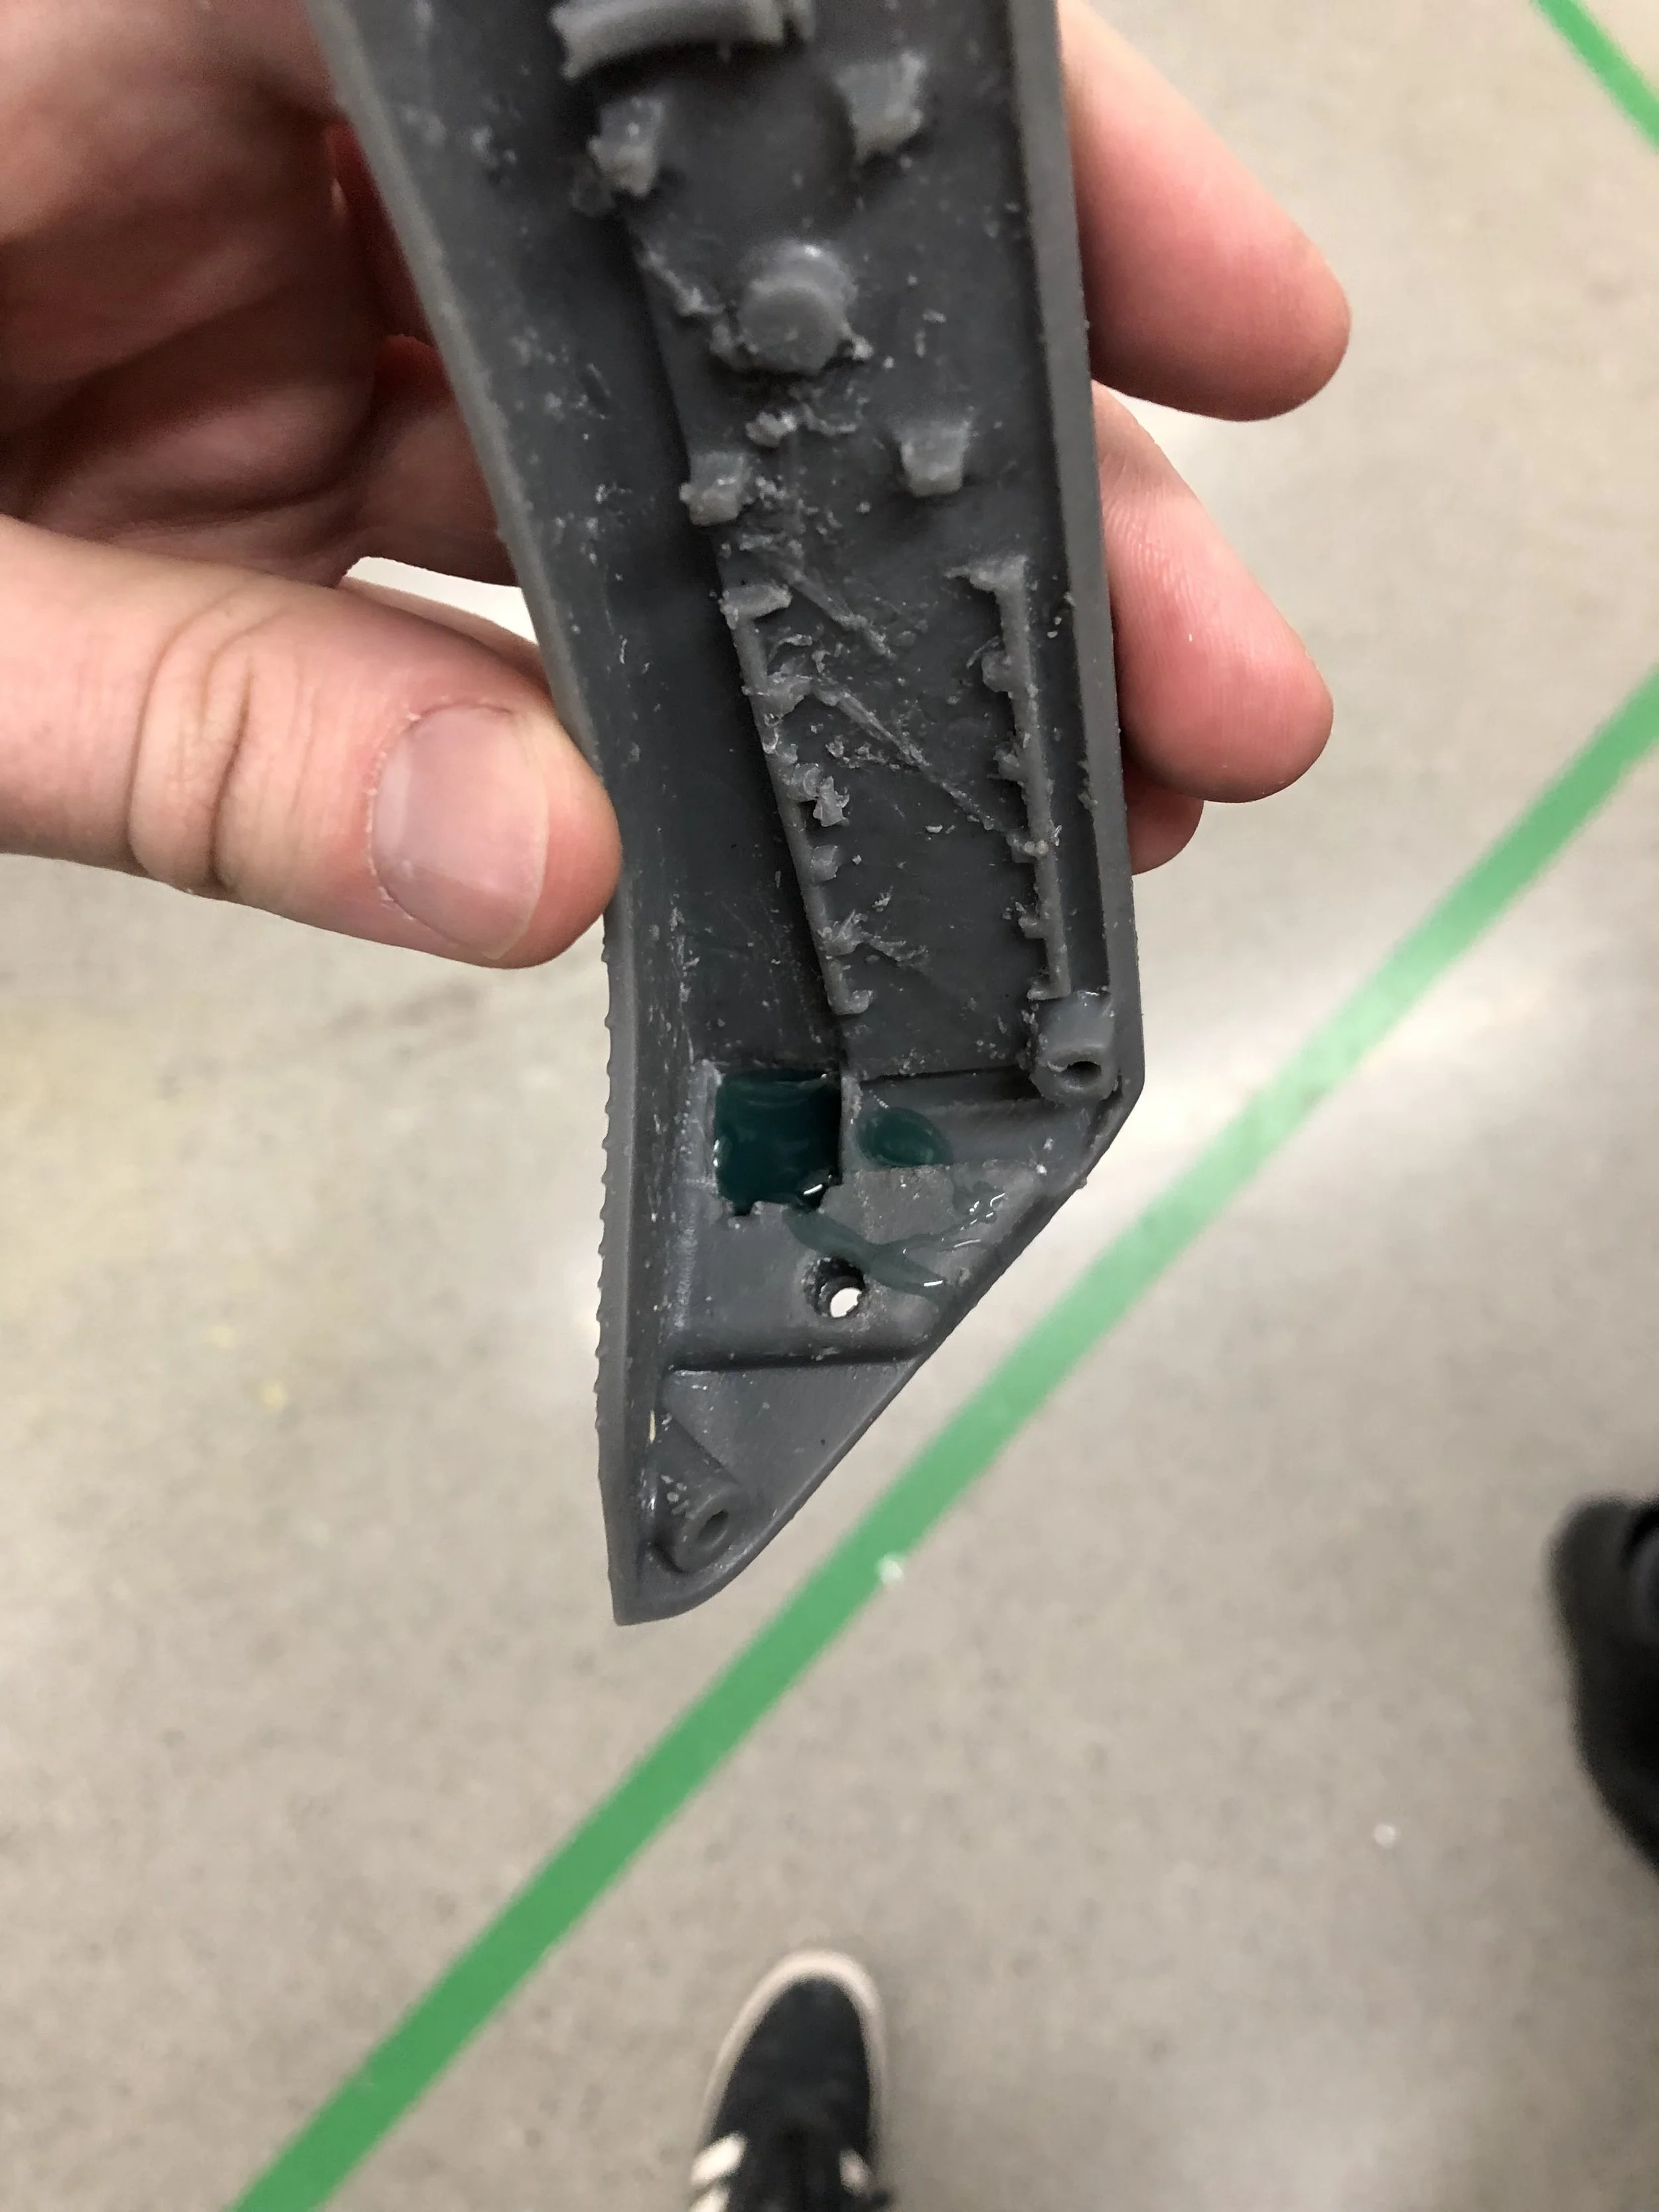
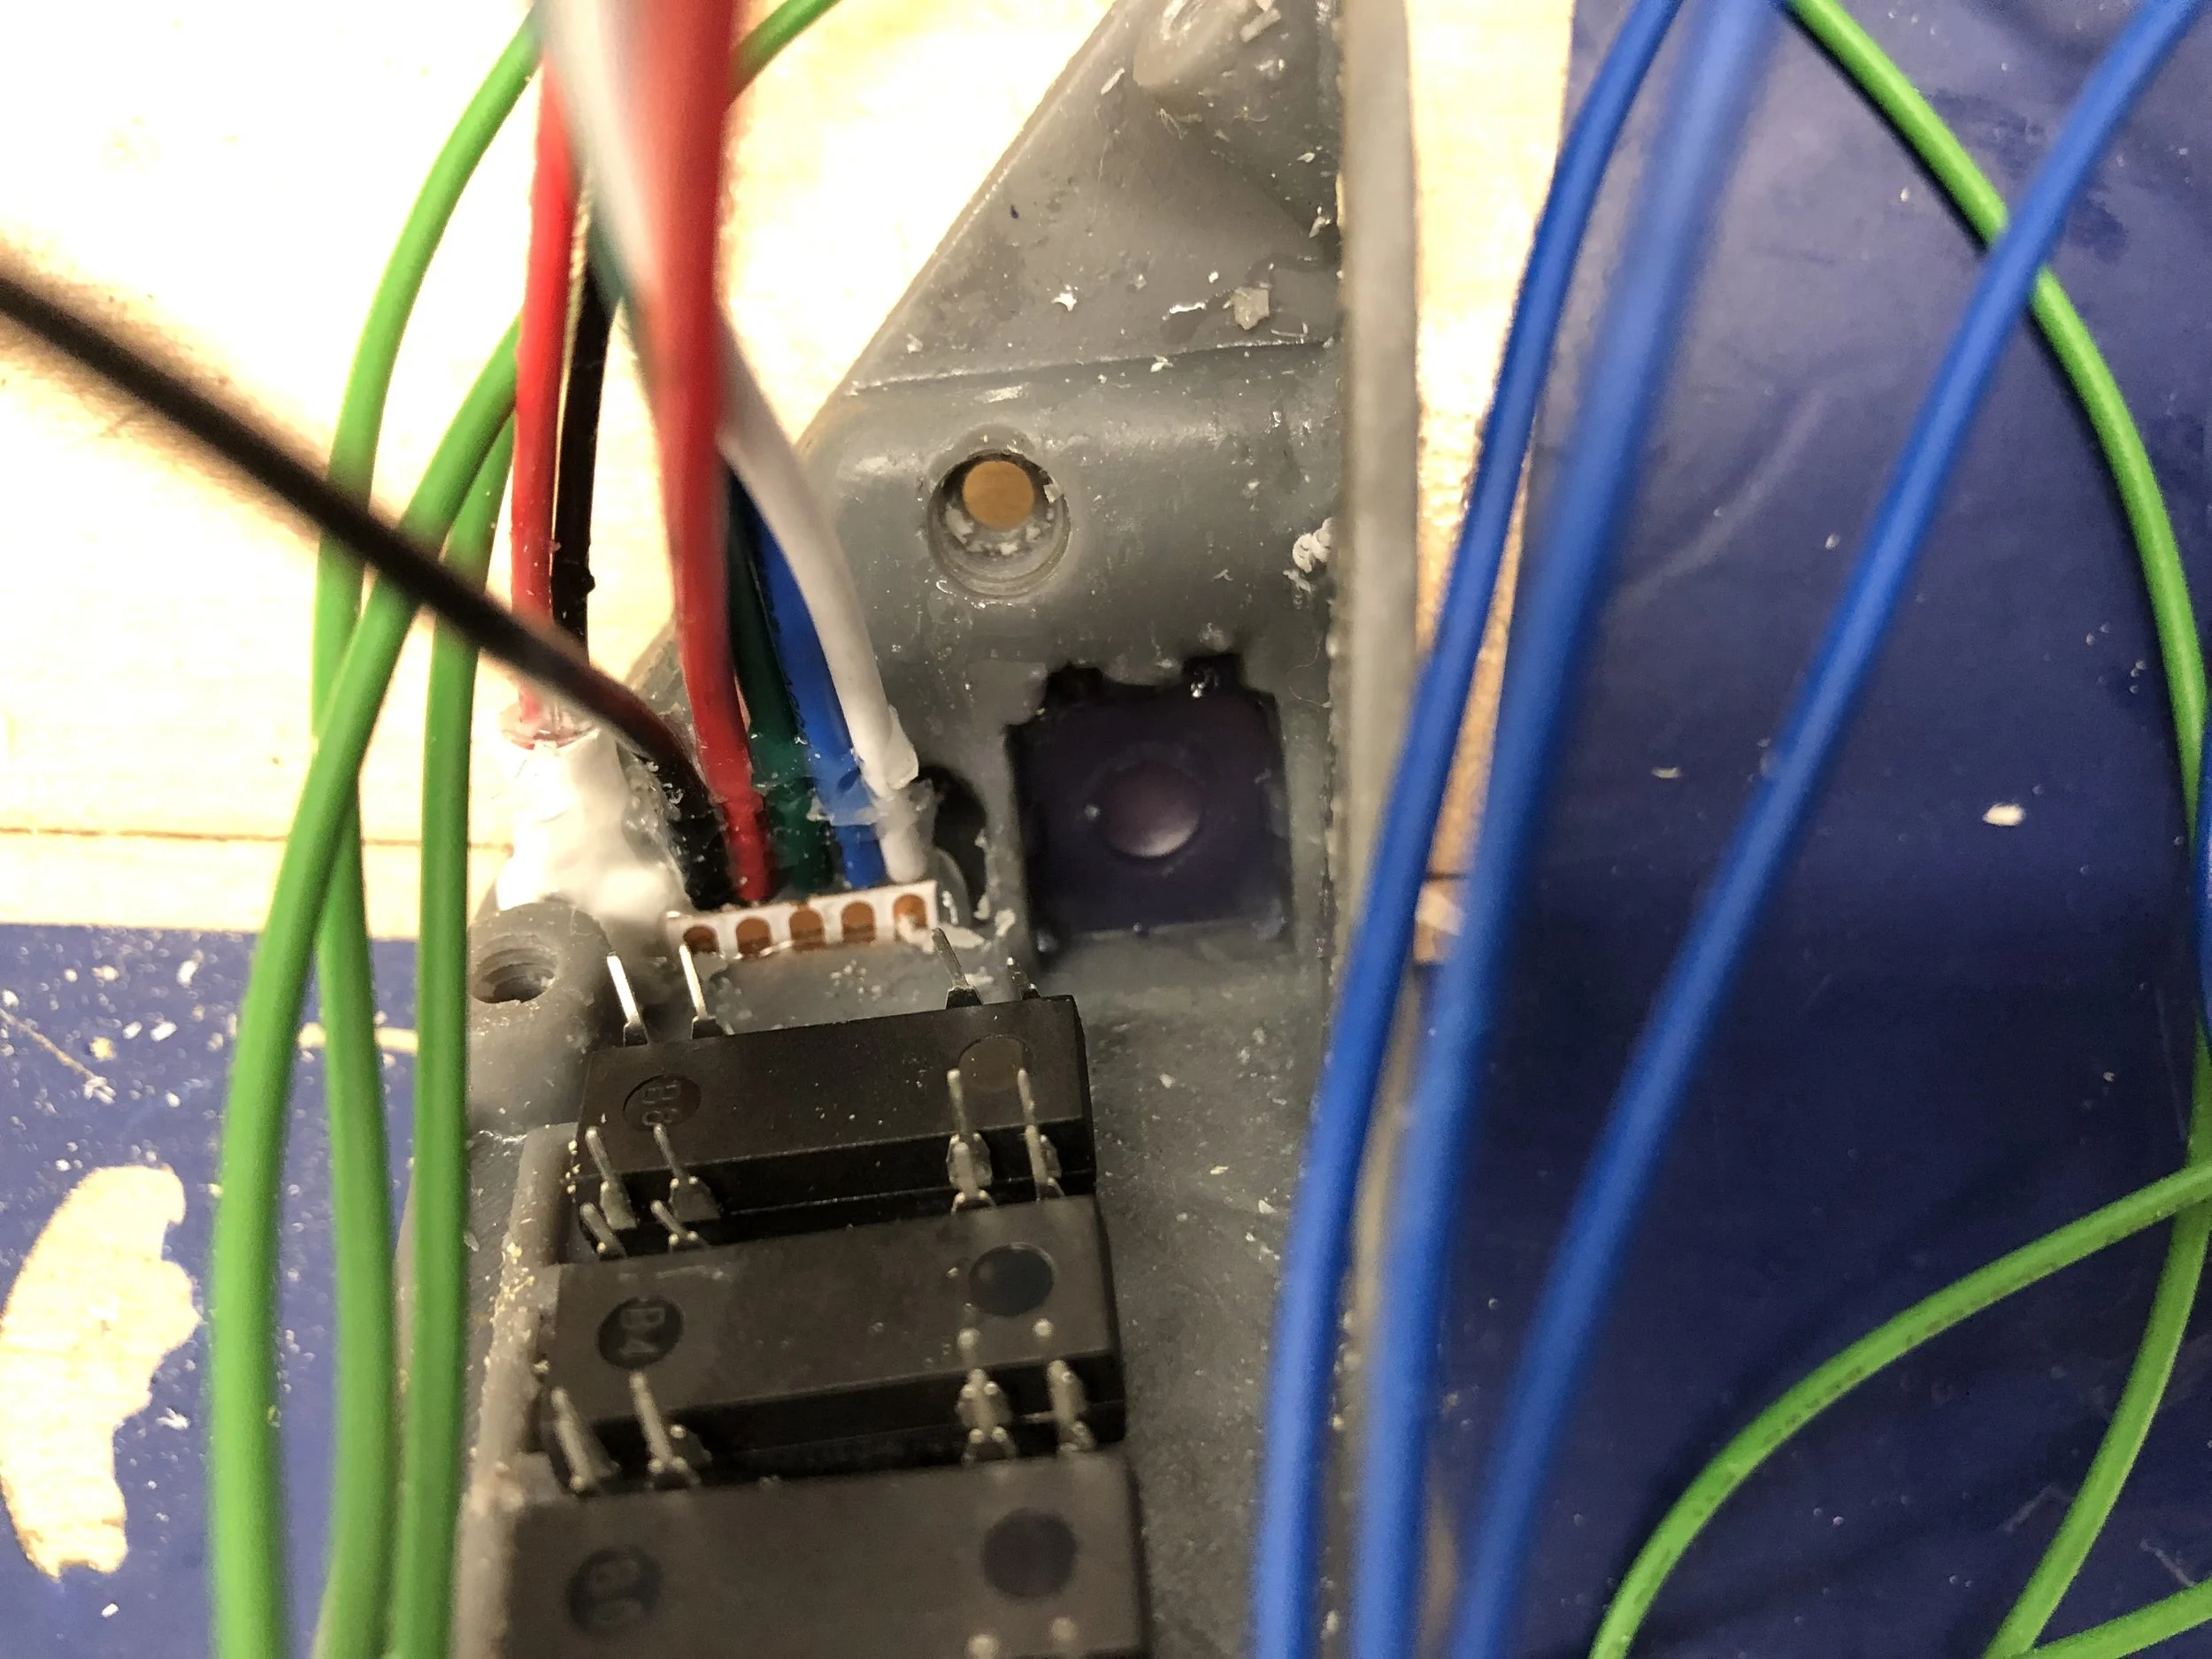
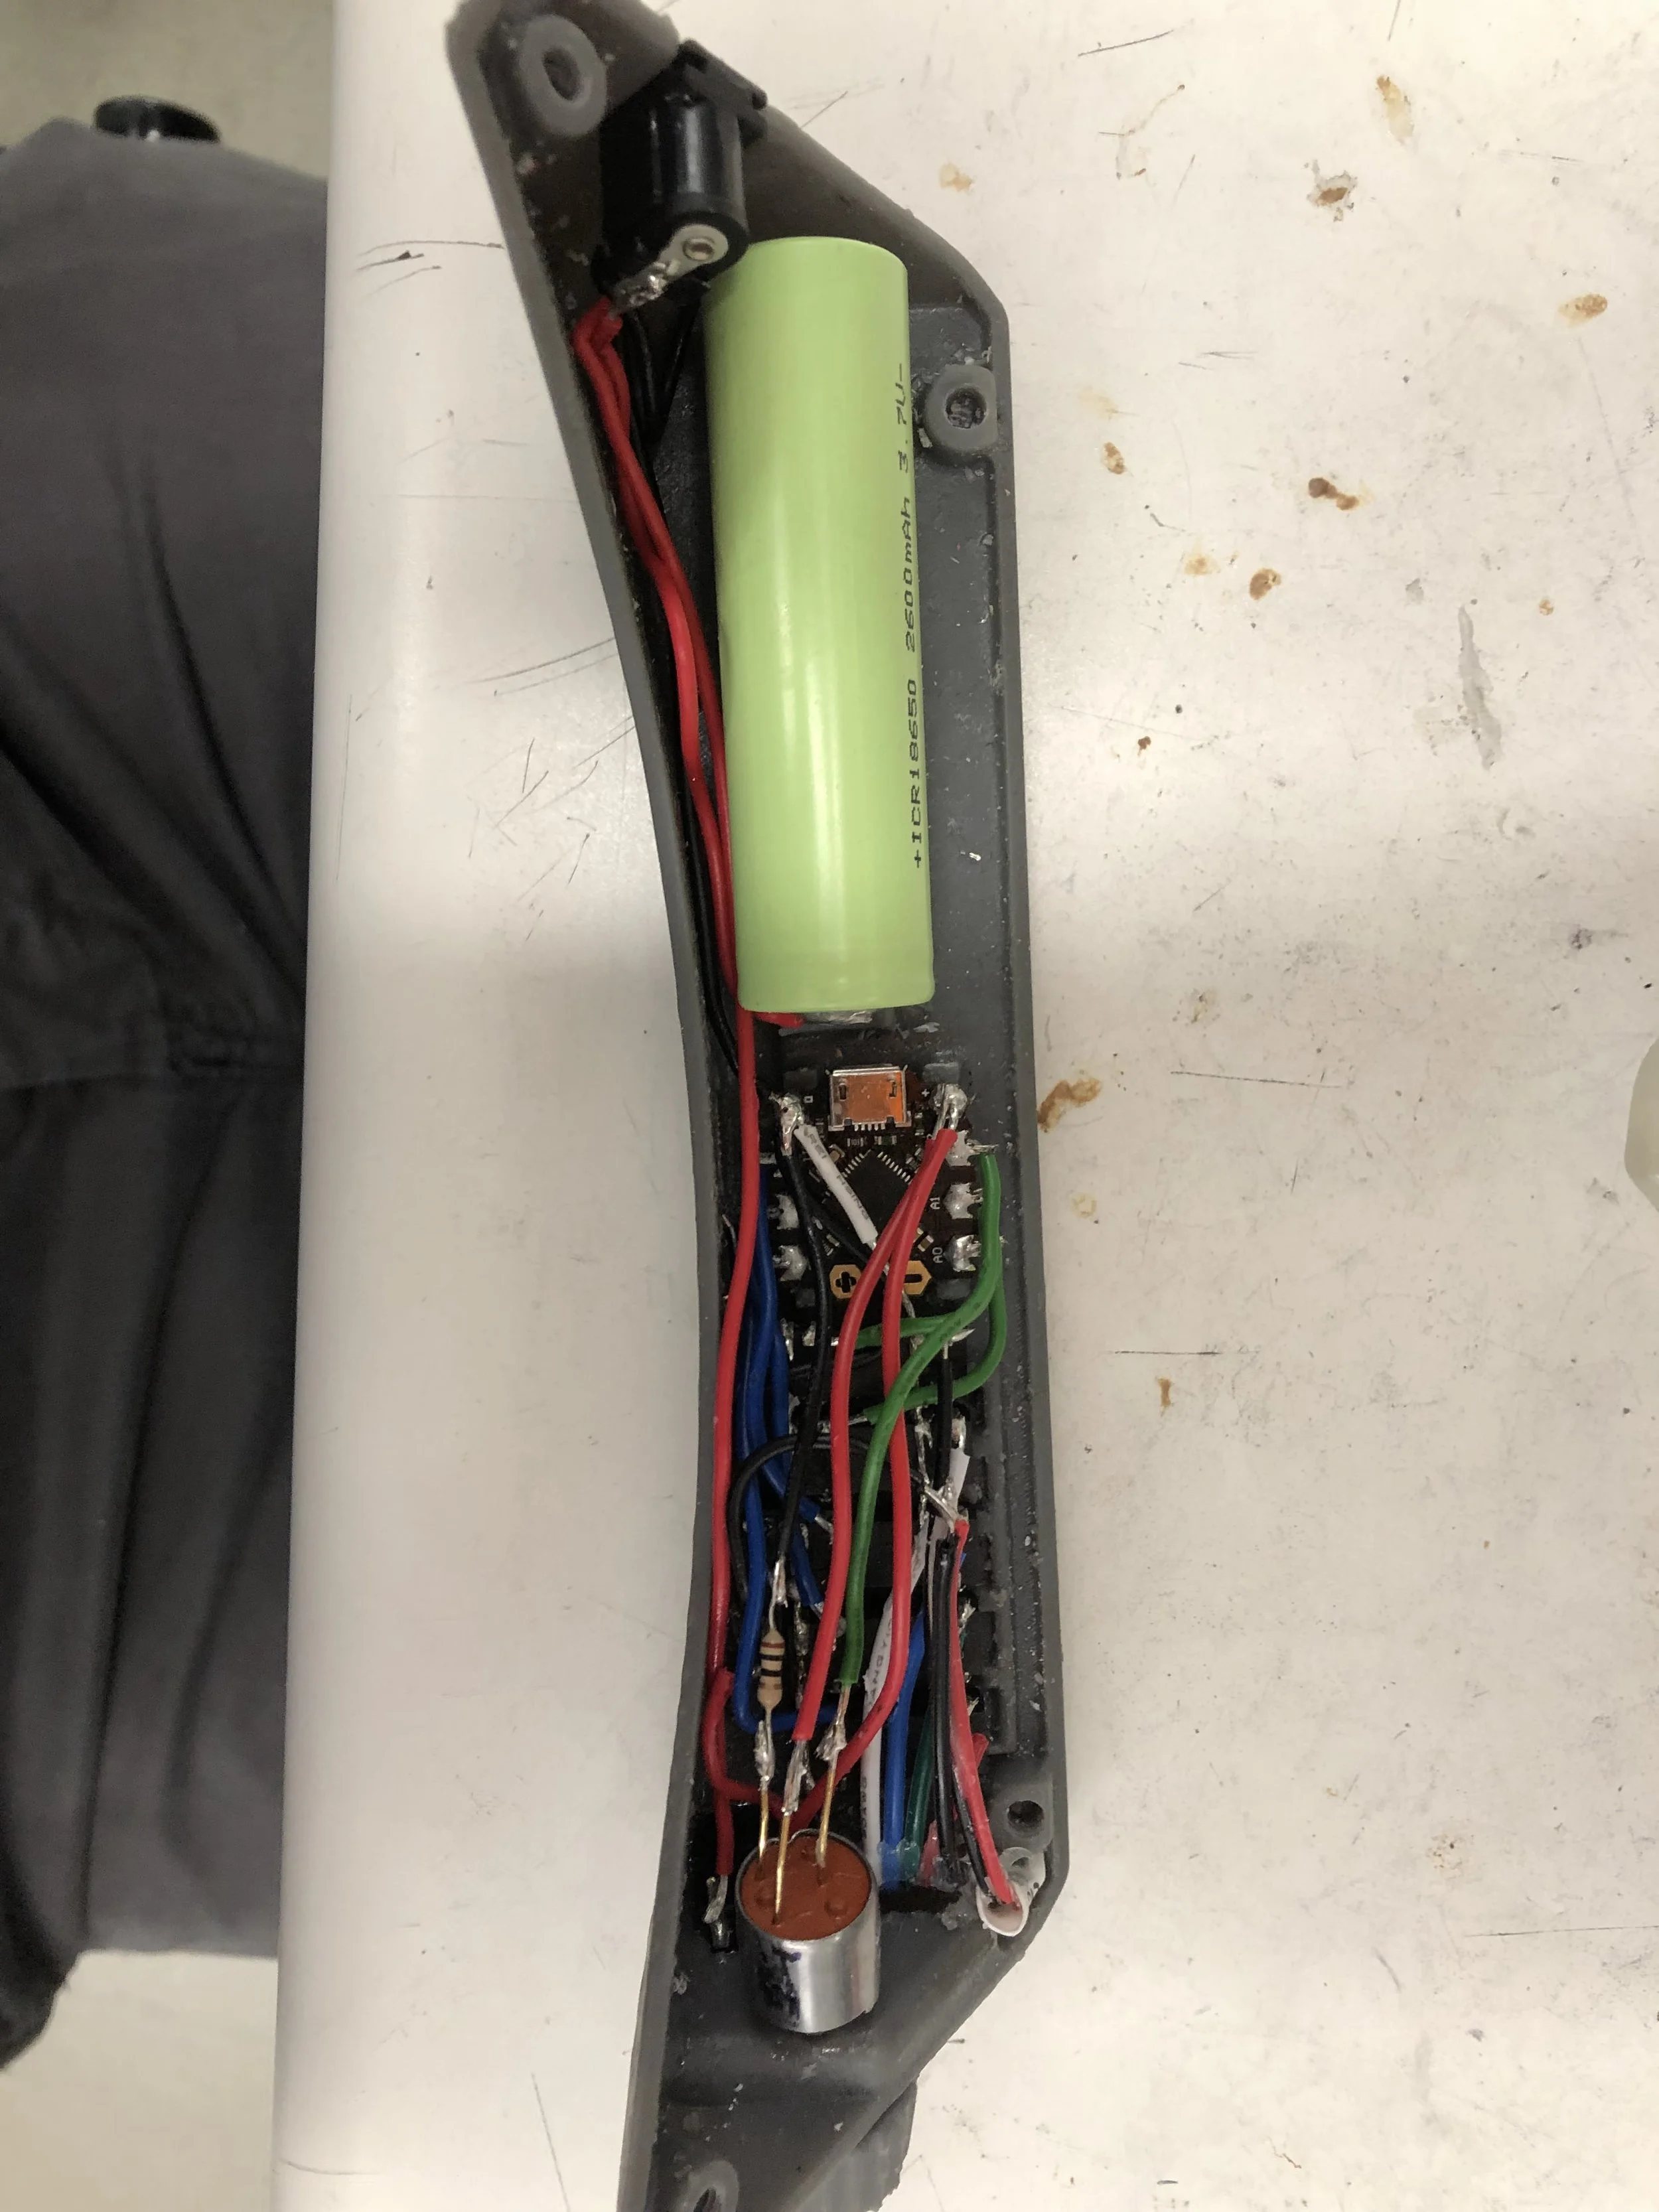
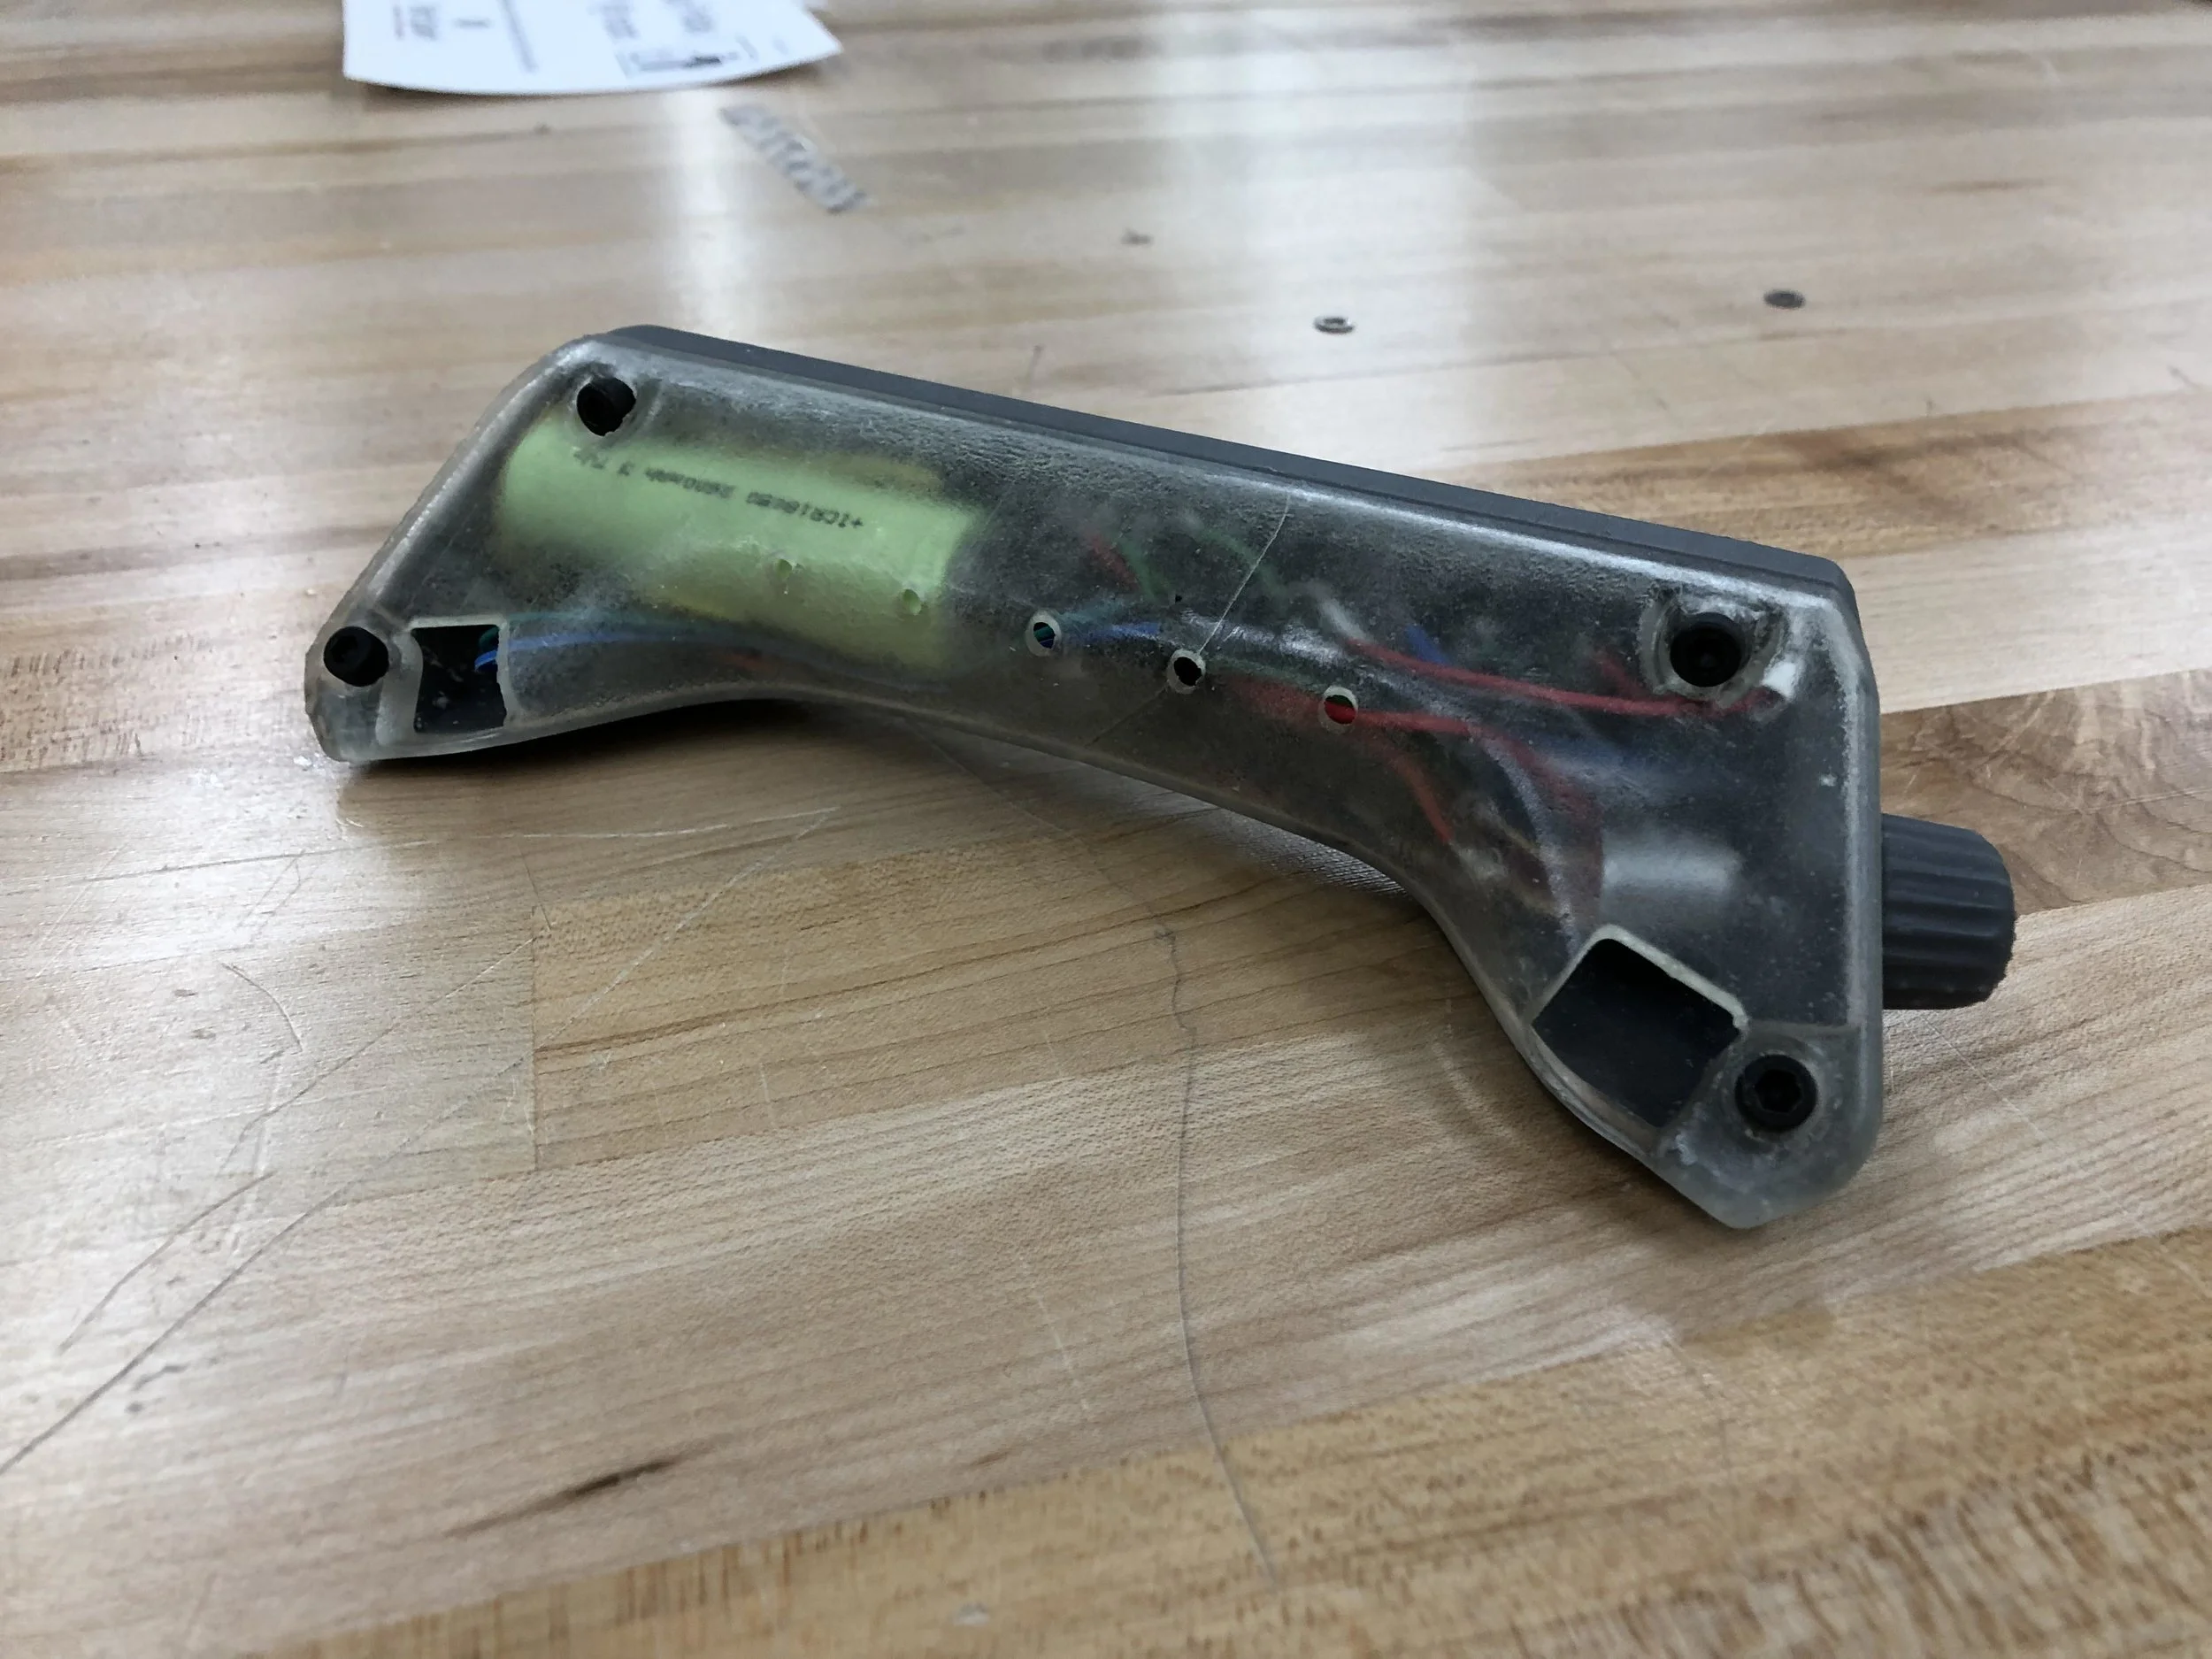
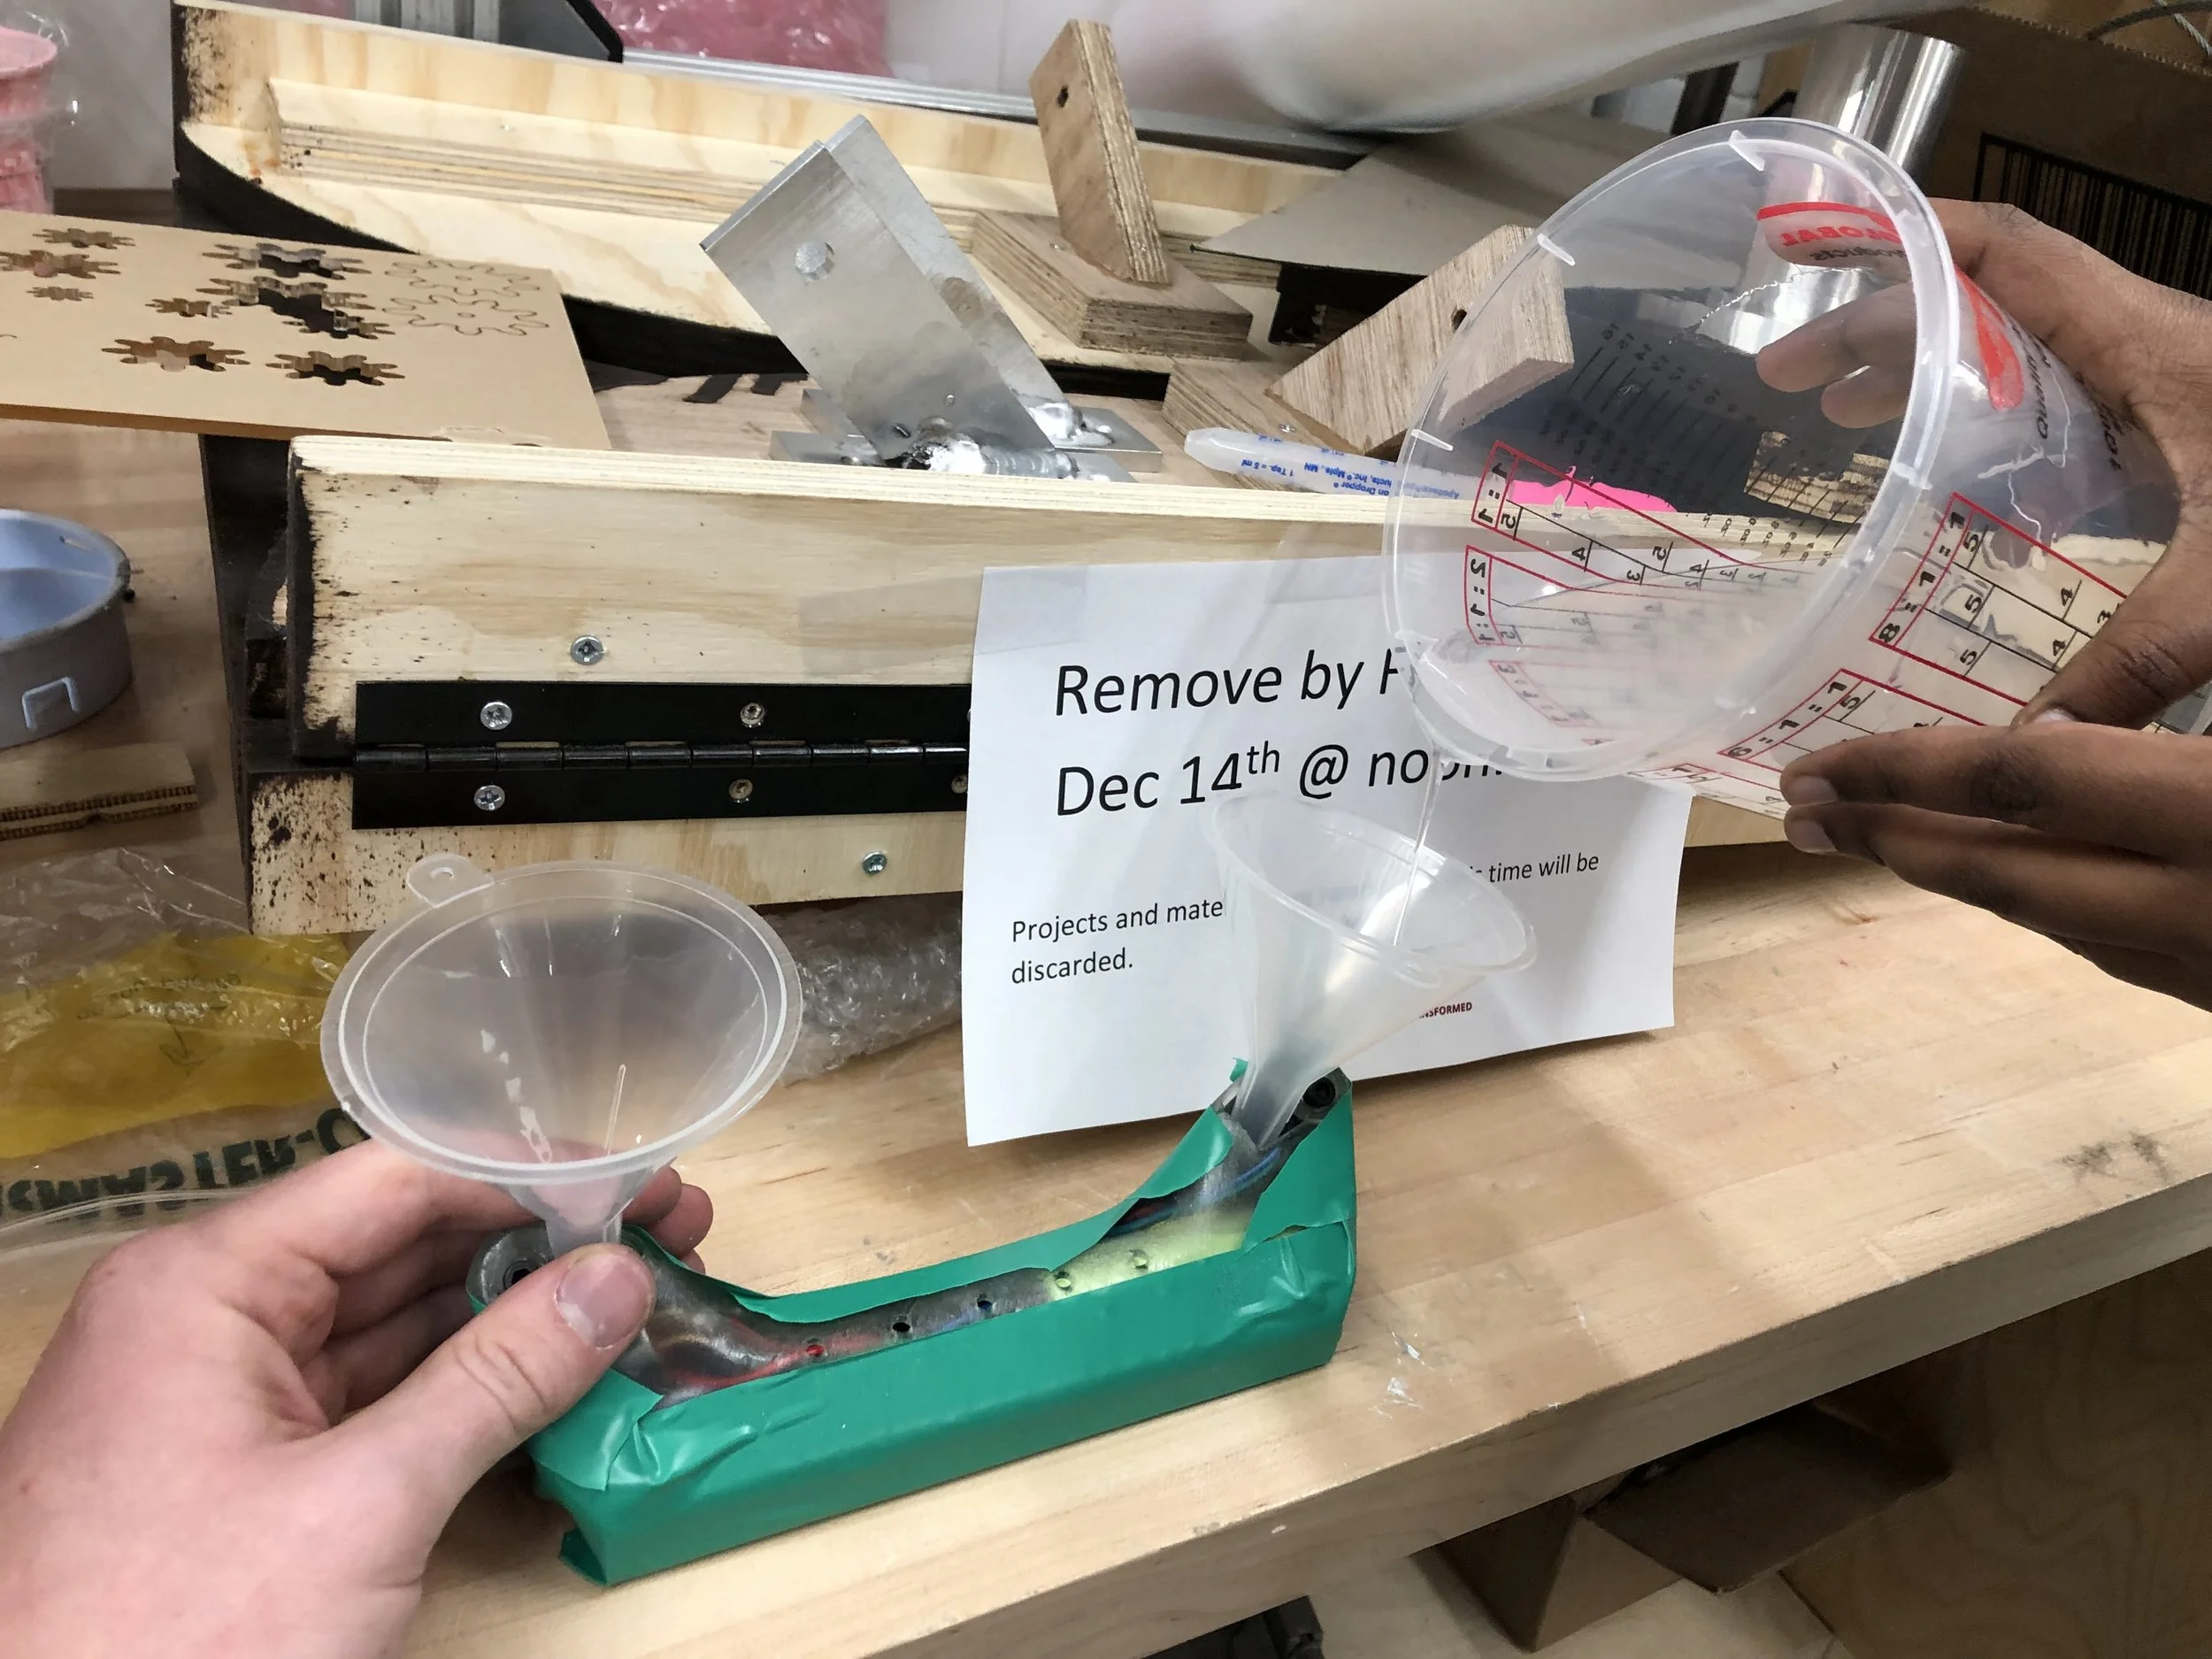
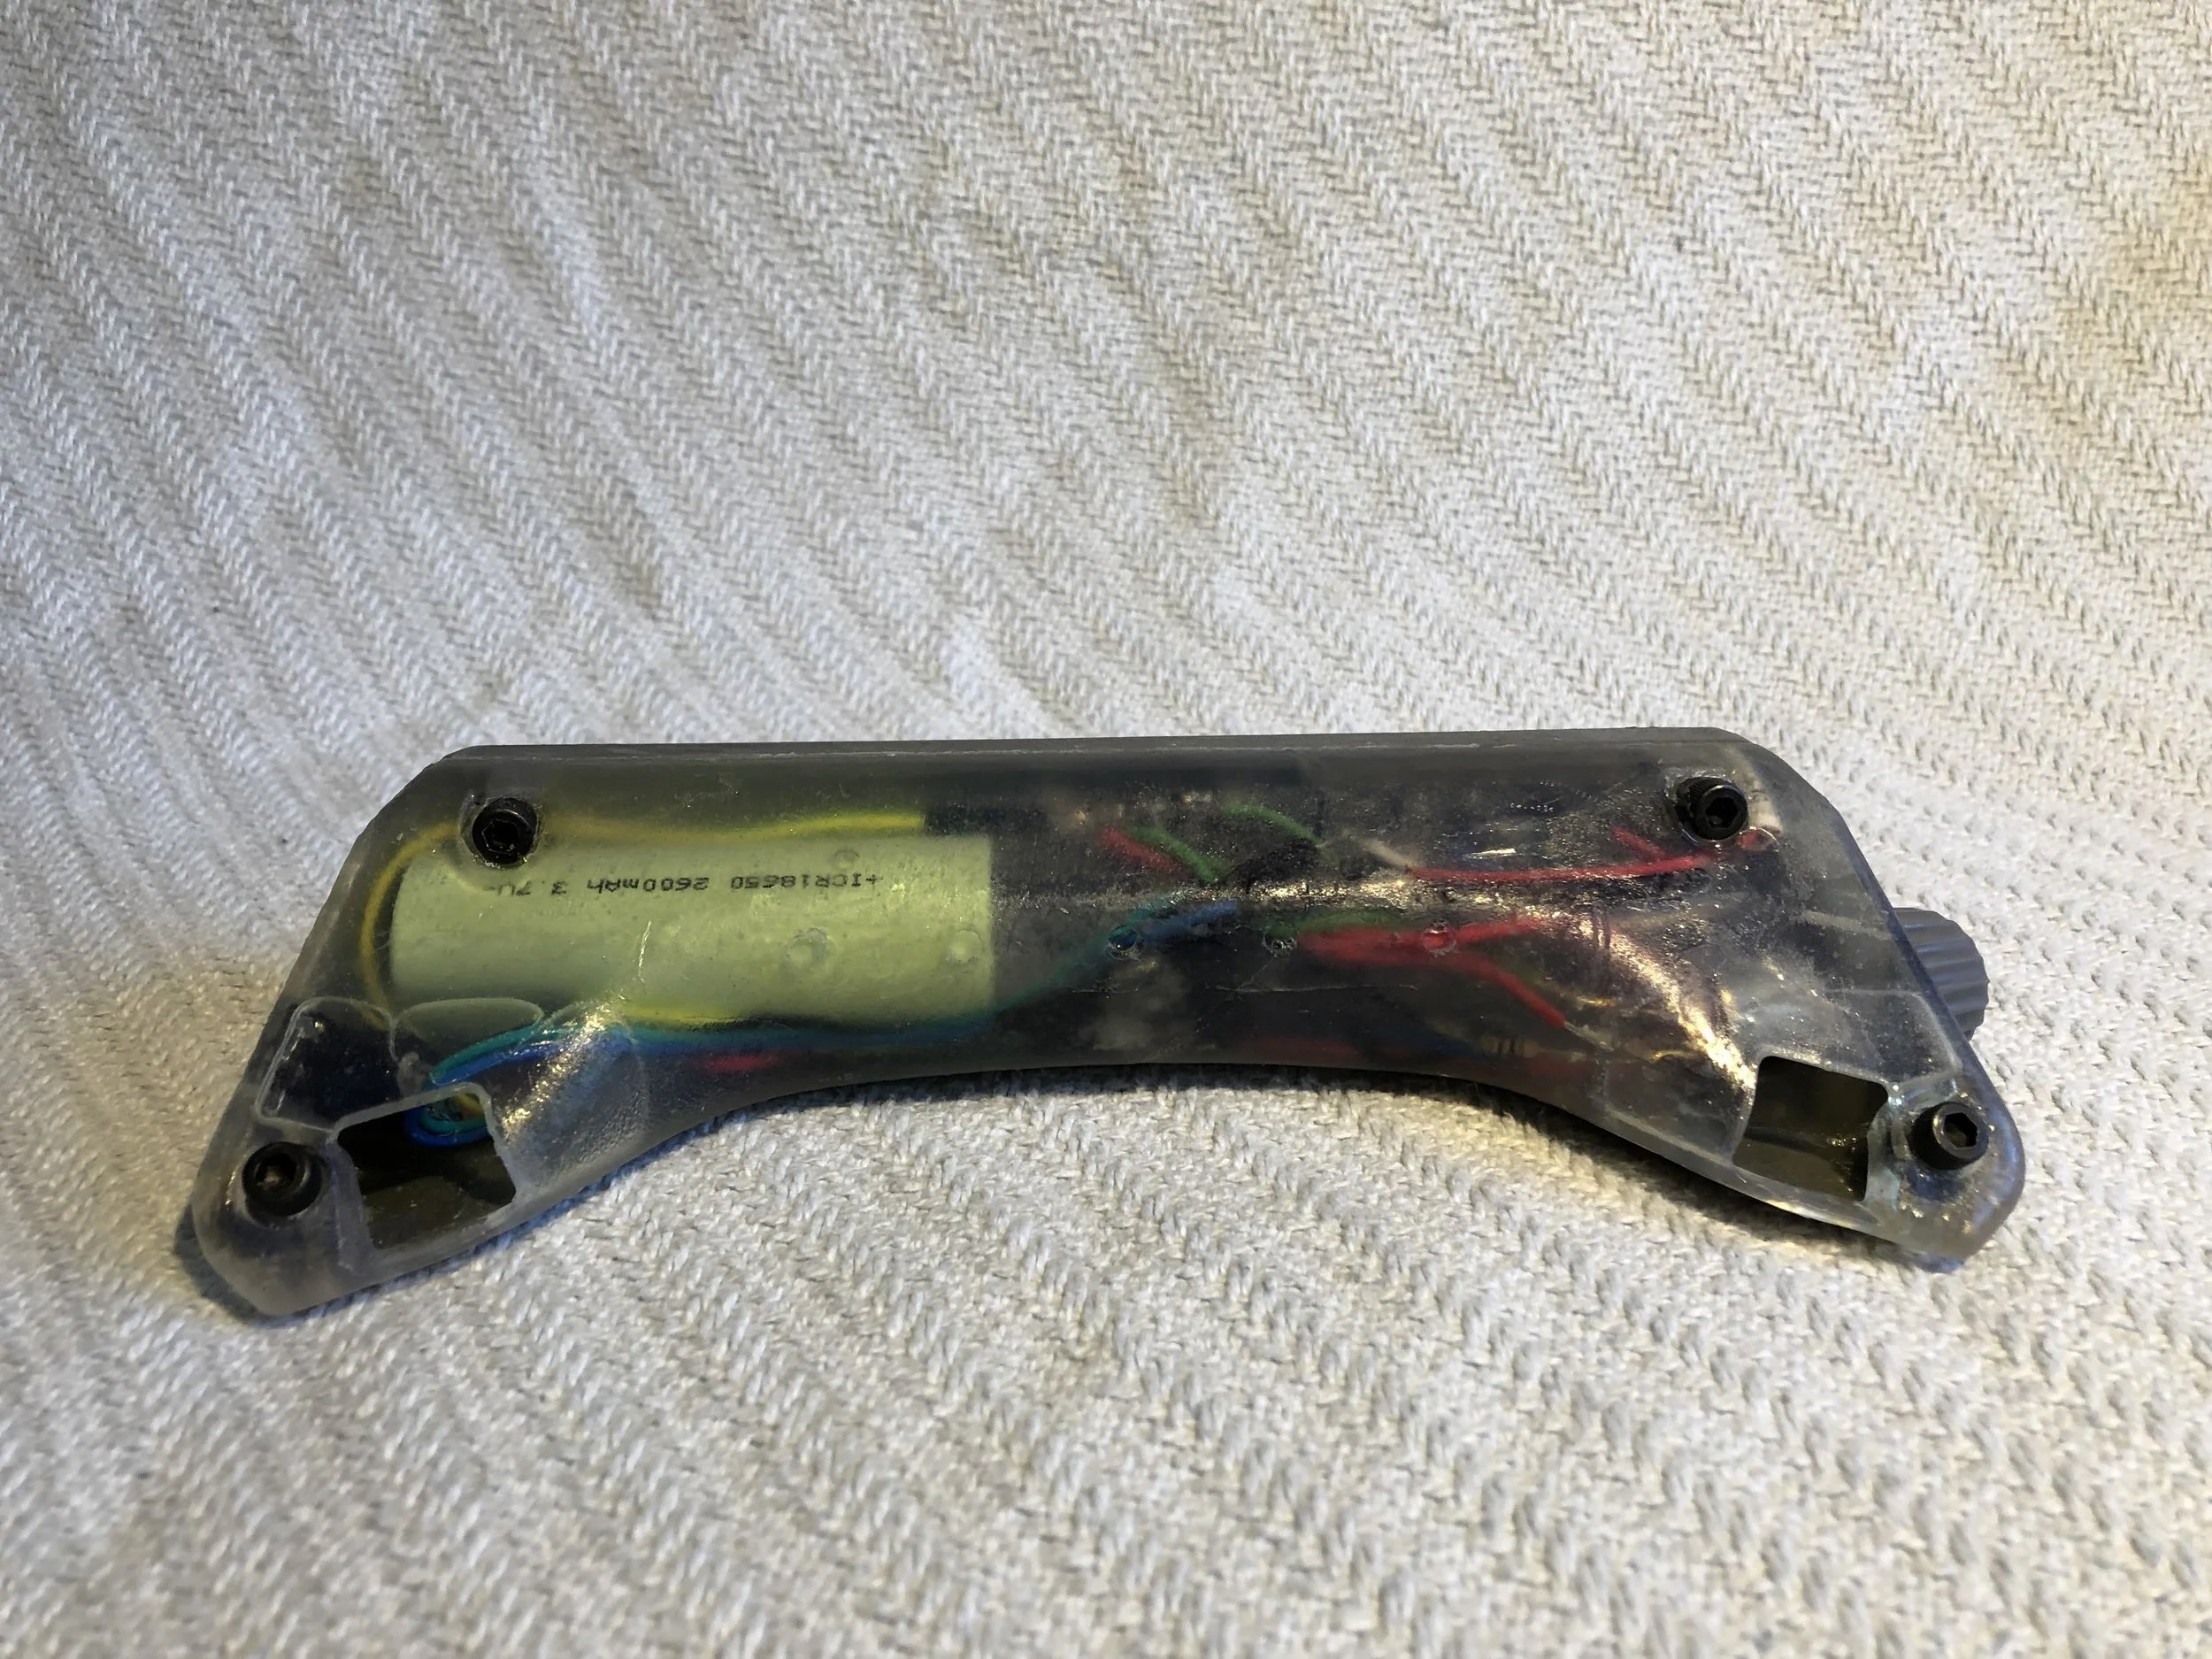
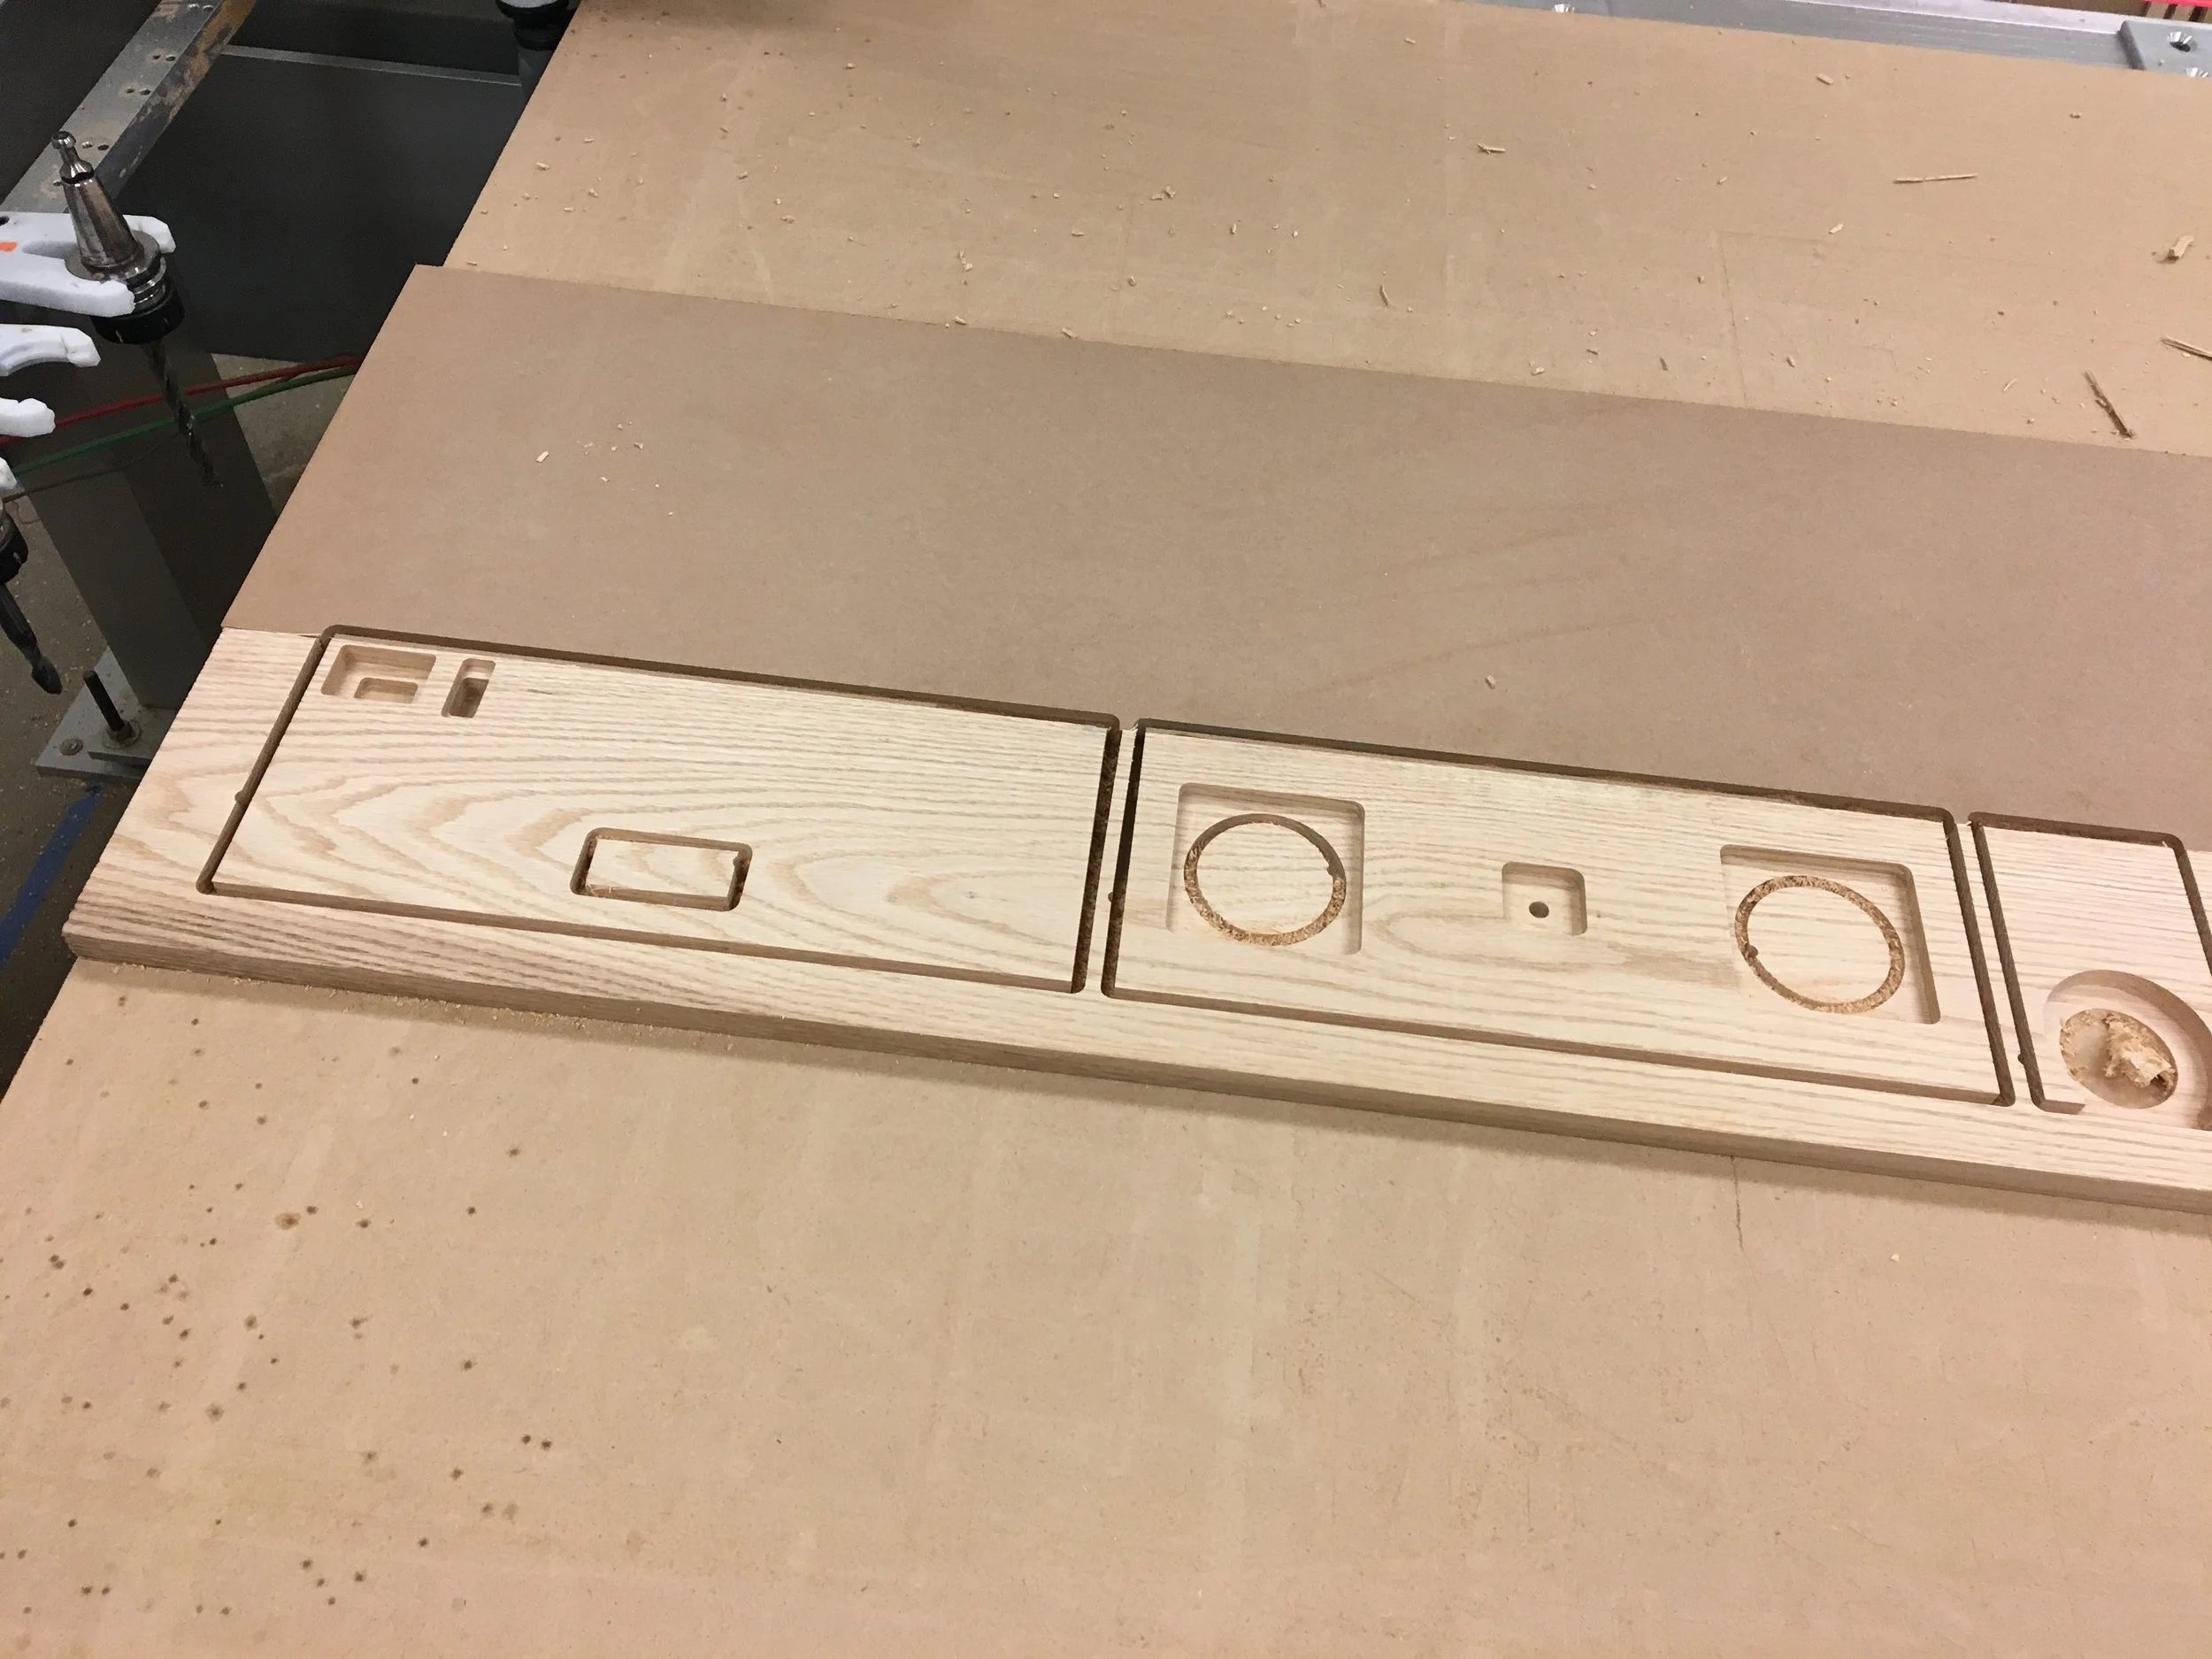
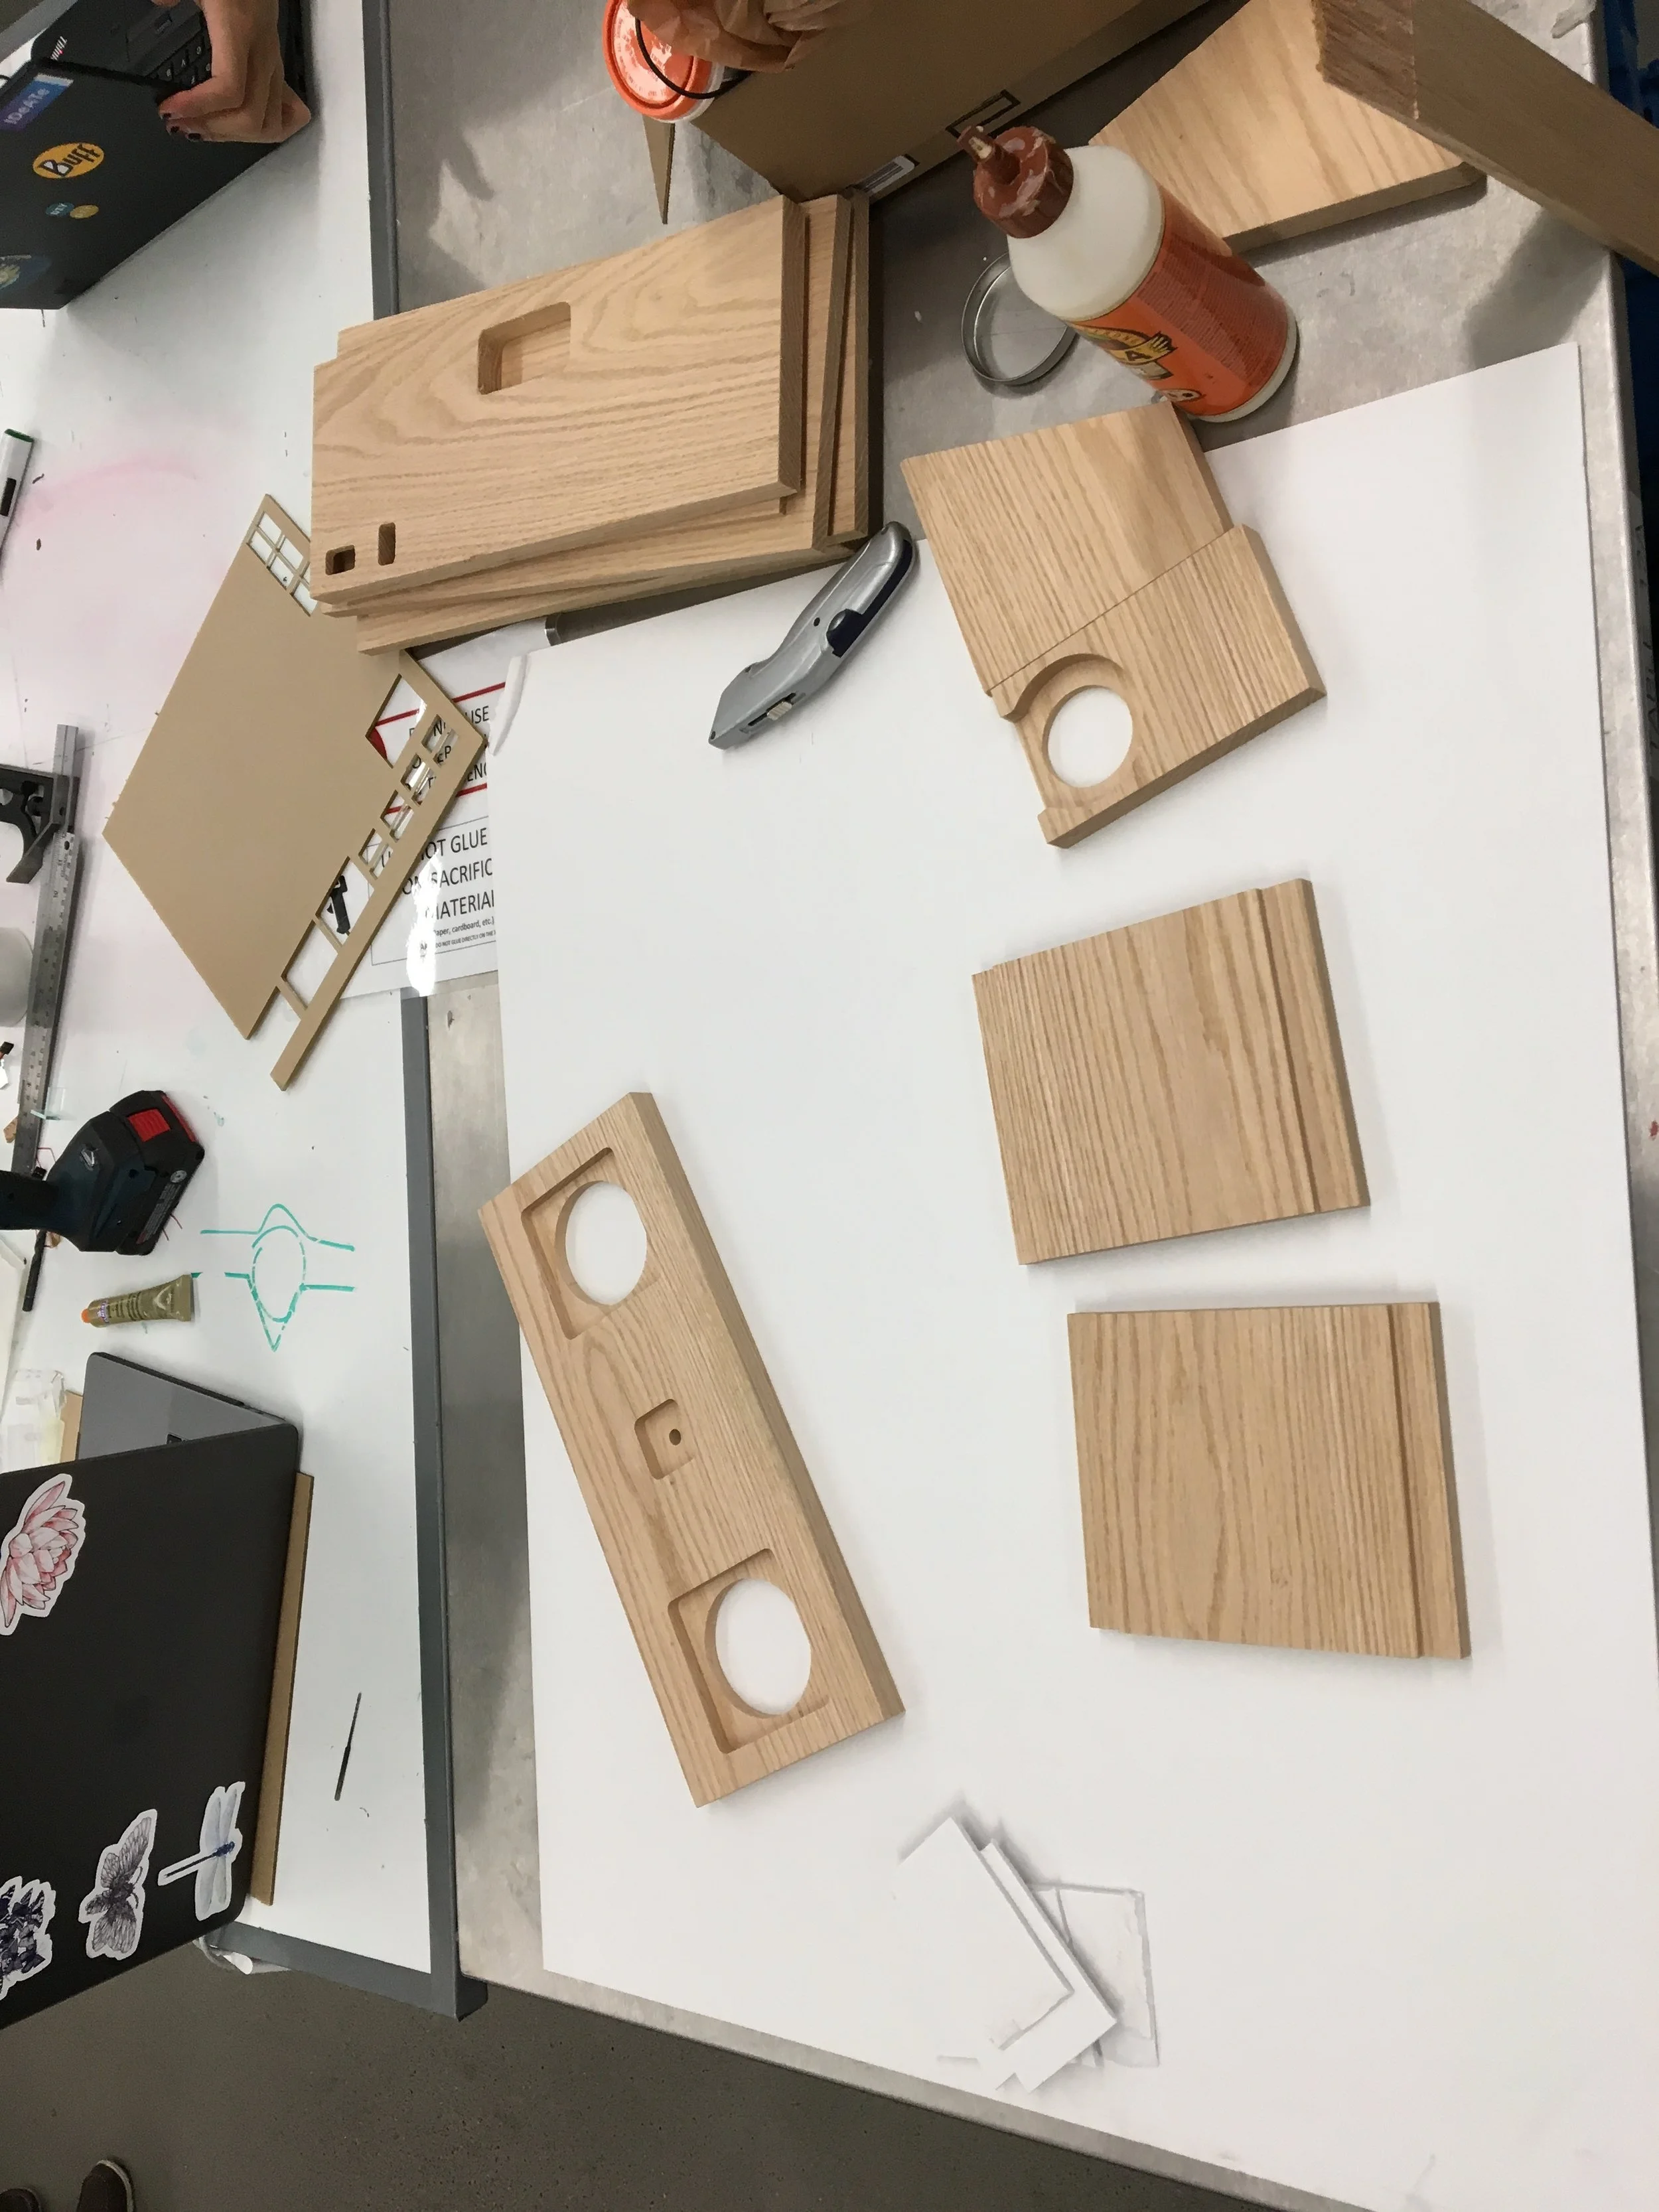
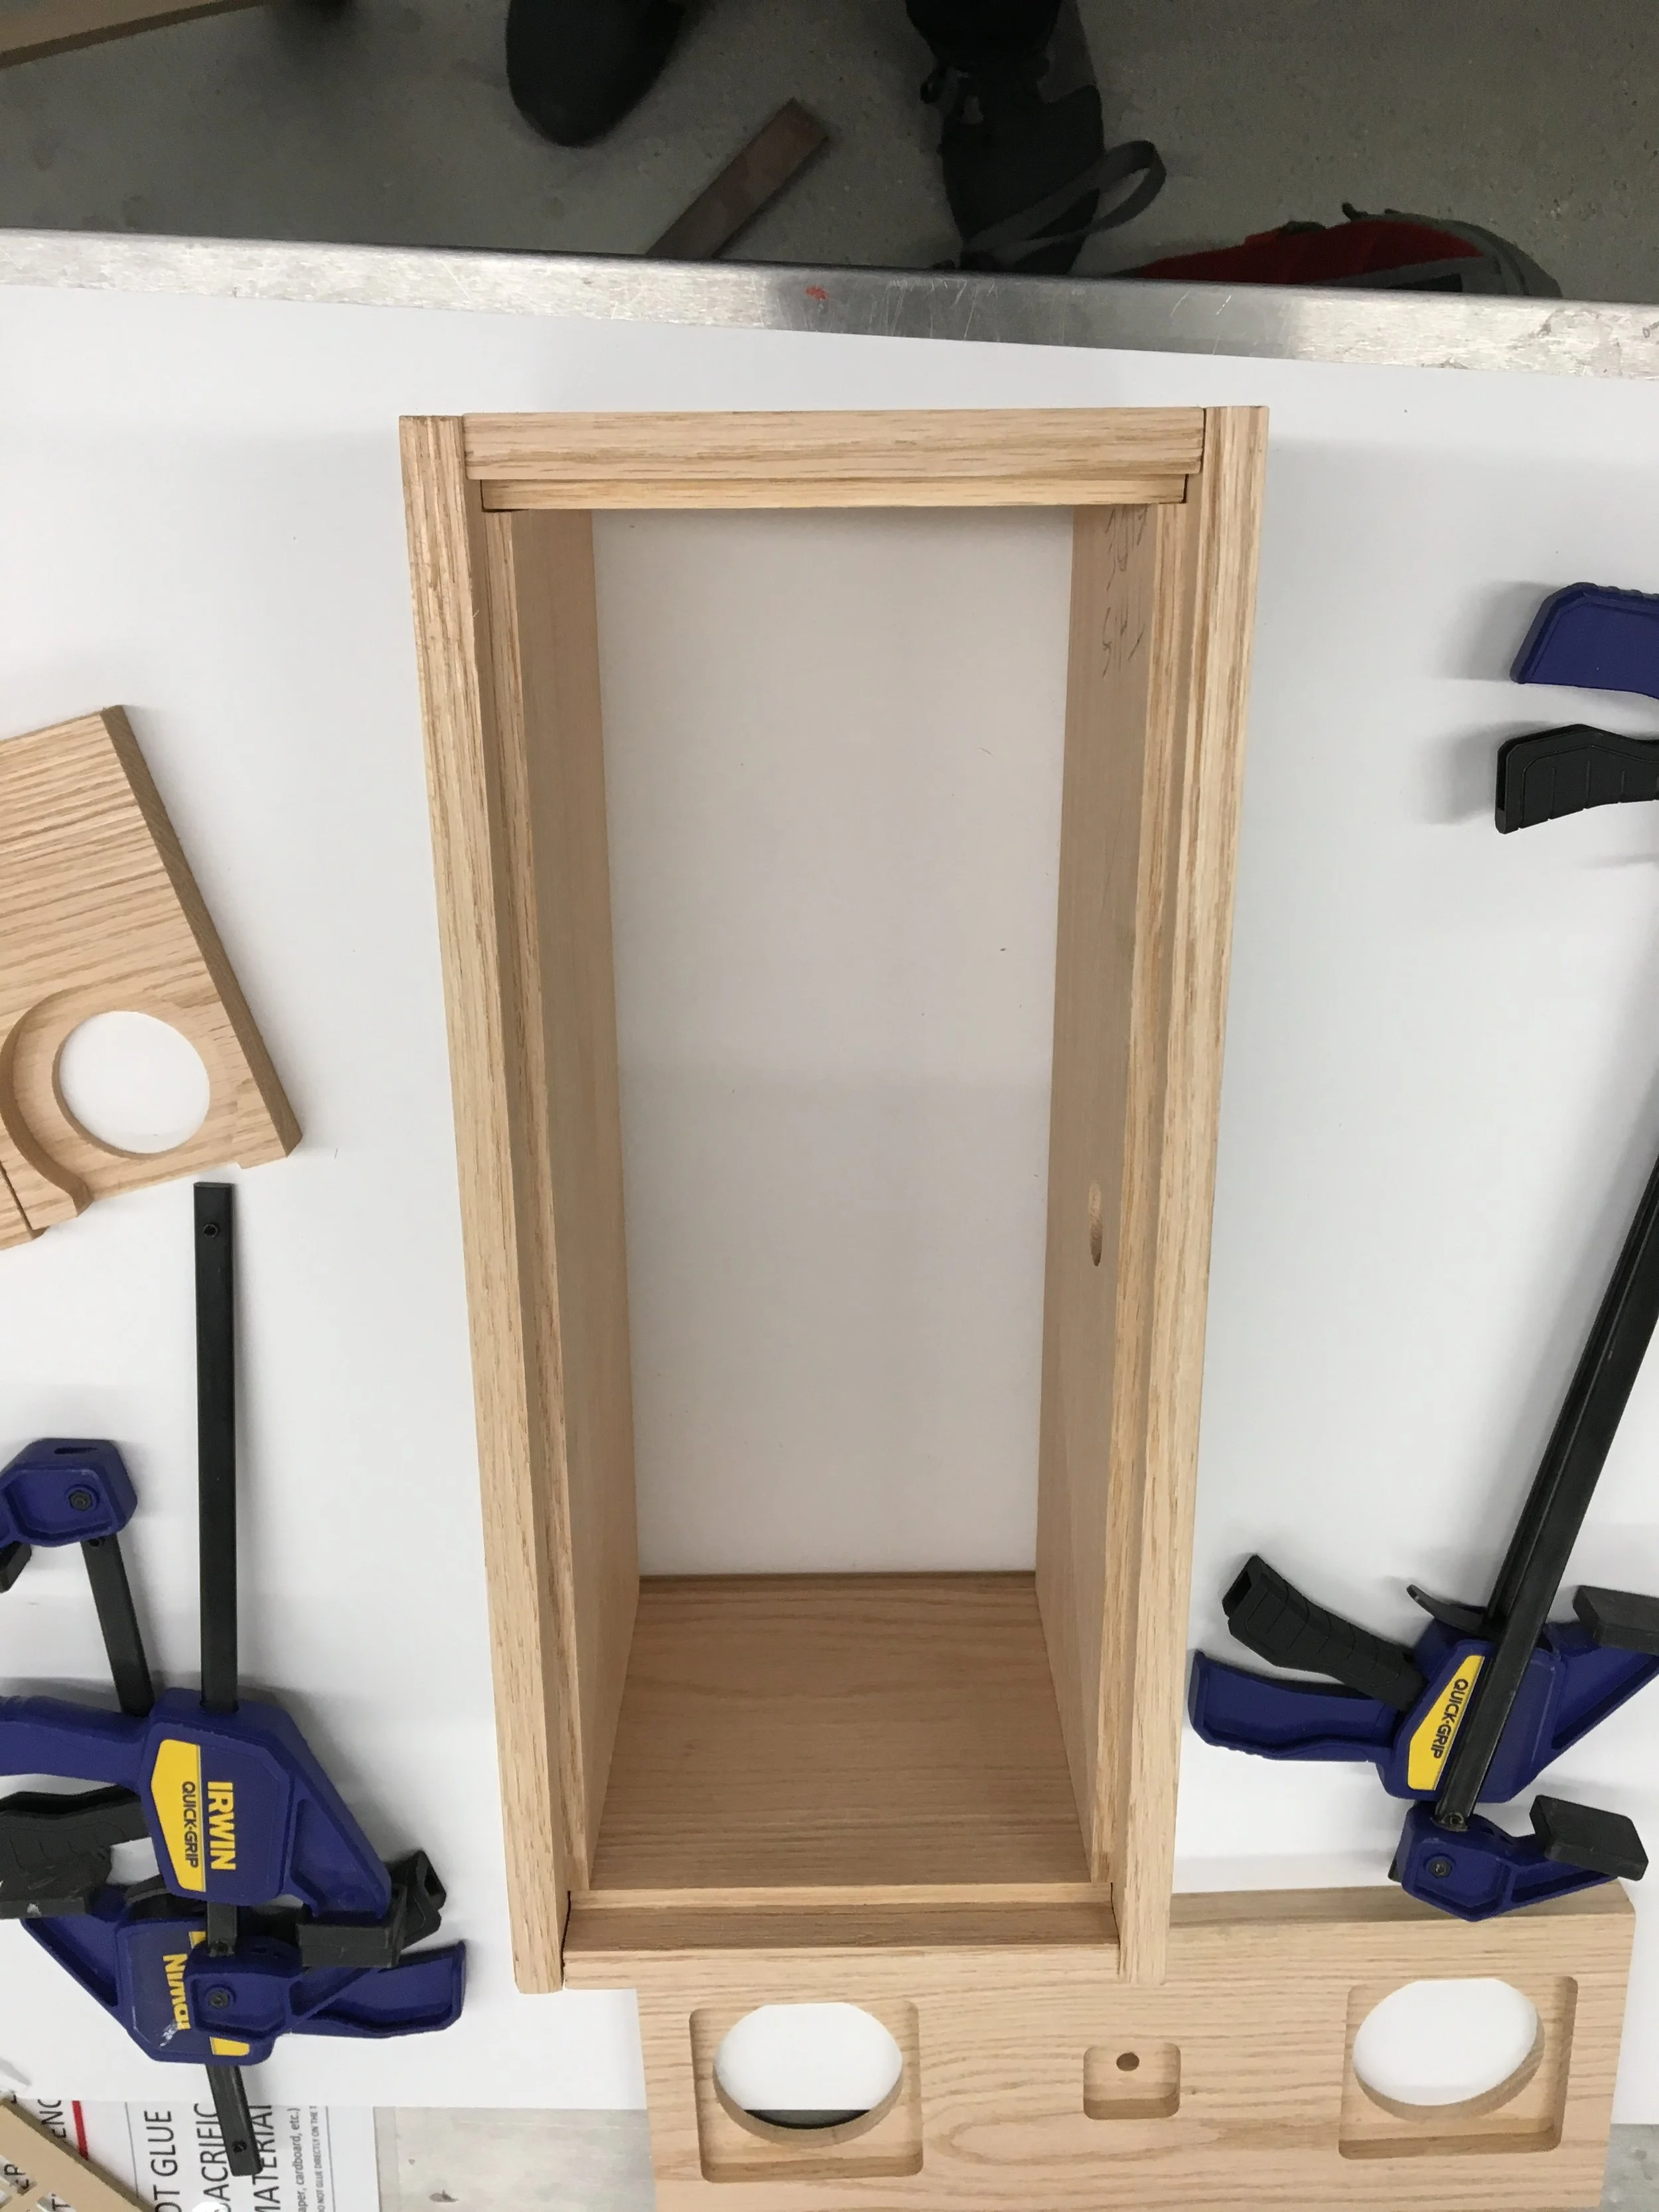
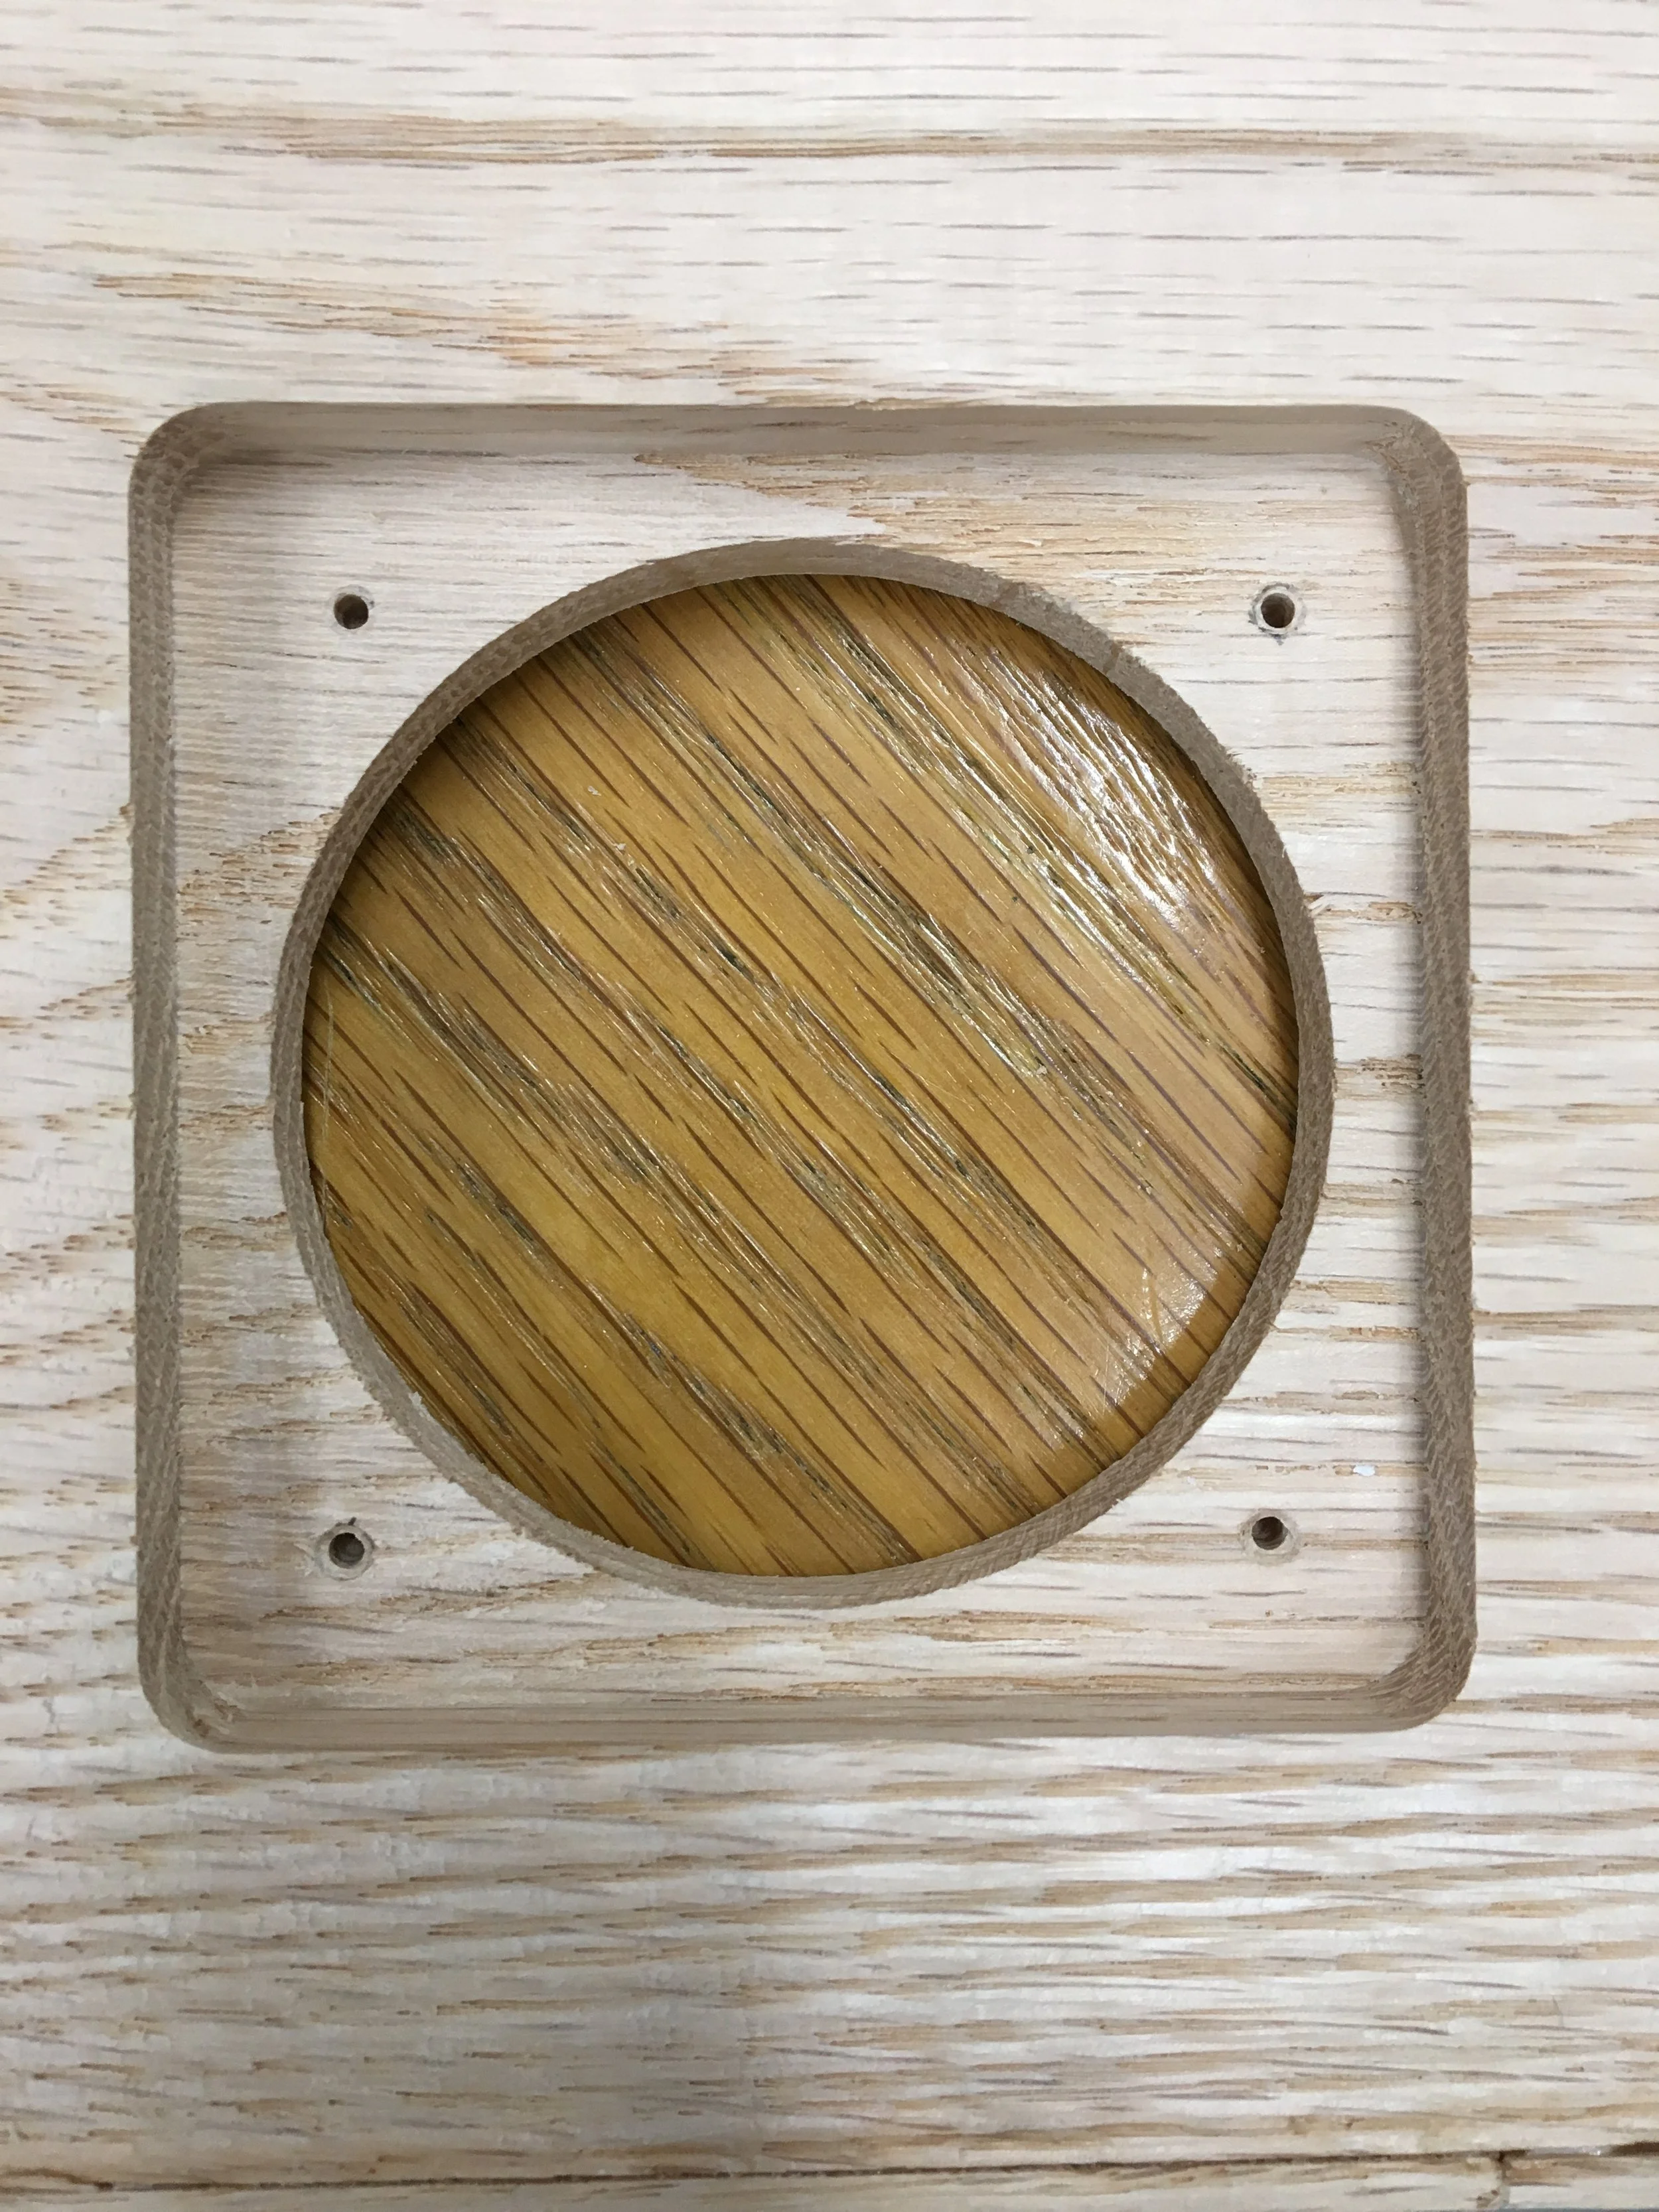
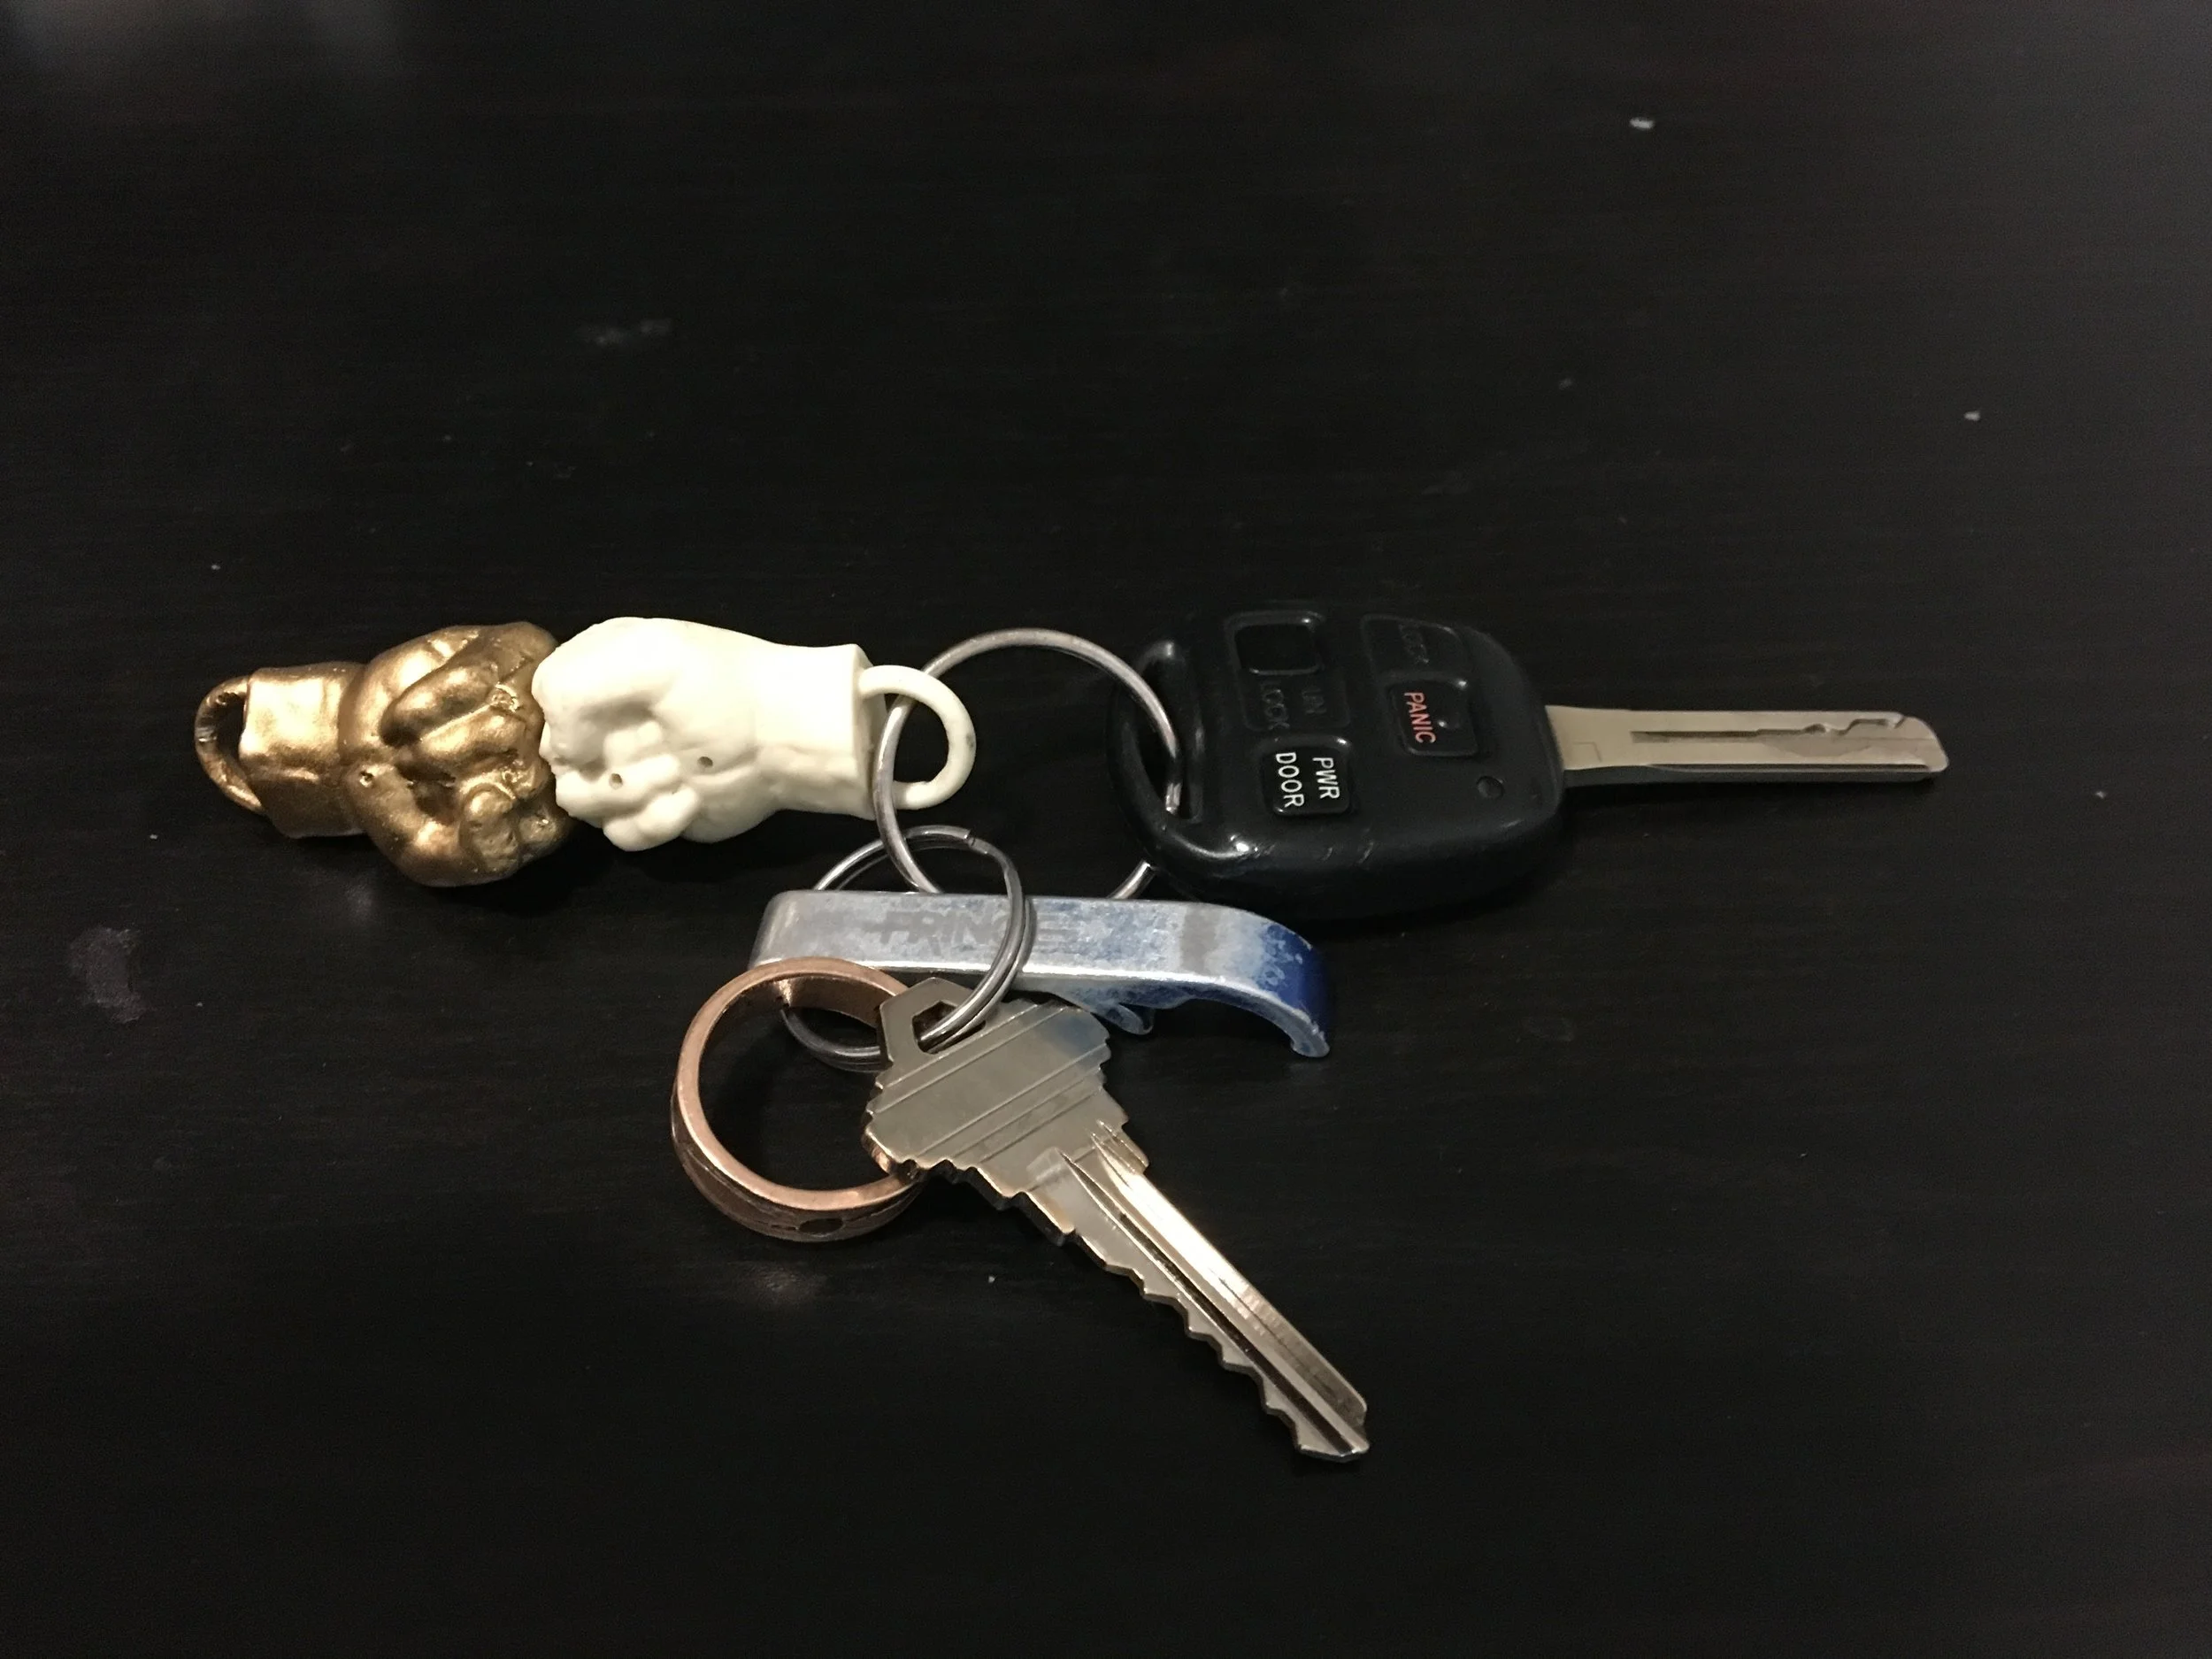
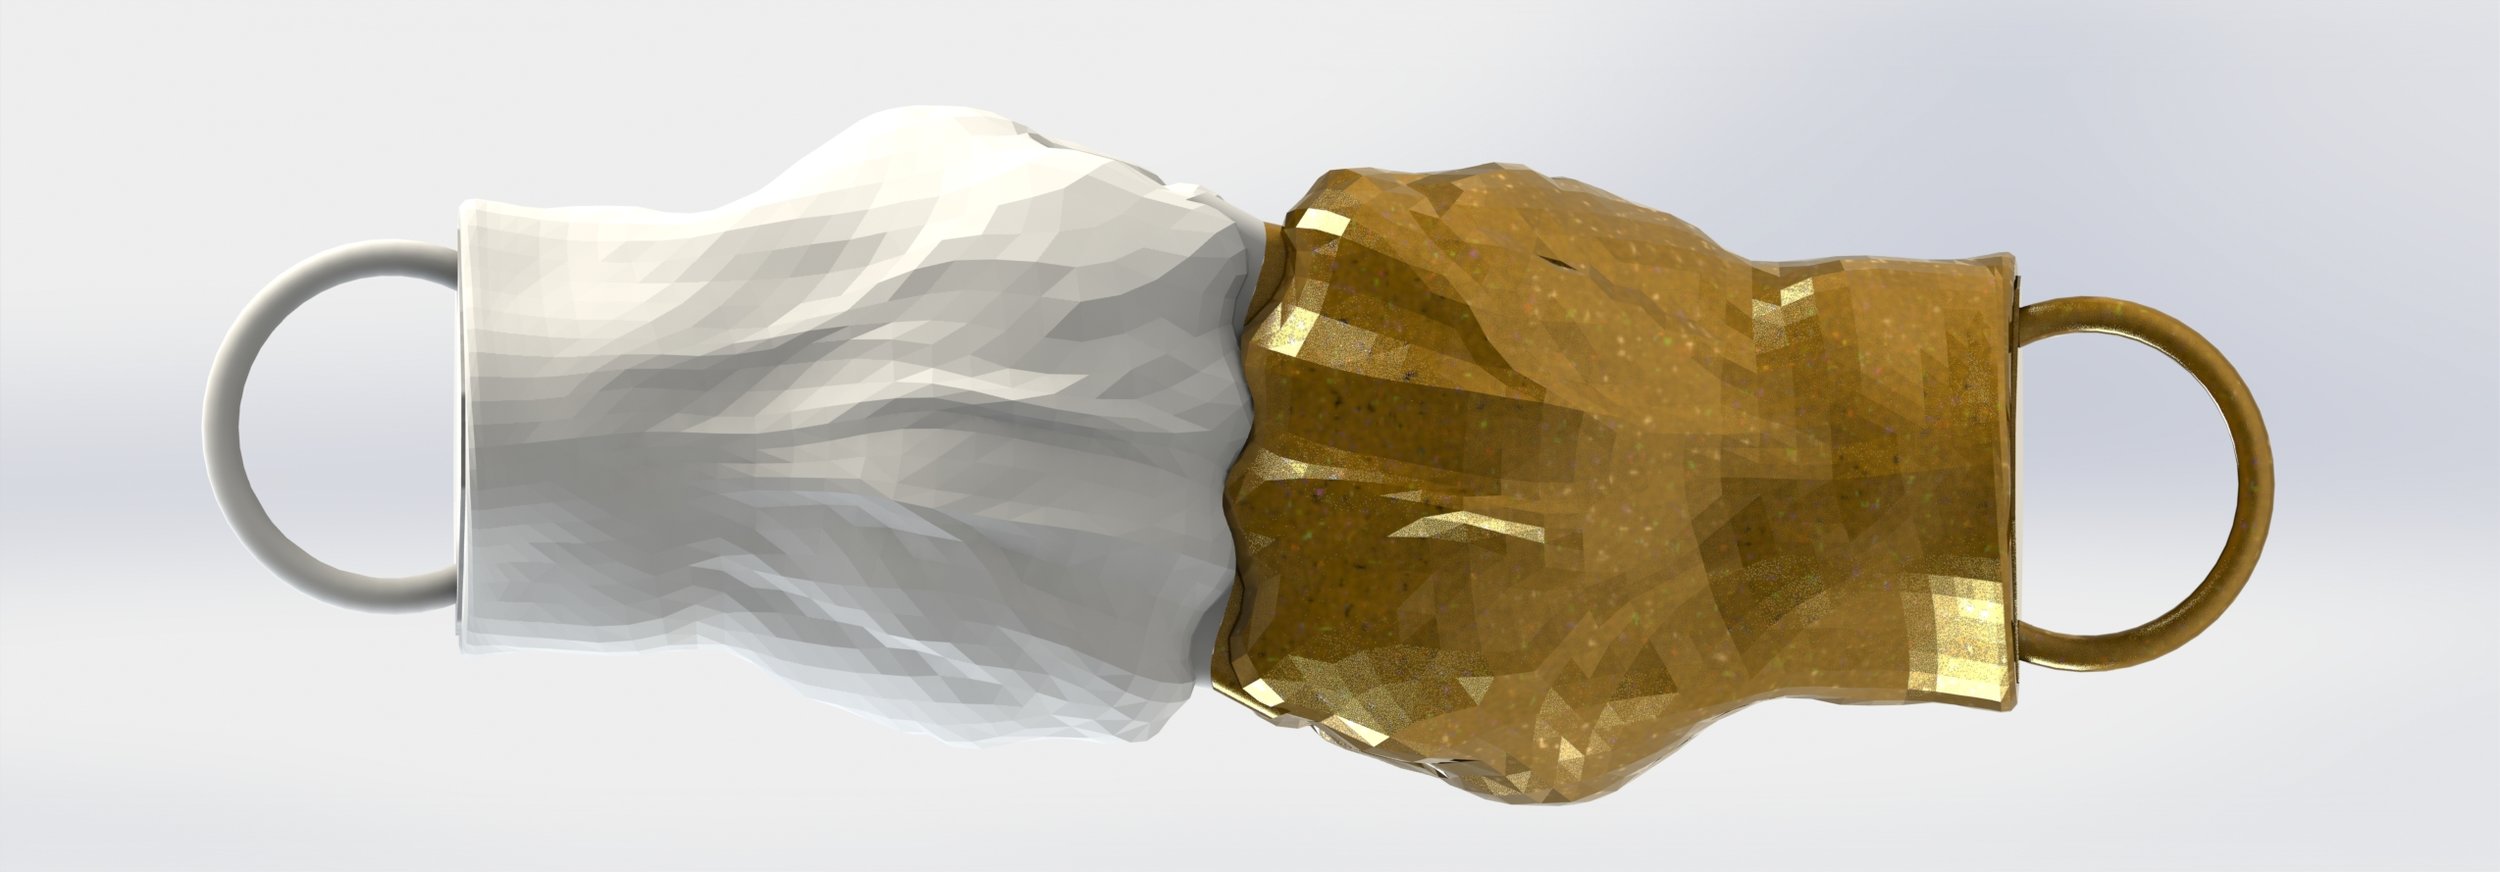
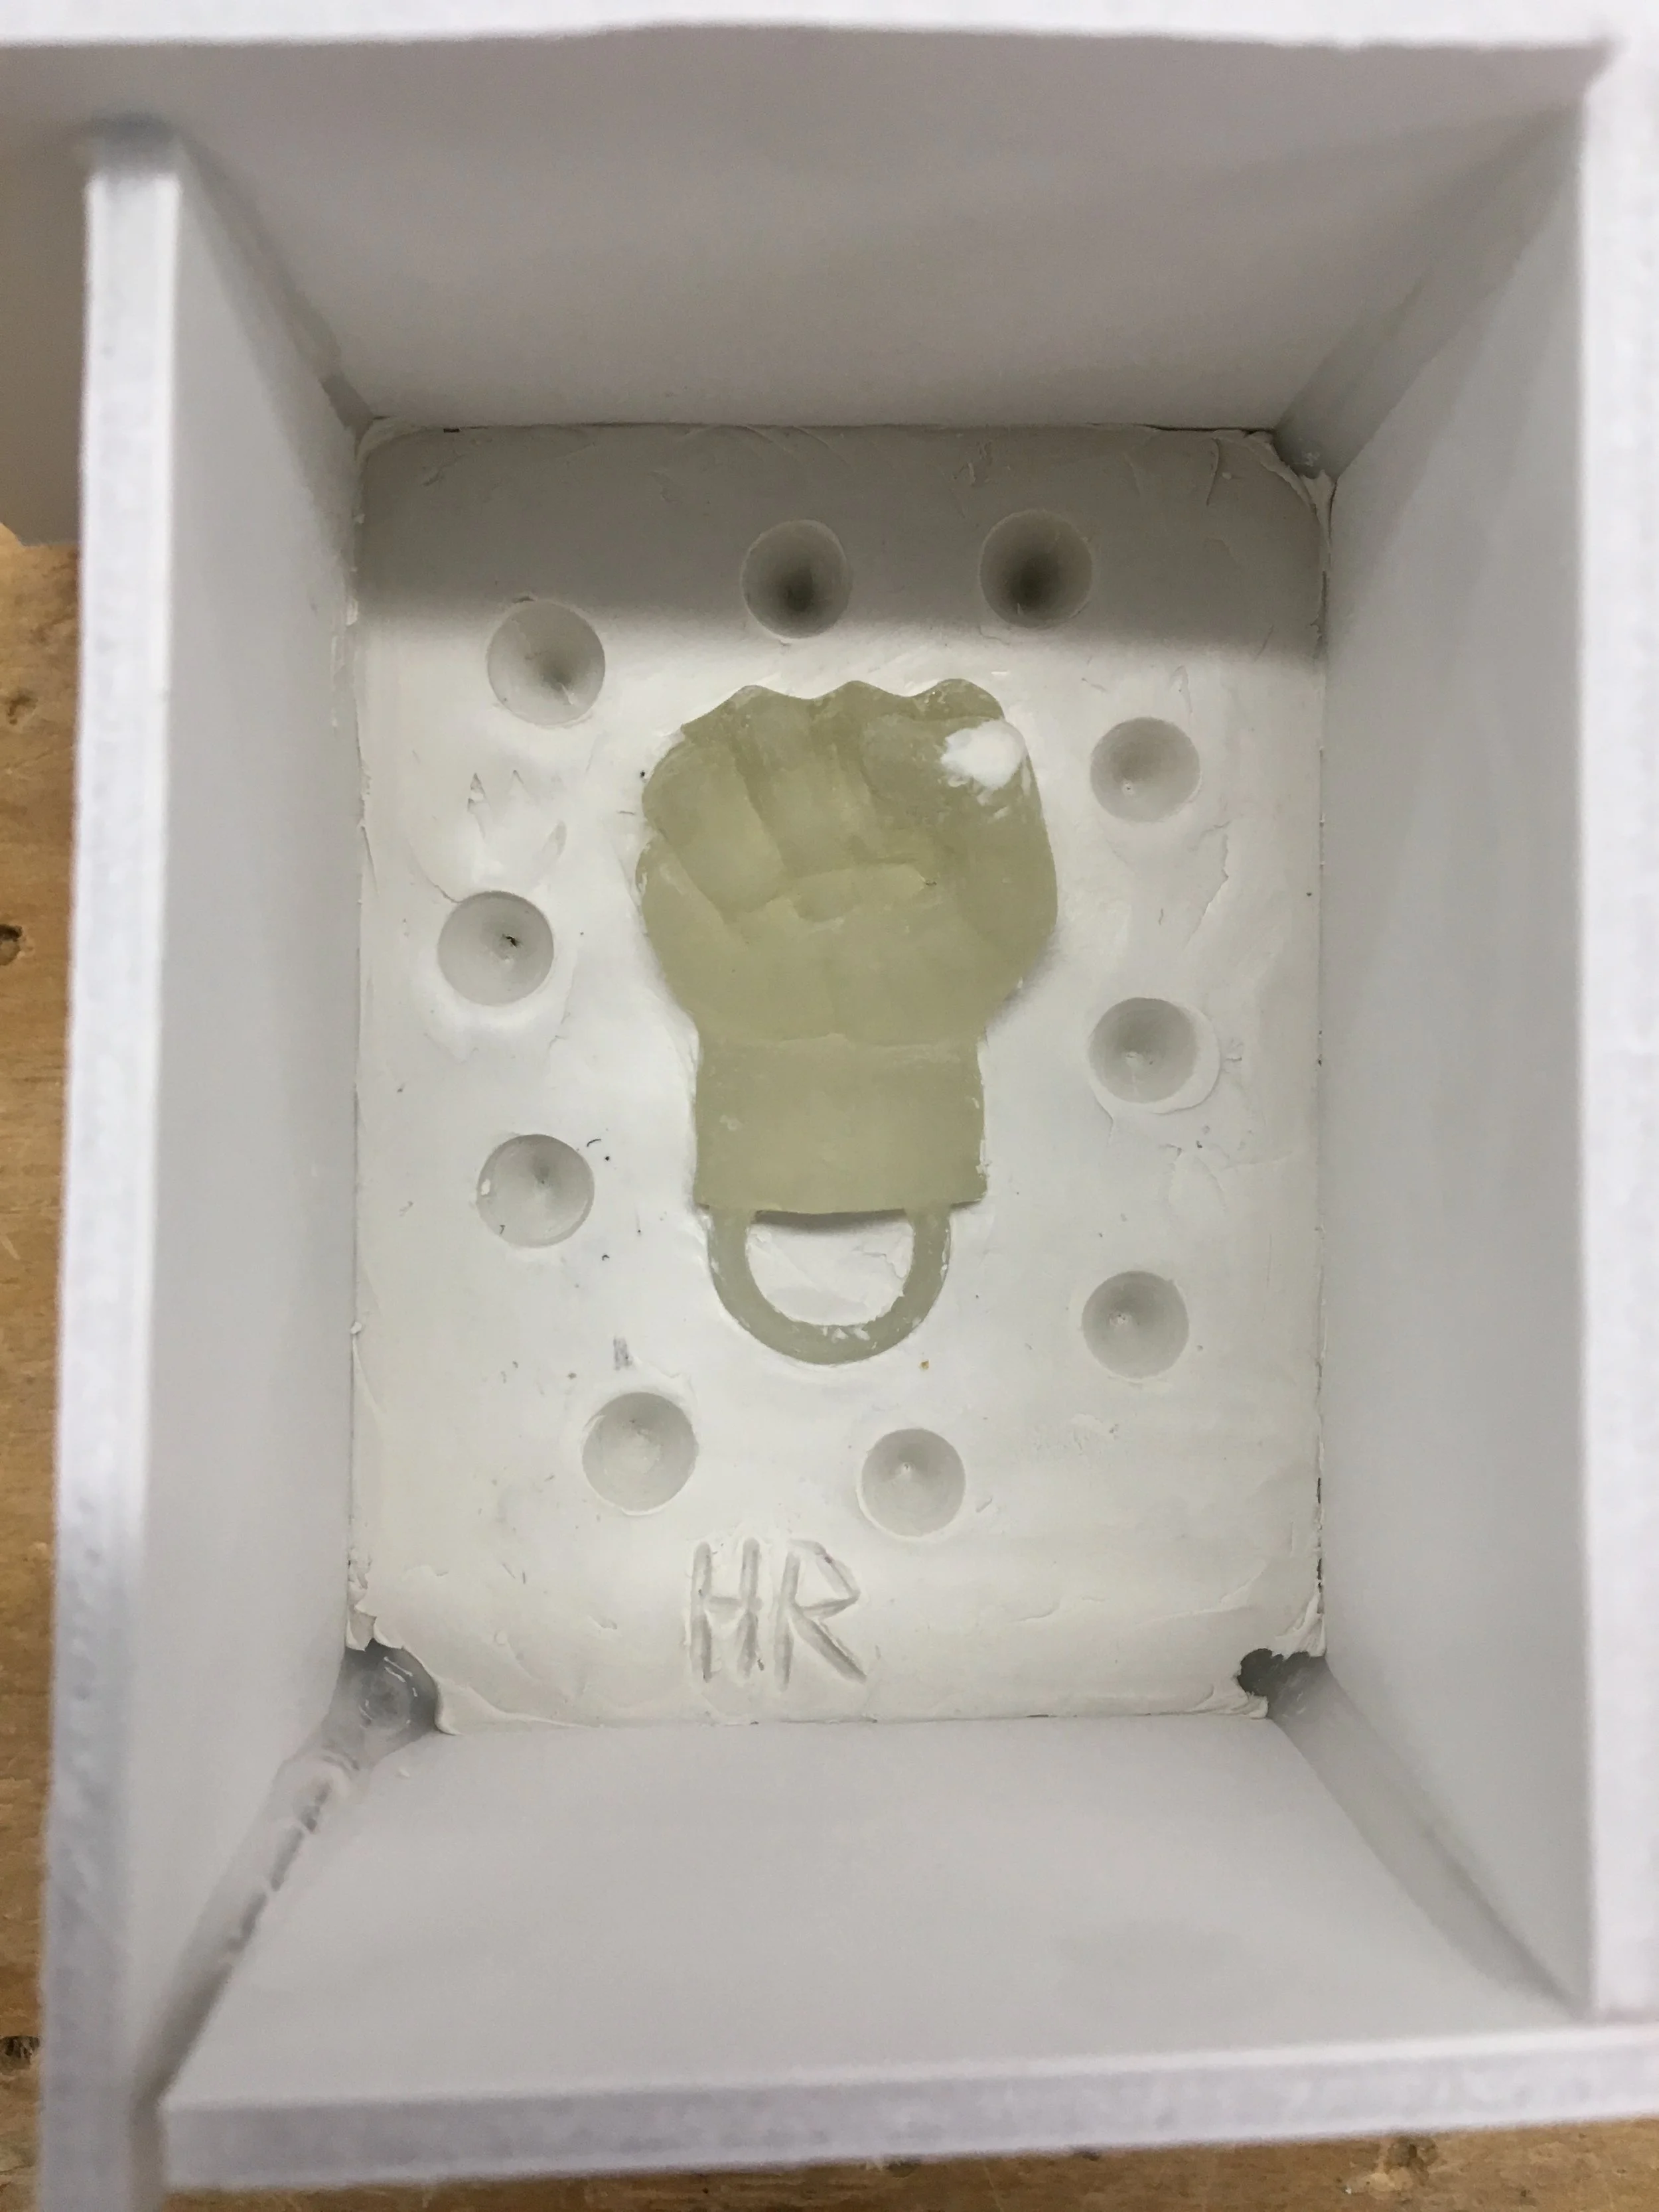
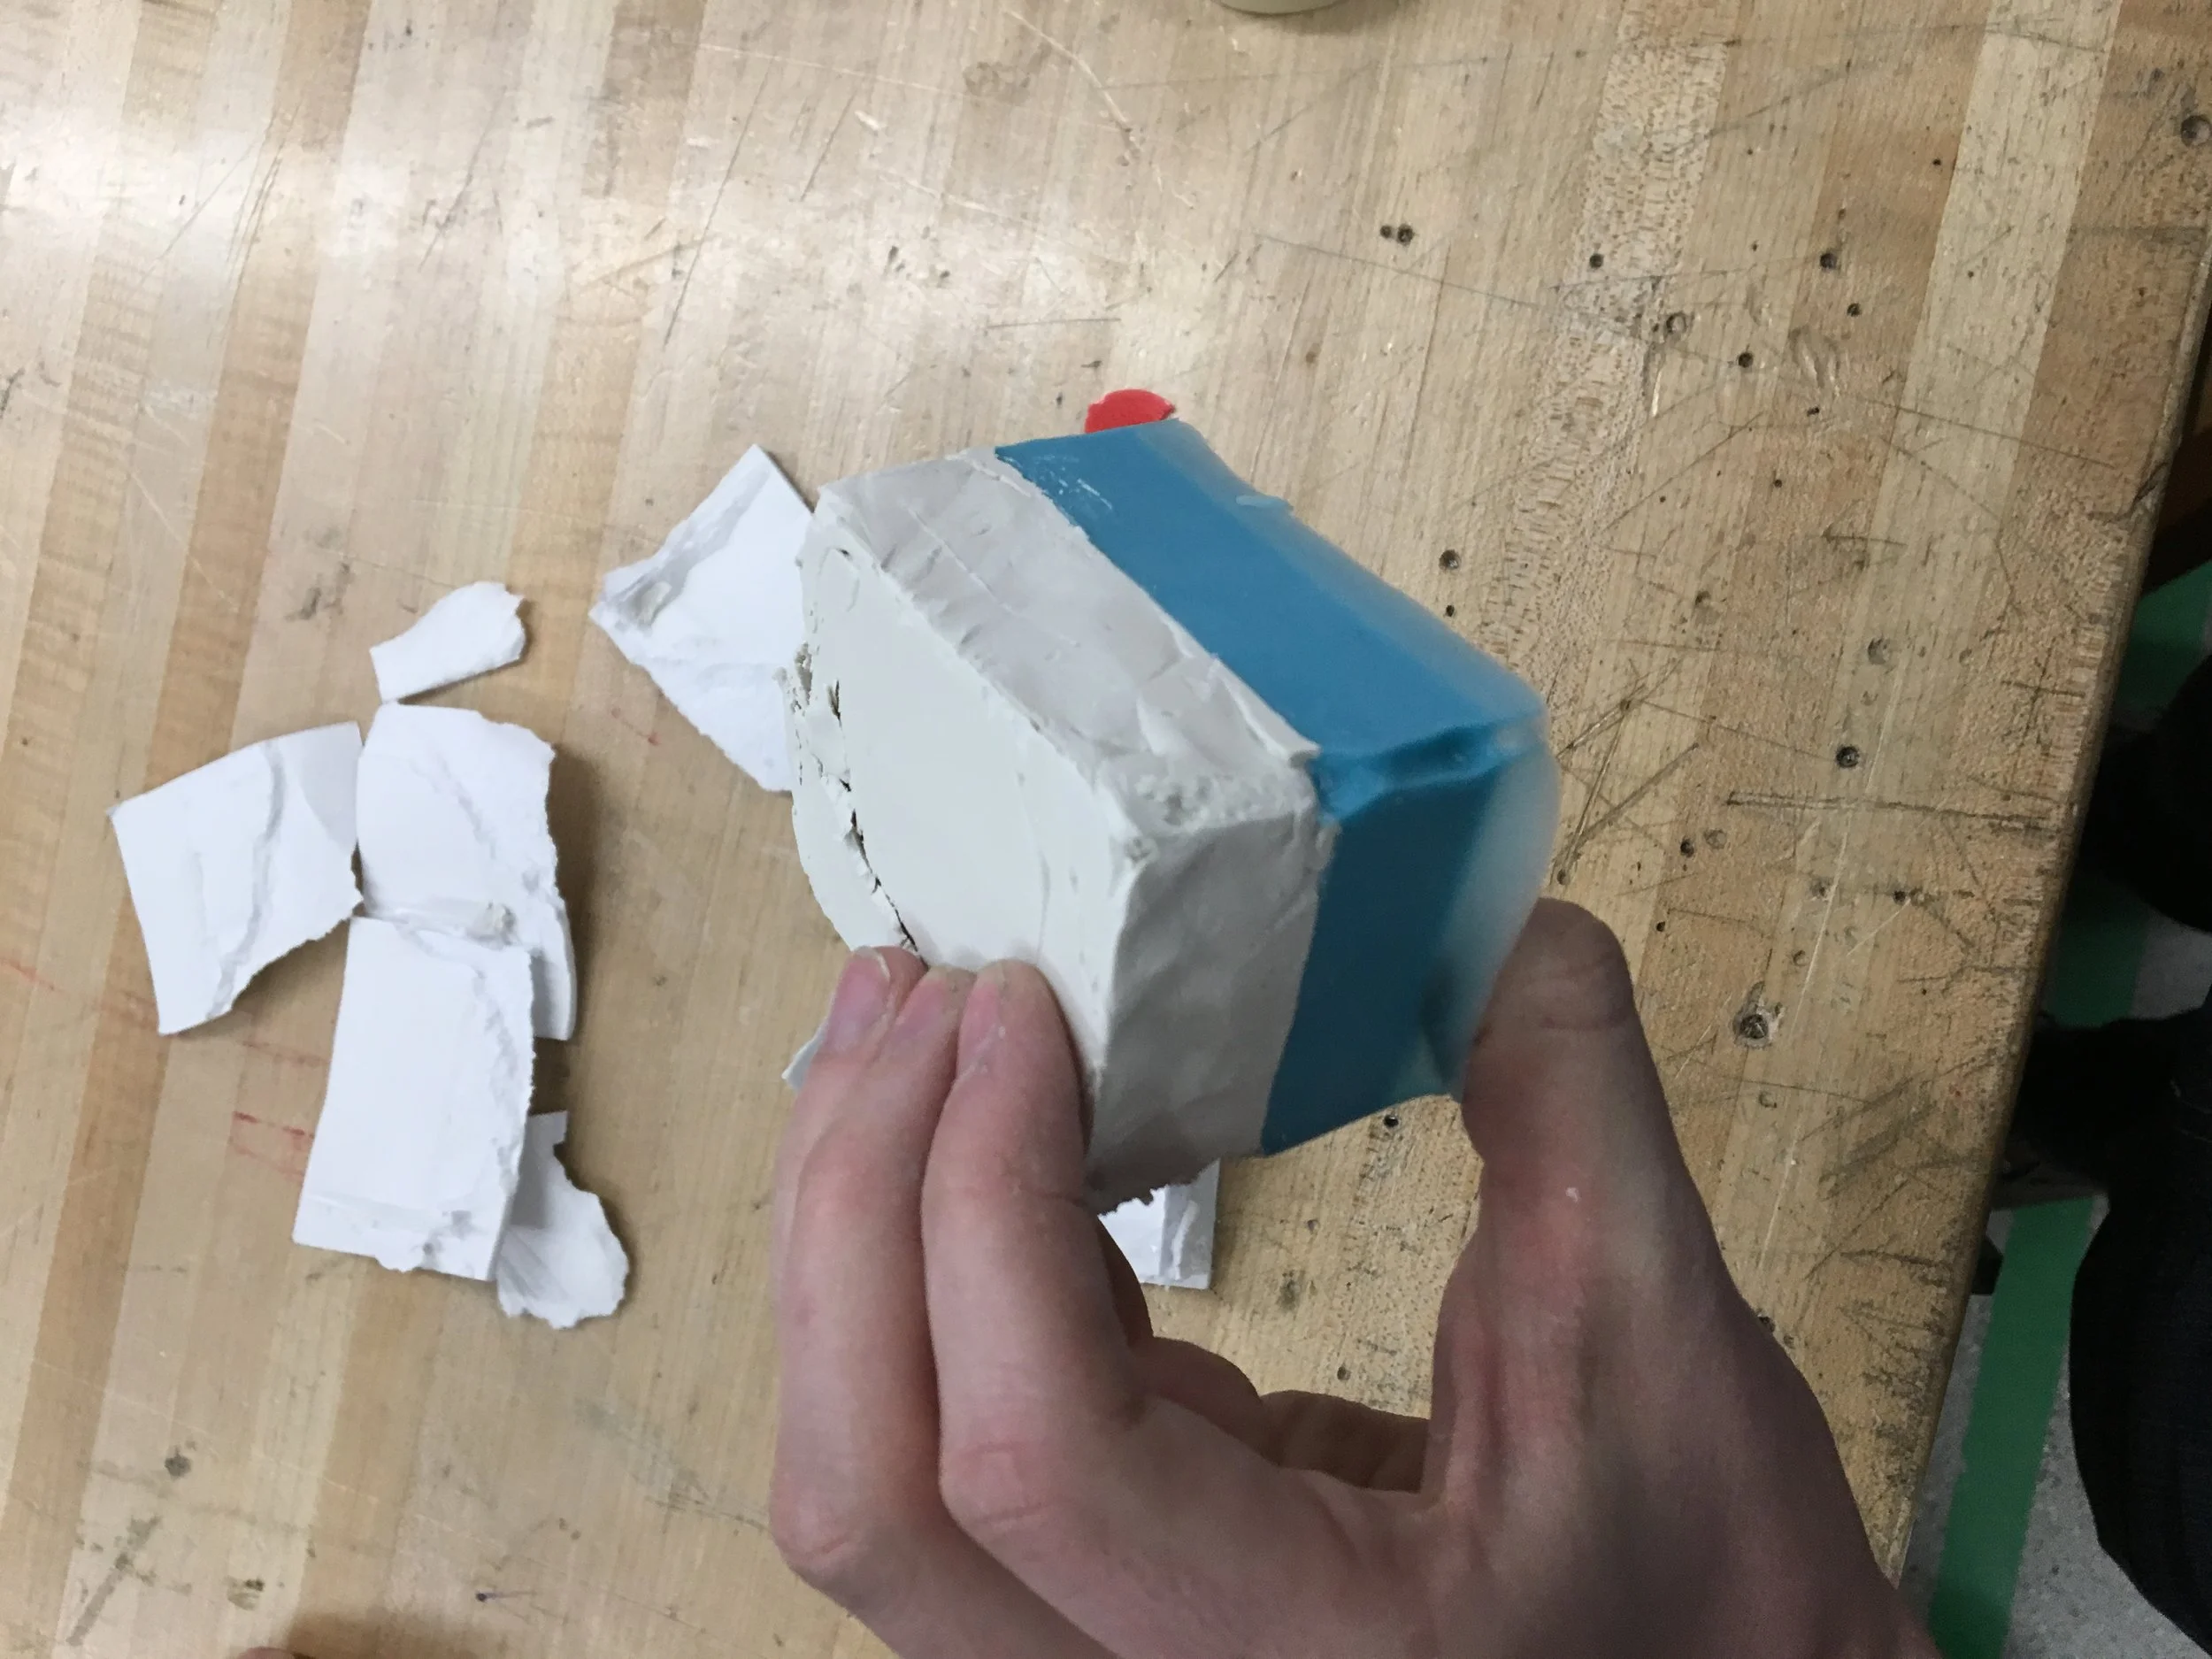
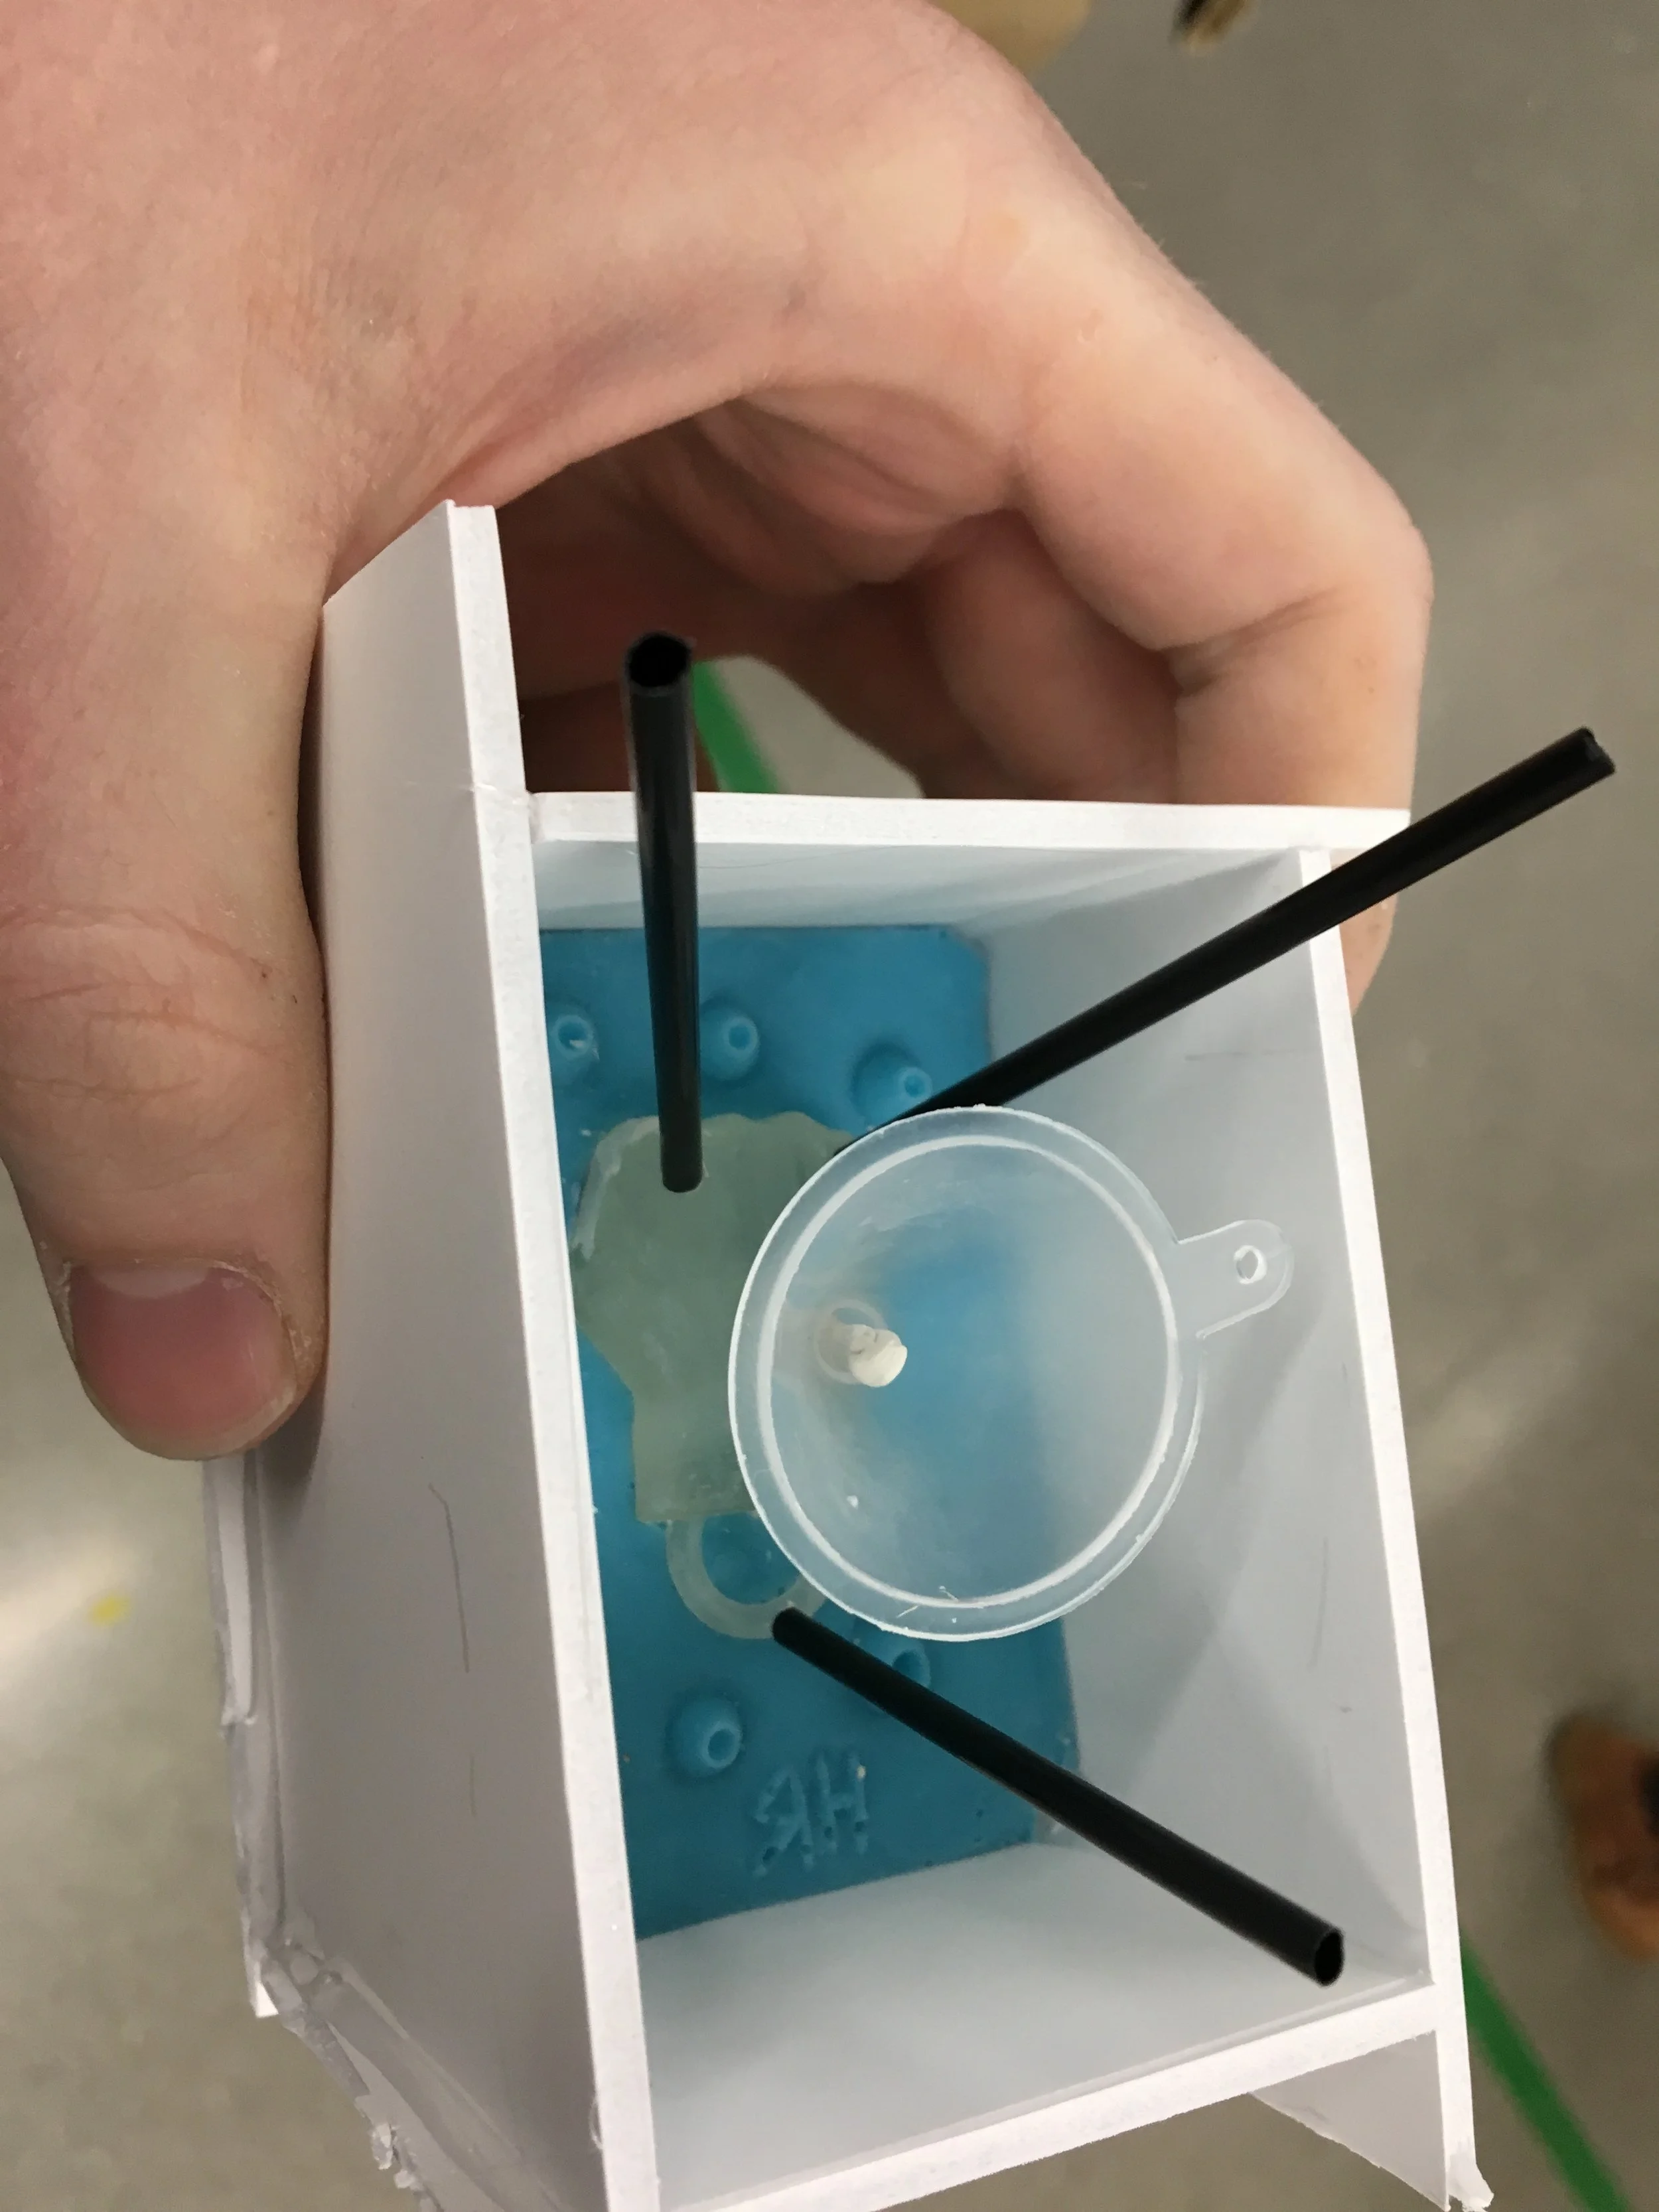
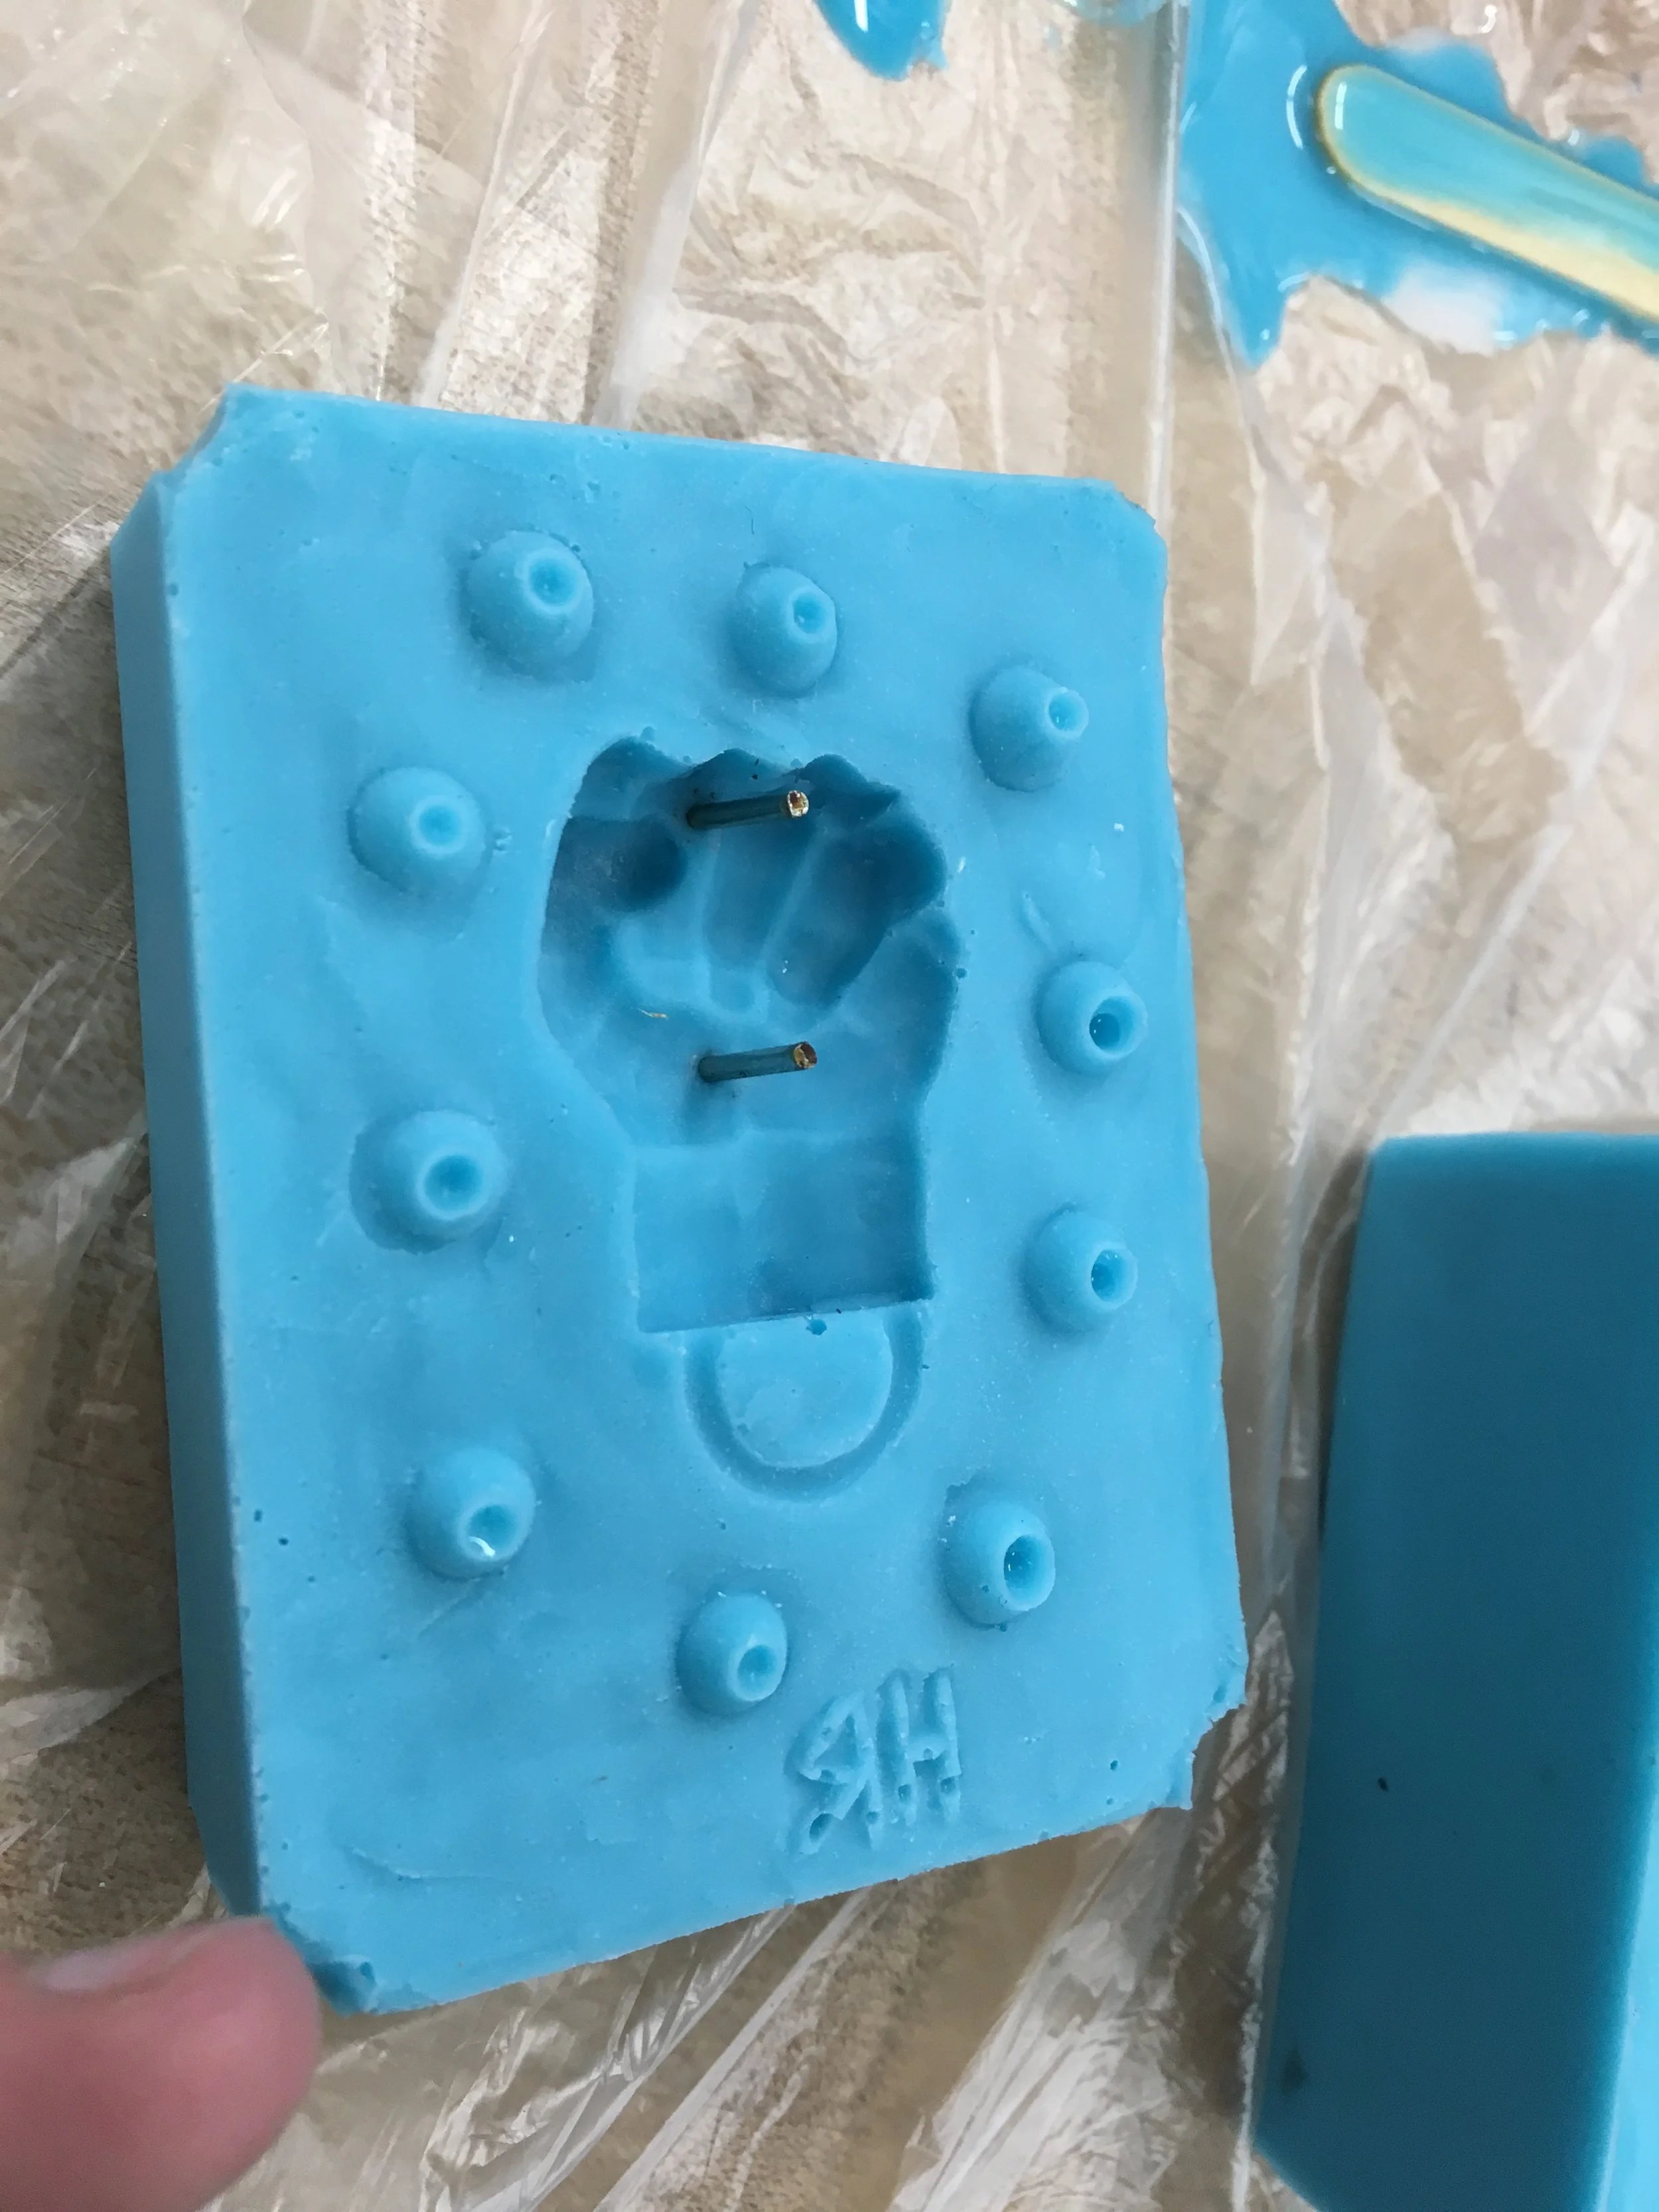
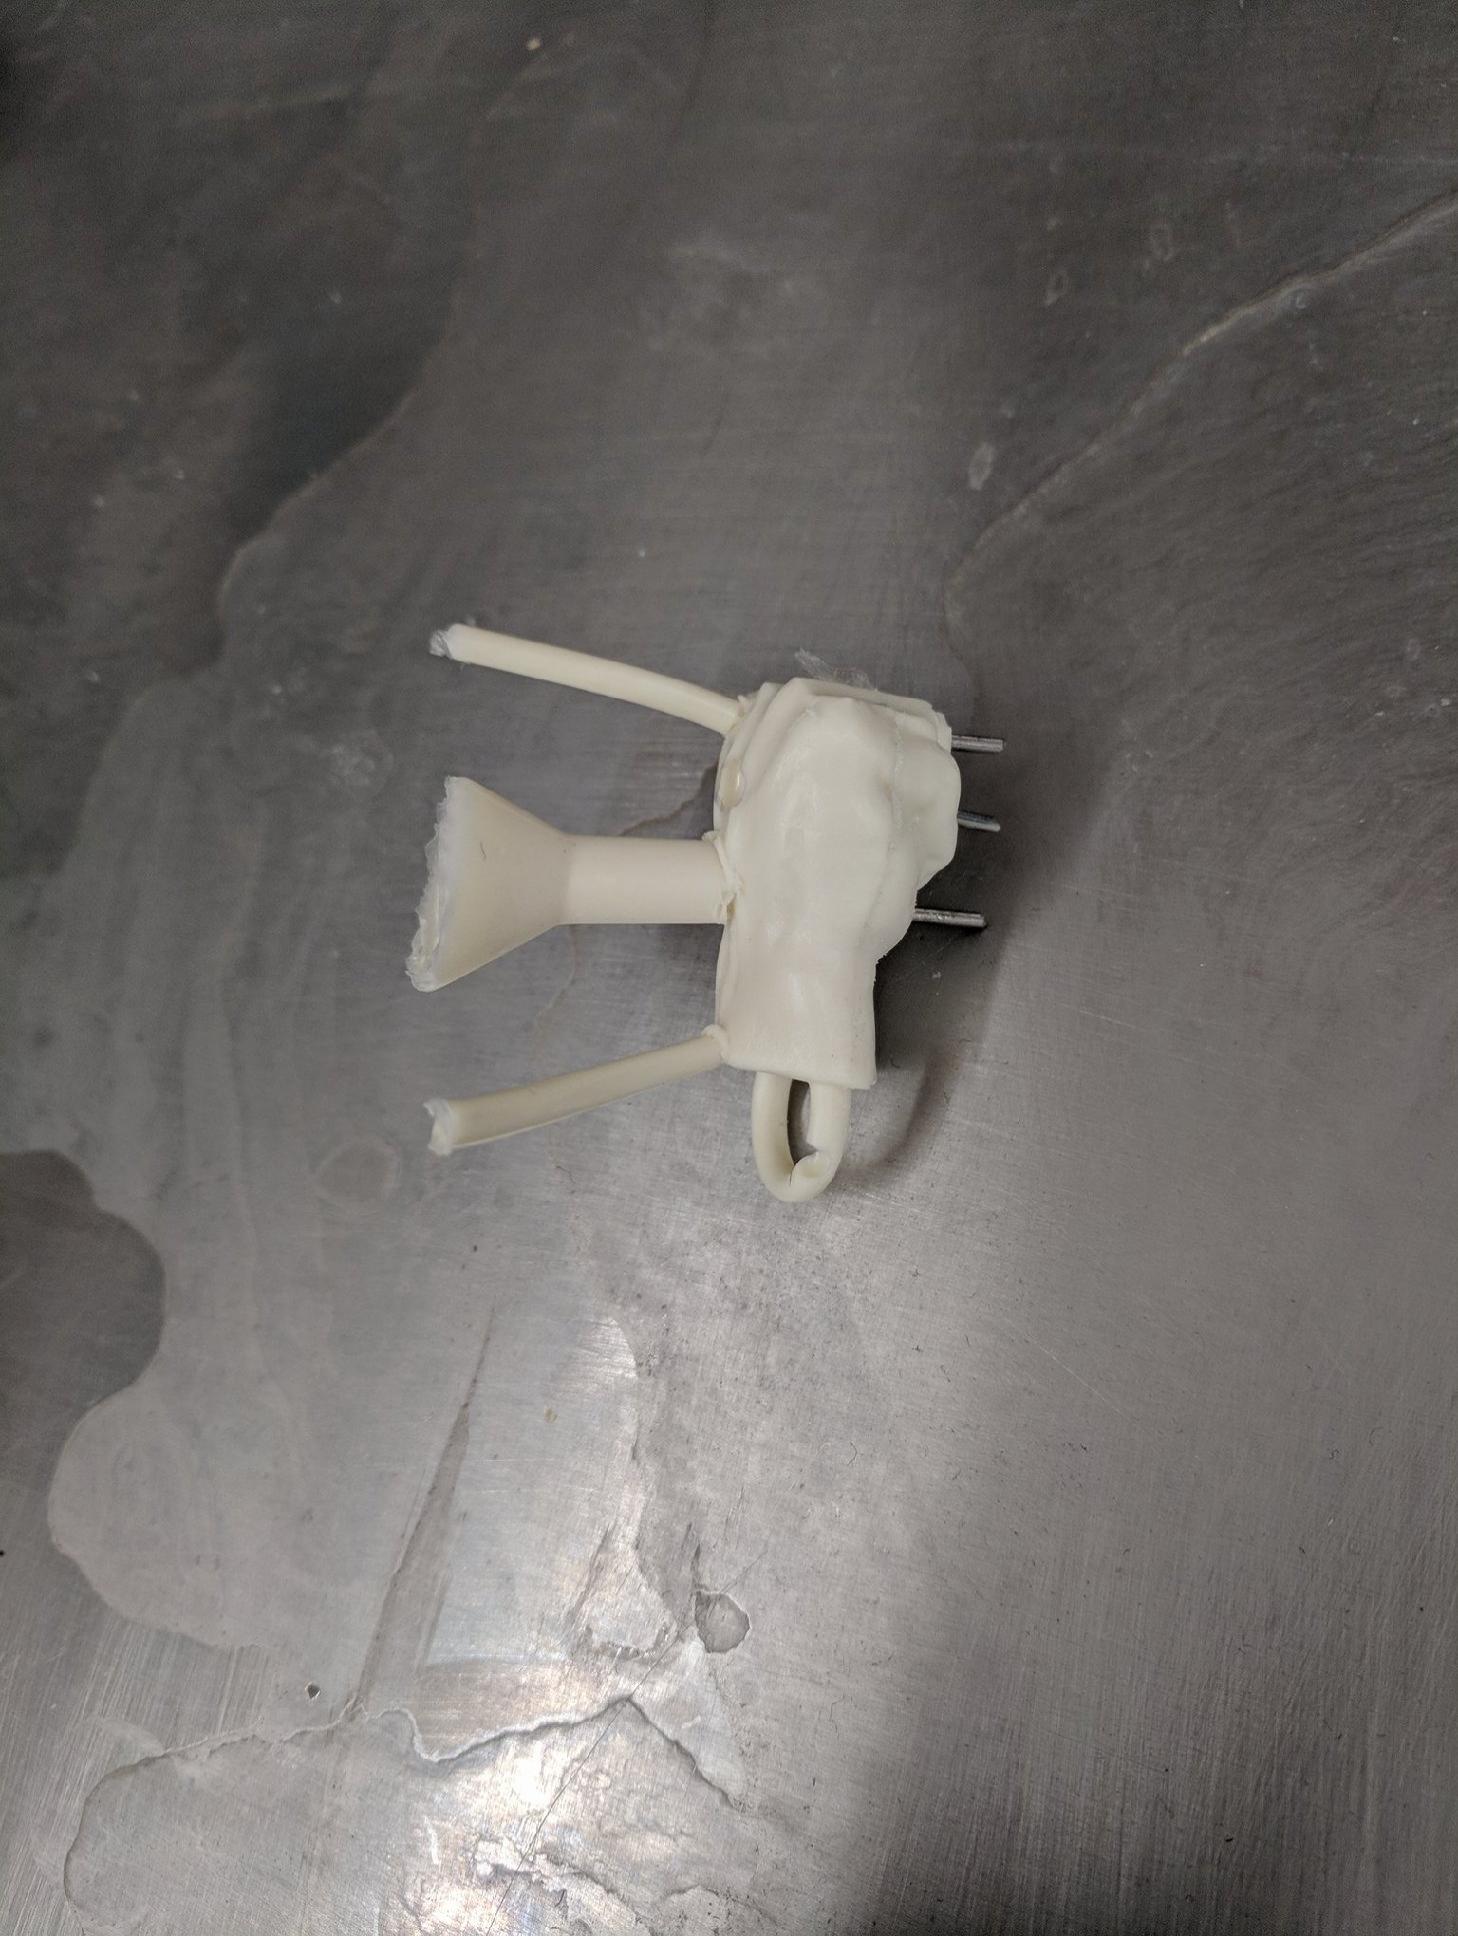
The main challenges of this project were miniaturization, waterproofing, and pressure-proofing. Miniaturization was achieved through careful component selection and use of a miniaturized Arduino Beetle. Conforming the enclosure to the battery (the largest component) helps keep the overall size to a minimum. The waterproofing and pressure proofing were achieved at the same time through the use of resin potting for the solid-state electronics and mineral oil for the moving parts. Specifically the potentiometer and the toggle button needed to be sealed from the water and the pressure while still retaining the ability to move. I chose to replace the air in the parts with mineral oil with the help of a vacuum pump. I then sealed the openings with flexible urethane.

The Electronics

The entire enclosure was designed around the electronics to allow room for each of the components as well as soldering. The circuit was designed, tested, and simplified using a breadboard. This video shows the functionality of the complete circuit.

Despite my best efforts, the space for soldering was small and I accidentally shorted our circuit board using the tip of my soldering iron. Due to time constraints we were not able to replace the circuit board and fully troubleshoot the problem. In order to maintain primary functionality of the device I bypassed the board and hardwired just the white LED through the power button.

IMG_3015.jpg
Skateboard.jpg

Project Outline

The goal of this project was to design a permanent mold cast aluminum skateboard deck (engineering drawing shown on the left) as well as create a functional prototype from another material to showcase our design. My teammate Nalini and I used this opportunity to create a board that is not only extremely functional but also grabs some attention with it’s interesting design. We chose to make the deck pennyboard sized so that it would be easier to transport around campus and take to class. Our wood lamination and vacuum press methodology allowed us to achieve a compound curve for the kick-tail and maintain sufficient strength and flexibility to make the skateboard ride smoothly.

IMG_1974 (1).png
IMG_1976.png

Project Outline

This final project for DIY Design and Fabrication was completely open-ended. I chose to make a bluetooth speaker with a visually reactive laser. The whole system is completely analog and the reactive laser patterns are generated by a mirror mounted on a flexible membrane. As the air cavity vibrates with the music, the mirror resonates and generates different patterns depending on the frequency and the beat. The speaker enclosure was made from 3/4in oak and shaped on a CNC router.

IMG_1251.jpeg
IMG_1244.jpeg

Project Outline

The goal of this project was to create a lamp entirely from paper products (except for the bulb) without any adhesives or fasteners. The challenge here was to create a robust structure with flat-packed materials and only interlocking joints. I modeled the whole structure in SolidWorks with parametric values for all of the joints. This enabled me to adjust the size of slots very easily on each iteration in order to get the friction fits tight.

The design was inspired by an astronomy theme. The stars on the side of the lamp as well as the planet on the front are meant to emulate the objects seen through a telescope. In addition, the holes cast star patterns on the wall when the bulb is lit.

IMG_1862.jpeg
IMG_1807.jpg

Project Outline

The core of this project was really about the manufacturing technique. I used a 3D printed master model to form a two part silicone mold which was then used to cast the final parts. I used steel pins pushed into the silicone in order to position a magnet near the contact pad.

The theme I developed here came from the project outline. Since the goal was simply to make a keychain, I decided that I wanted a bit more functionality which lead me to the inclusion of the magnets. In order to keep the theme interesting and make the design and casting process more challenging, I chose the fist bump theme.

IMG_1135.jpeg

 Project Outline

The goal of this project was to create a cup-holder from given acrylic material without the use of adhesives. Additionally, the product needed to fit the theme of a rugged mountain adventure. This led me to the idea of a carabiner that would grip onto the cup rigidly. The primary limitations here were in the material but with the help of a thin flexible cantilever and some heat forming, the overall product is quite robust and holds the cup tightly.

IMG_20161120_184154621_HDR.jpg

Project Outline 

This actuated gripper was designed to attach to an existing arm assembly to pick up a spherical mass, withstand swinging, and return the mass to the starting position. The project additionally imposed the goal of minimum assembly weight.

My team used 10% carbon fiber reinforced PLA filament with optimized print settings for each part (low infill and skin thicknesses for low-load parts). A few of the key features include a conical worm gear to prevent back-driving and to allow much greater gripping force with low motor torque. We also employed a hollow carbon tubing frame for the claw pivots and Dycem pads for very high friction. The overall assembly mass (fasteners included) was 92 grams.