
Concept Sketch
A snapshot of the materials before they are turned into a functional lamp

Prototype 1
Materials and result of the first prototype.

Small Shade
The lamp shade rolling tabs did not work very well on the first prototype. The tab and the slots were removed on the final version to allow for easier assembly.

Bulb Installation Attempt 1
The bulb could wobble around pretty easily in version 1. This let me know that I need another spacer to keep the bulb centered and rigid.
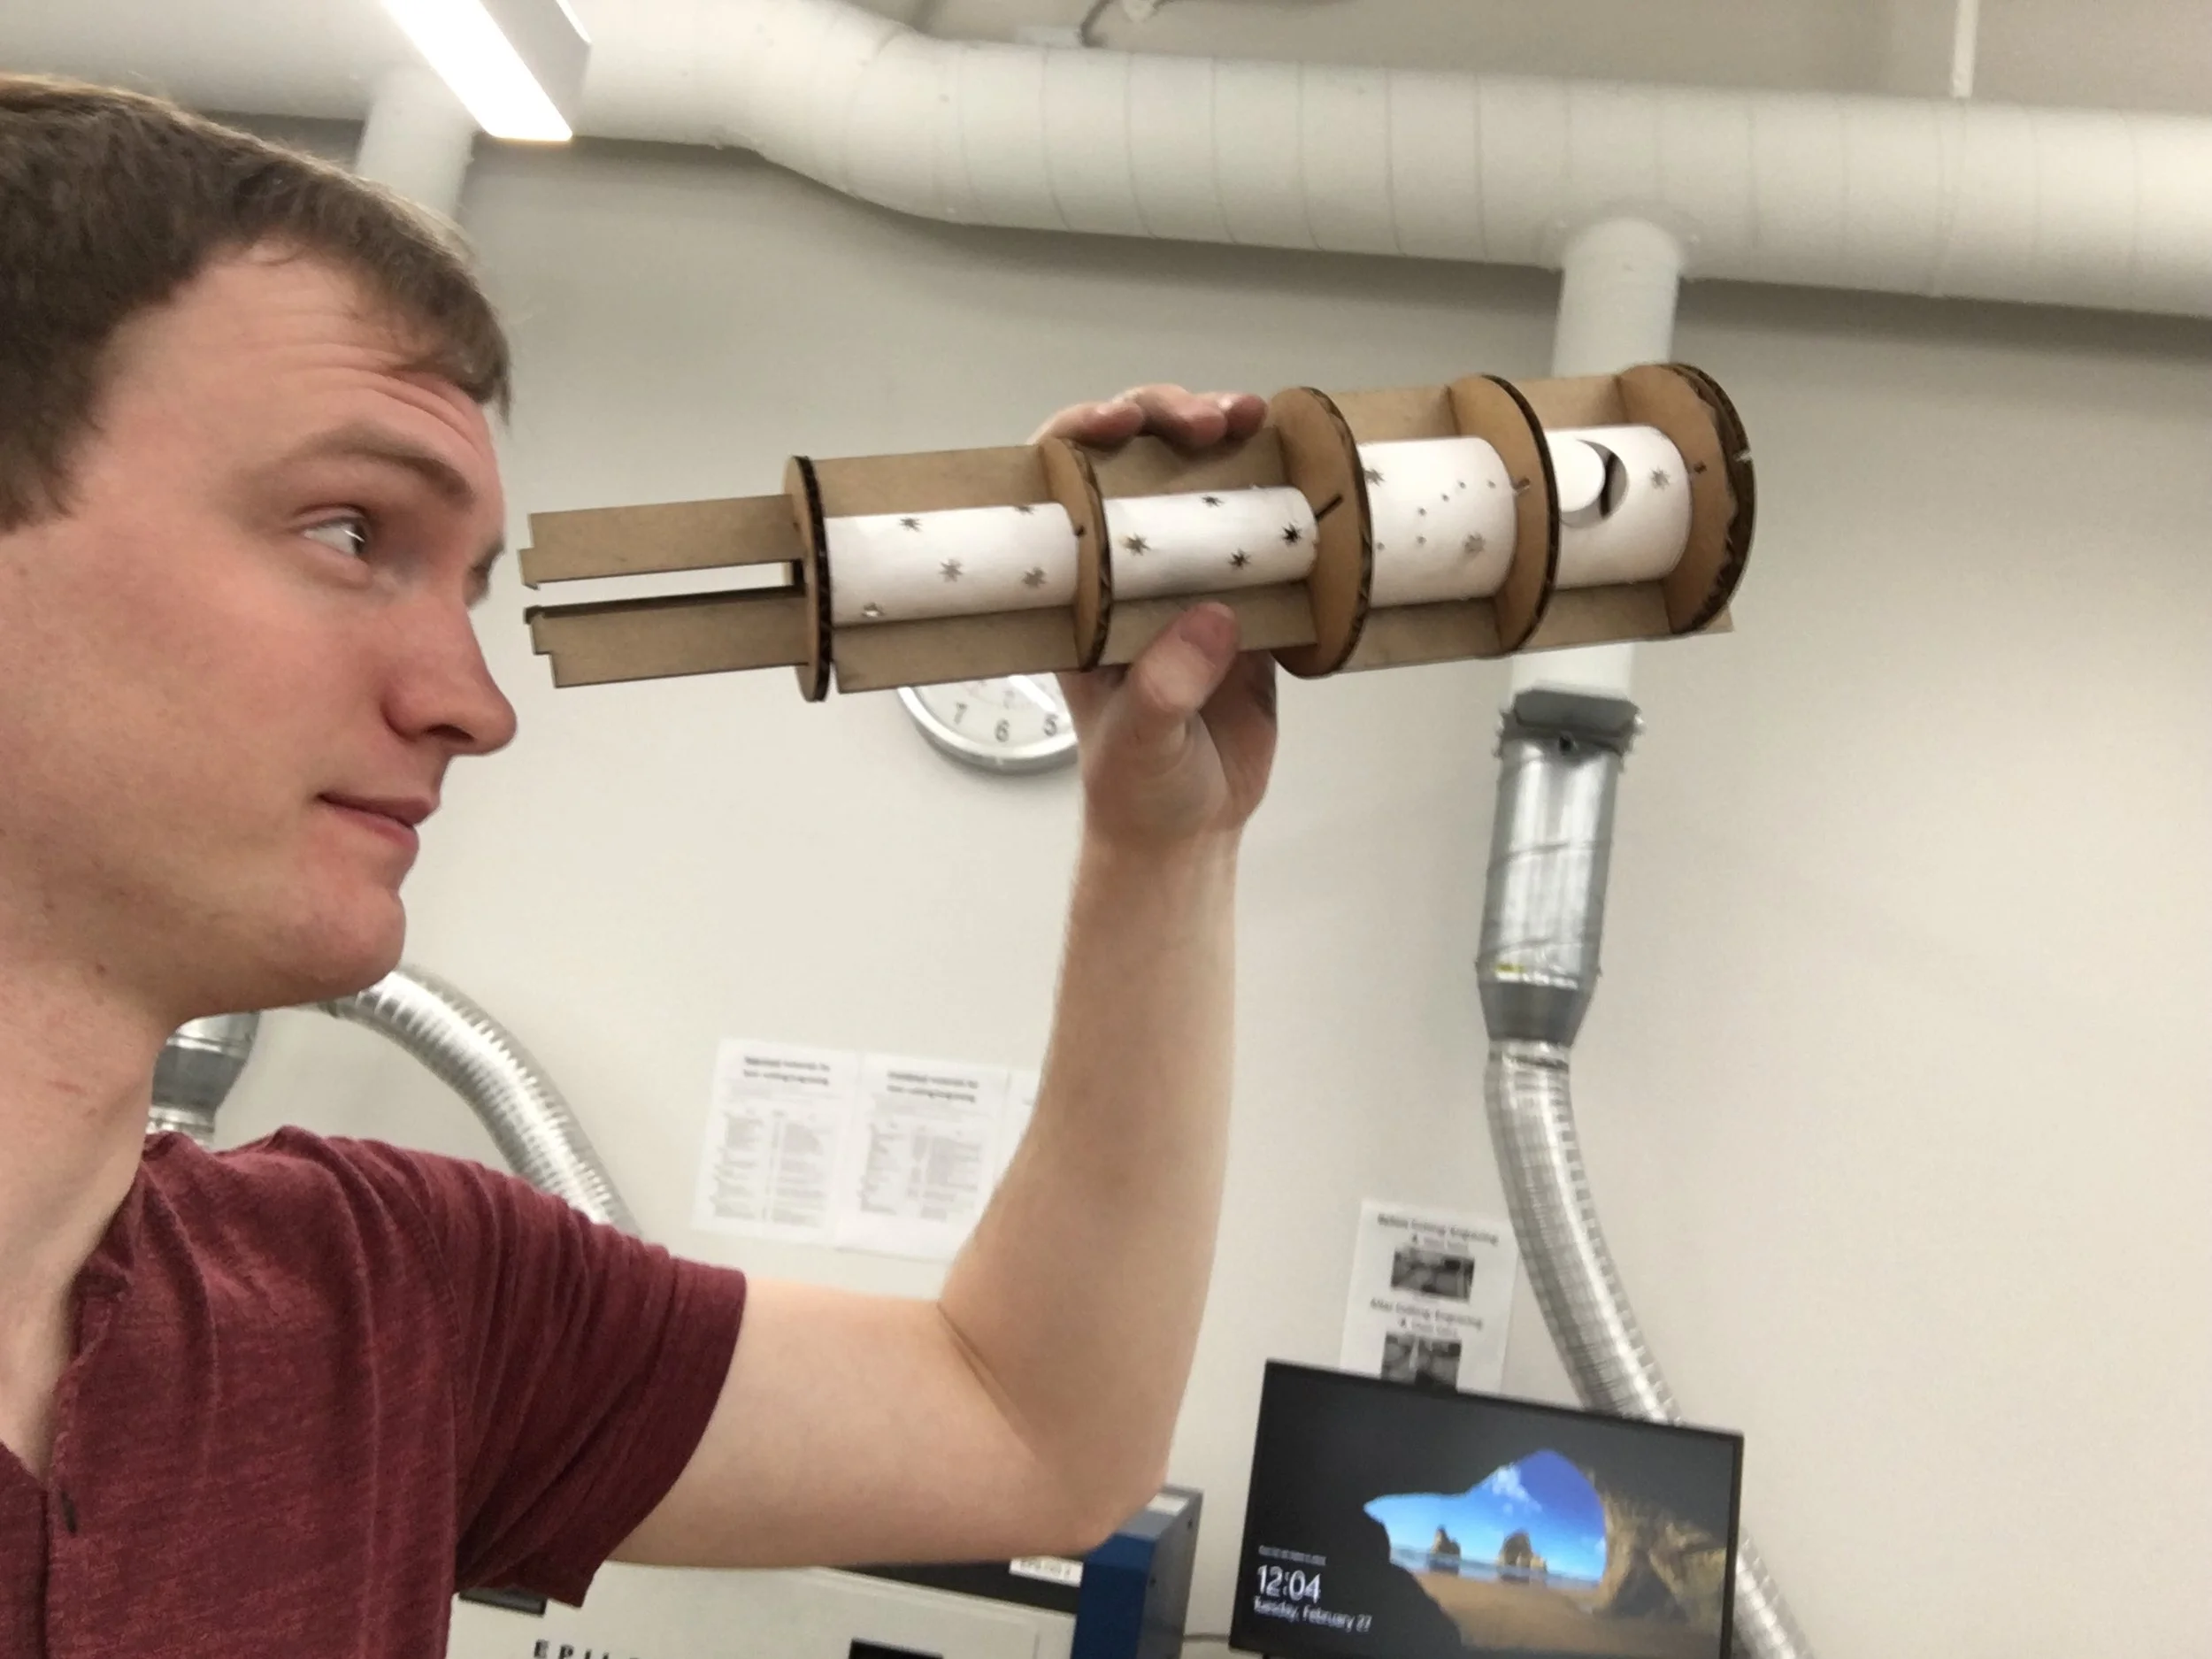
Glamour Shot
It's a little hard to see through
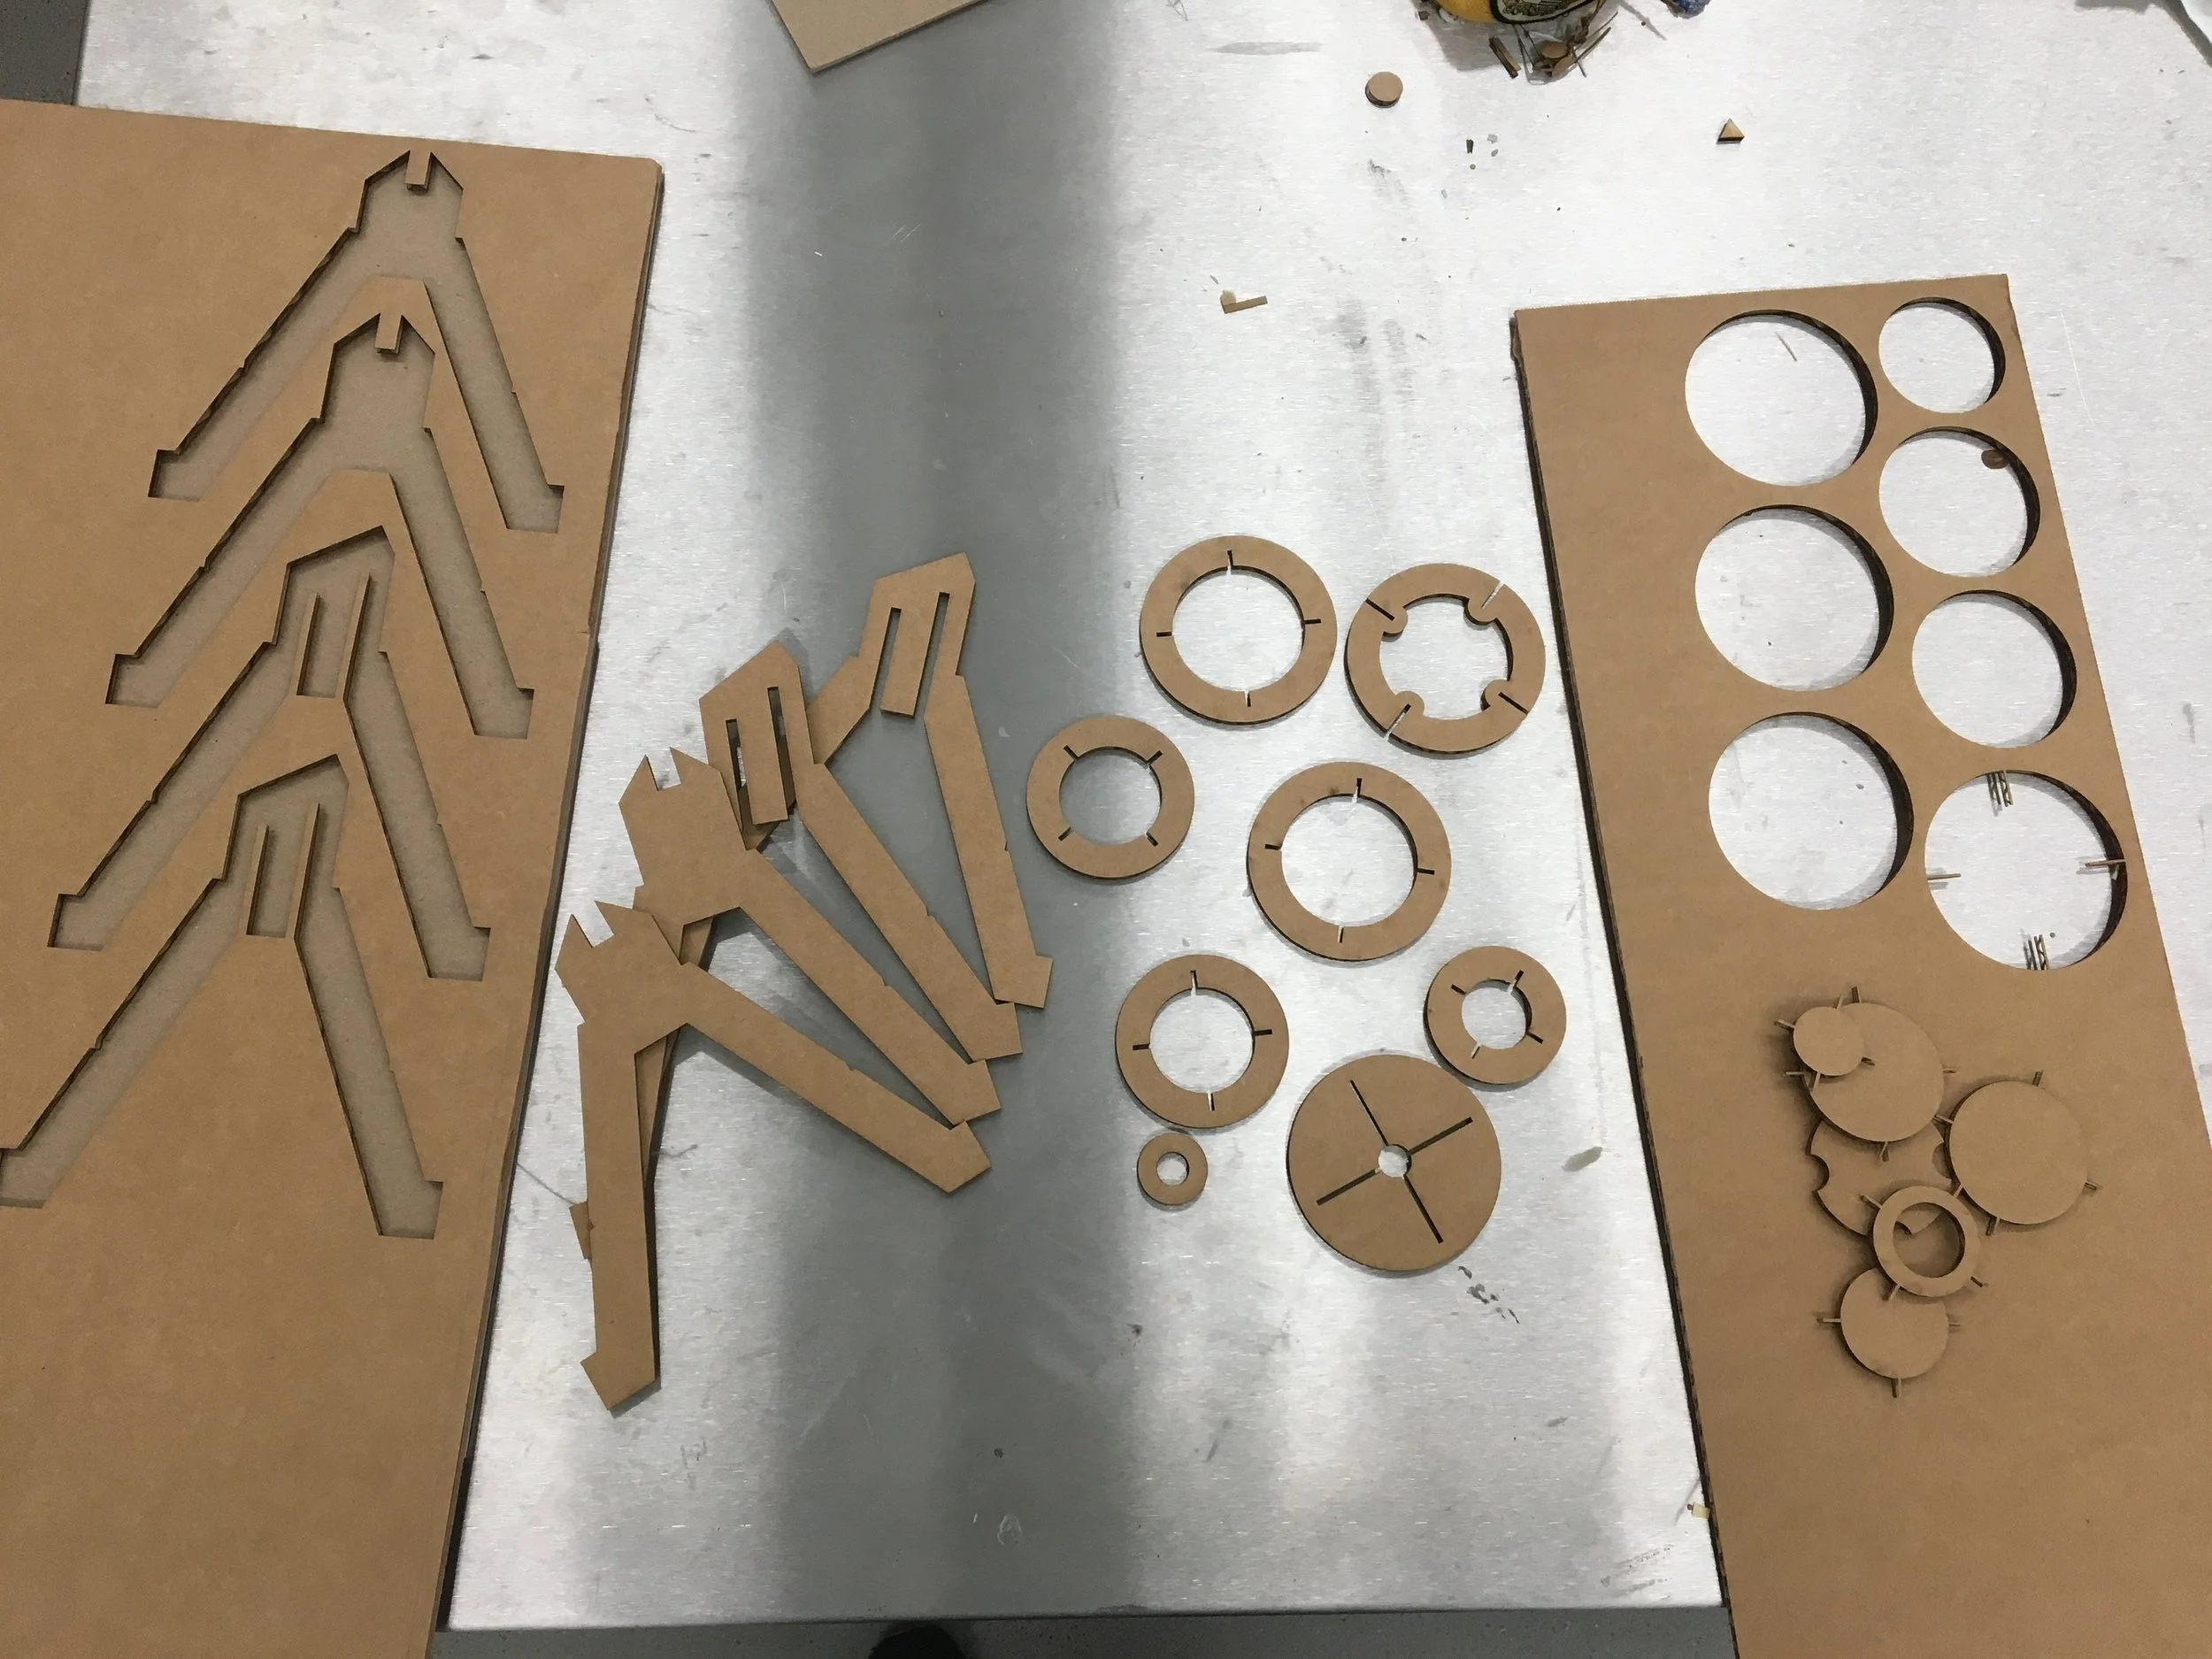
Final Lamp Cutting
The first parts cut-out for the final design
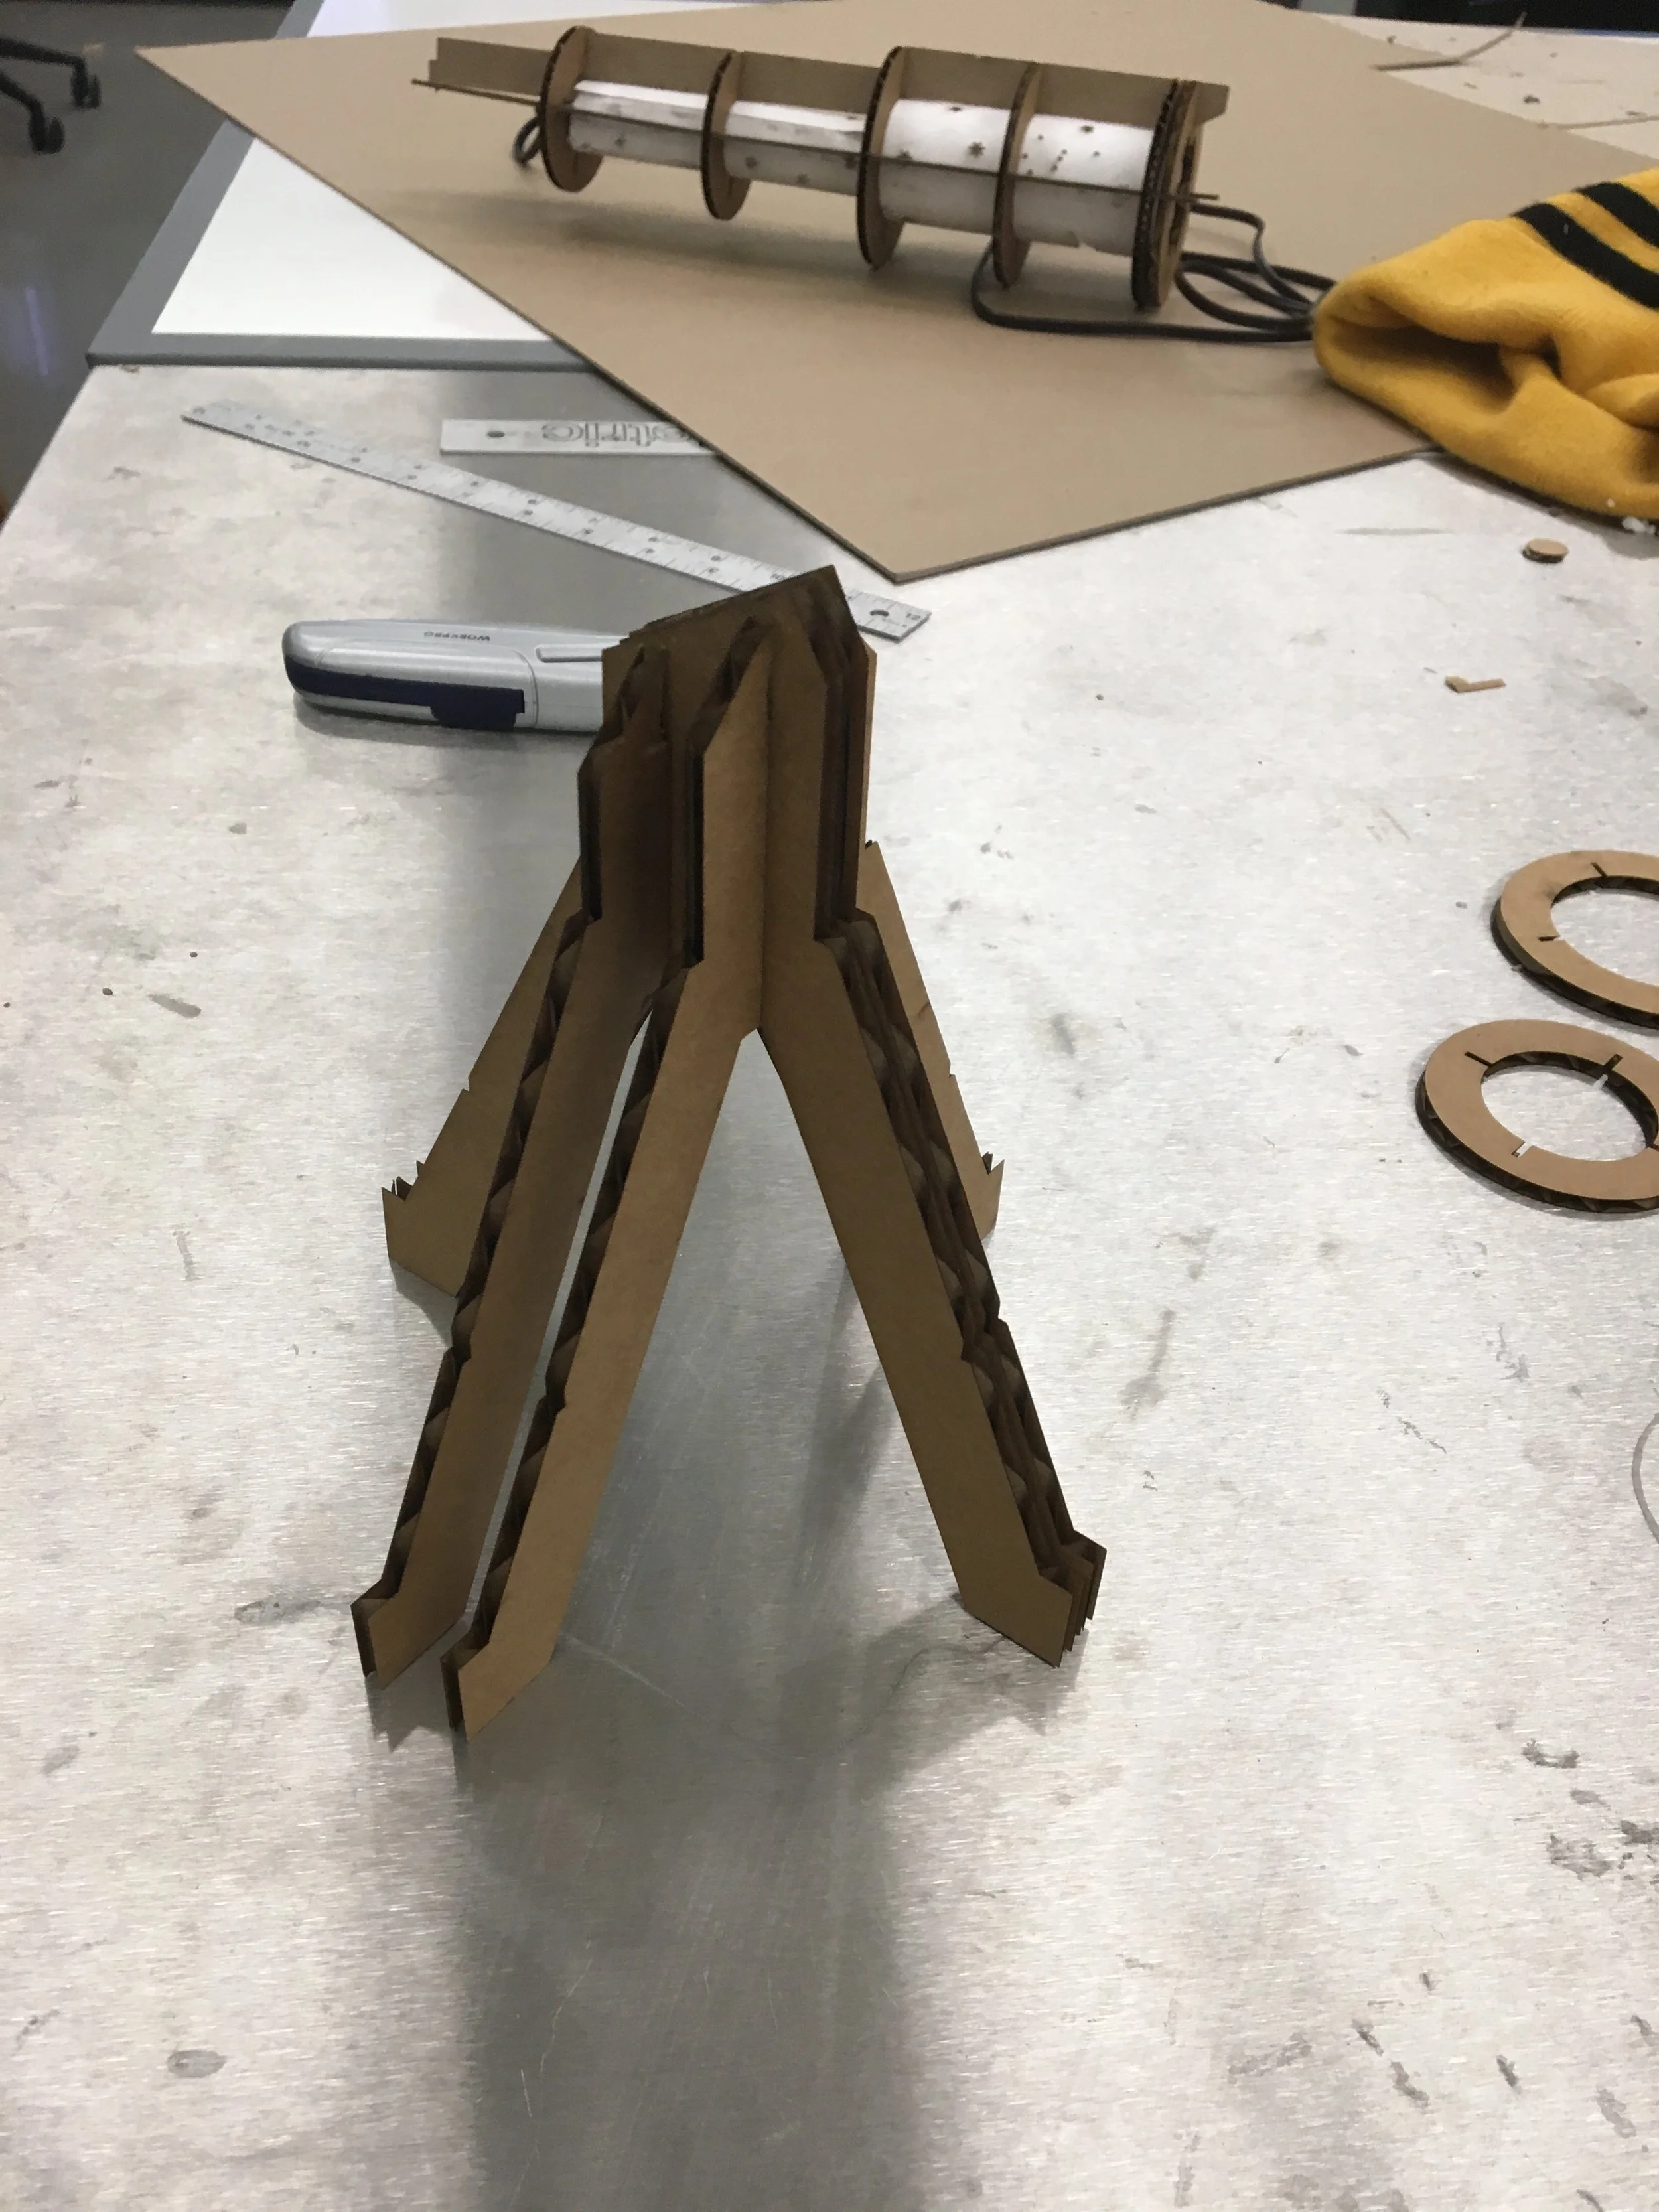
Stand Assembly
Went together quite well. I had to trim a little material off of the slots to allow for enough room to fit the telescope body into.
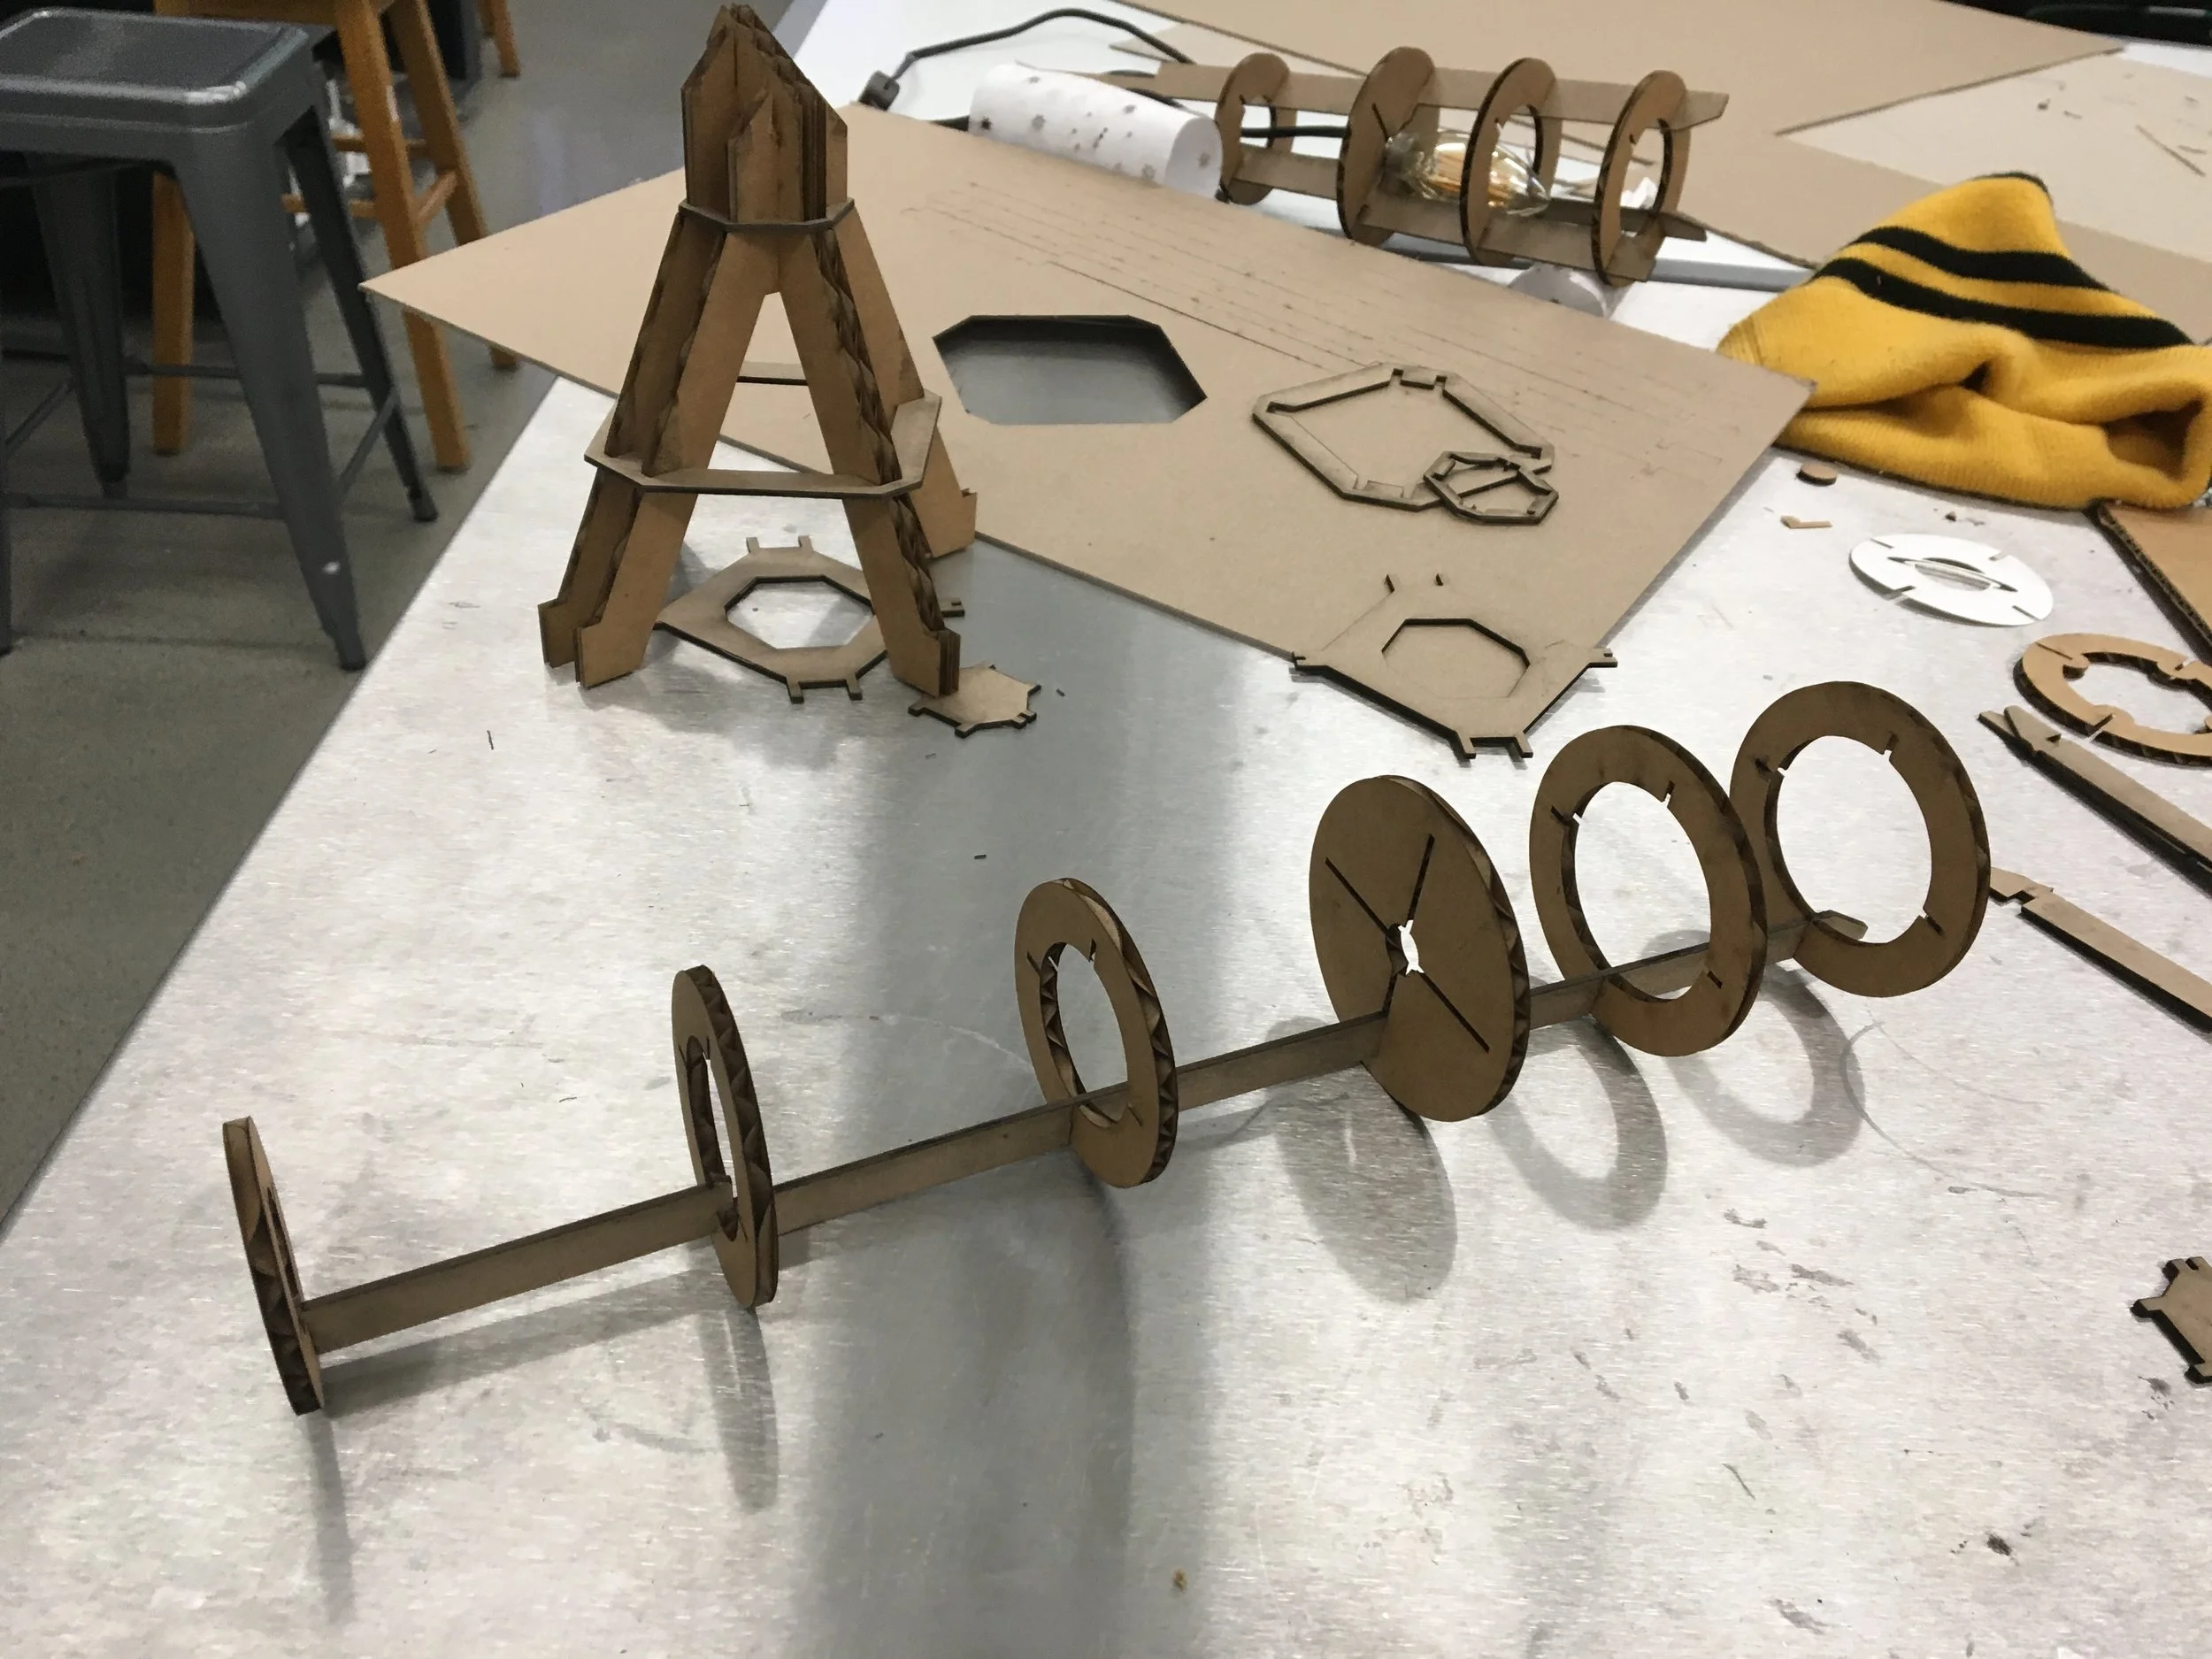
Body Assembly
To start assembly I put all of the rings onto one of the spars
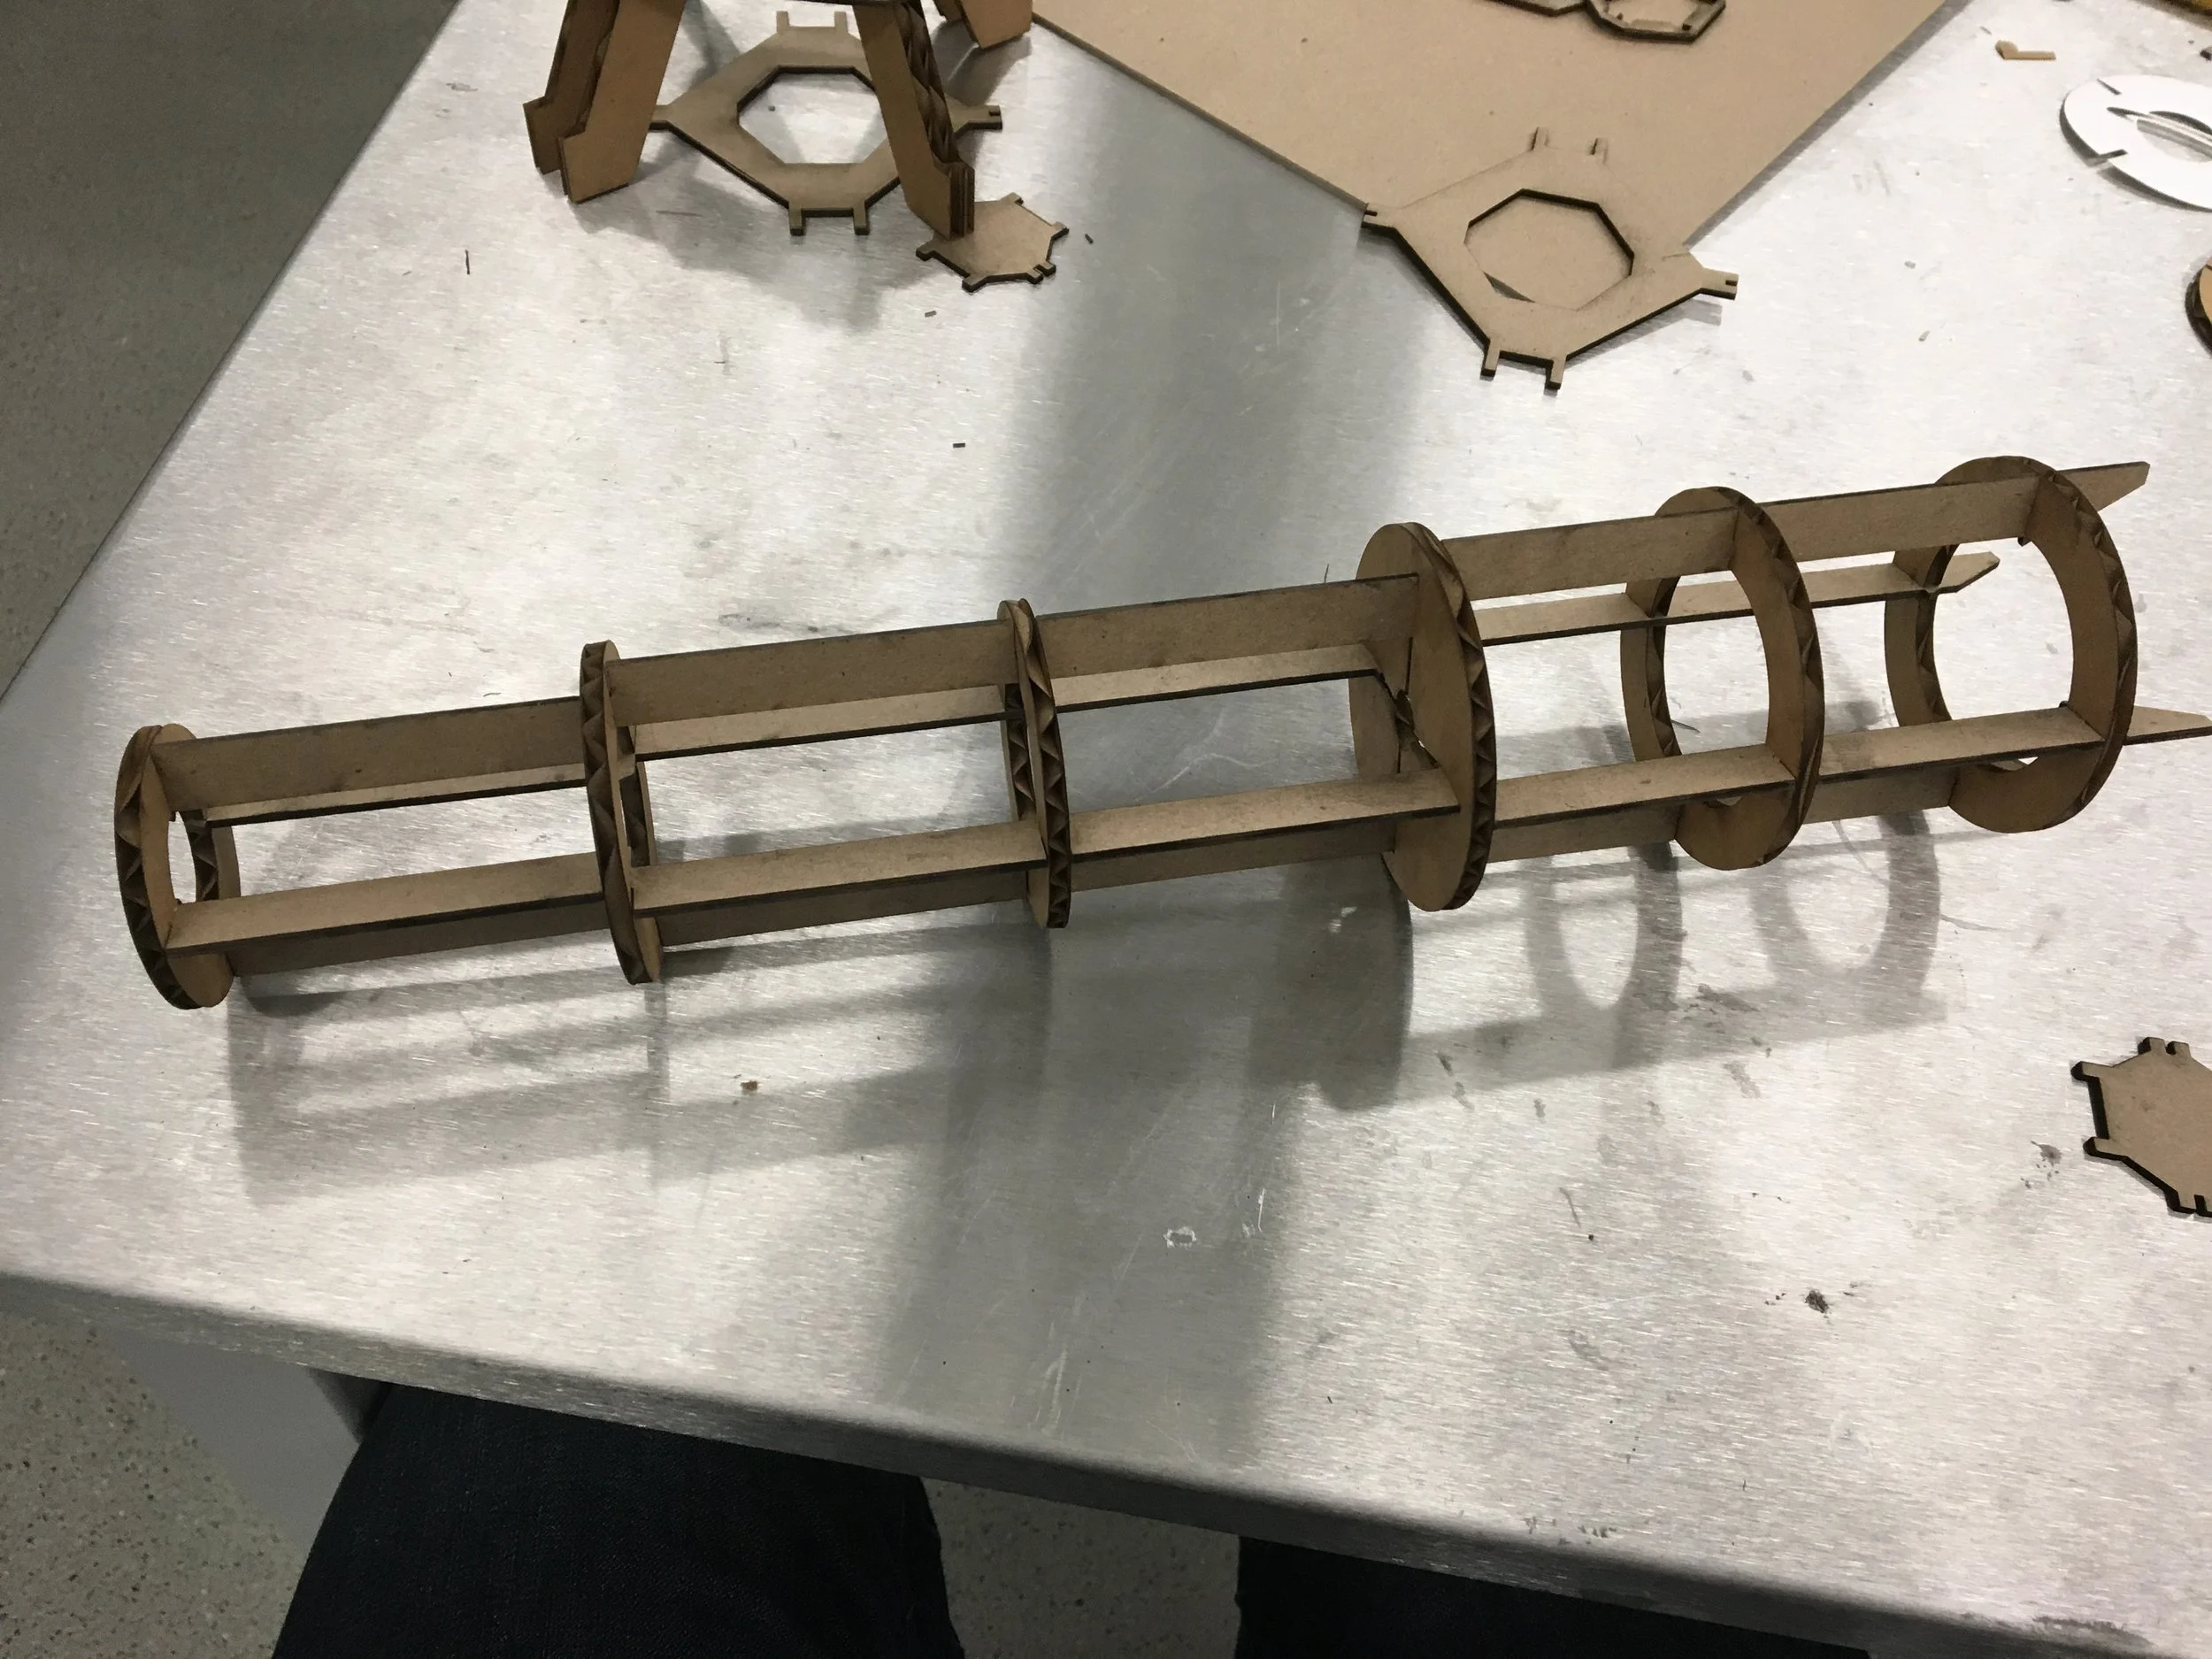
Framework Ready
All of the other spars were inserted next. The body is very sturdy.
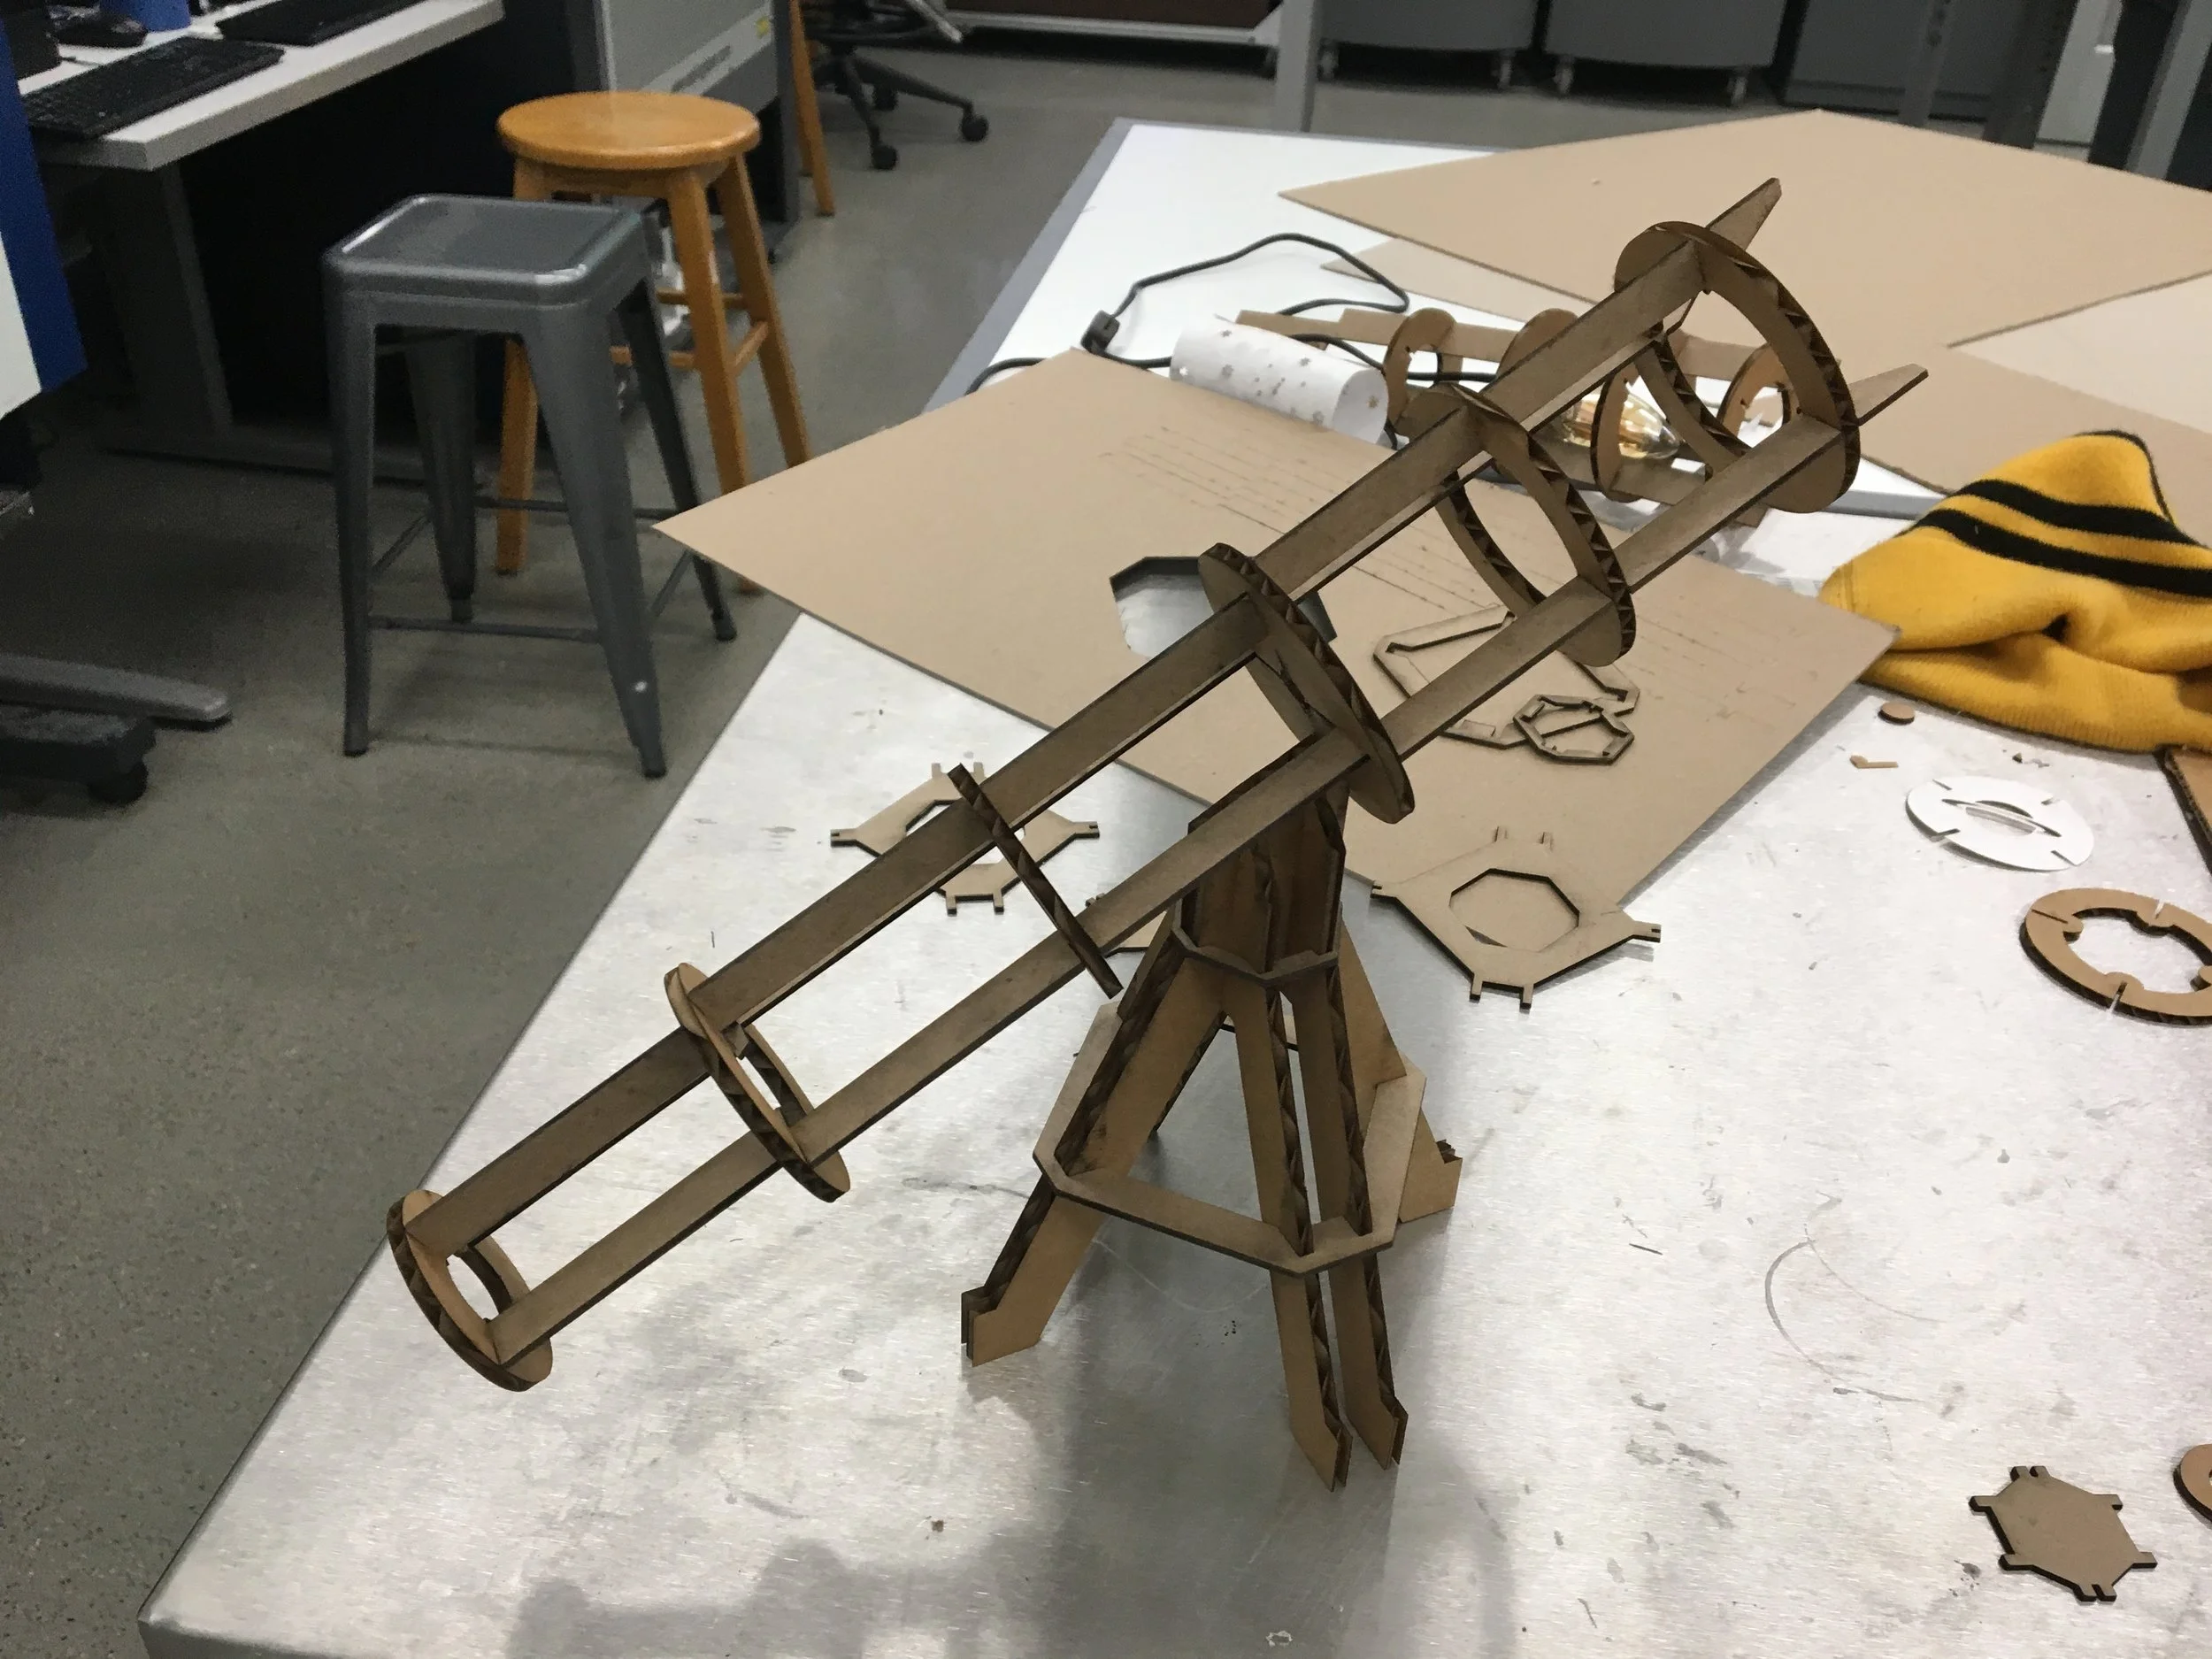
Checking Fit!
The stand slides onto the body and grips quite tightly

Cutting The Shades
I had to tape the paper down because parts were getting blown away by the ventilation fan.
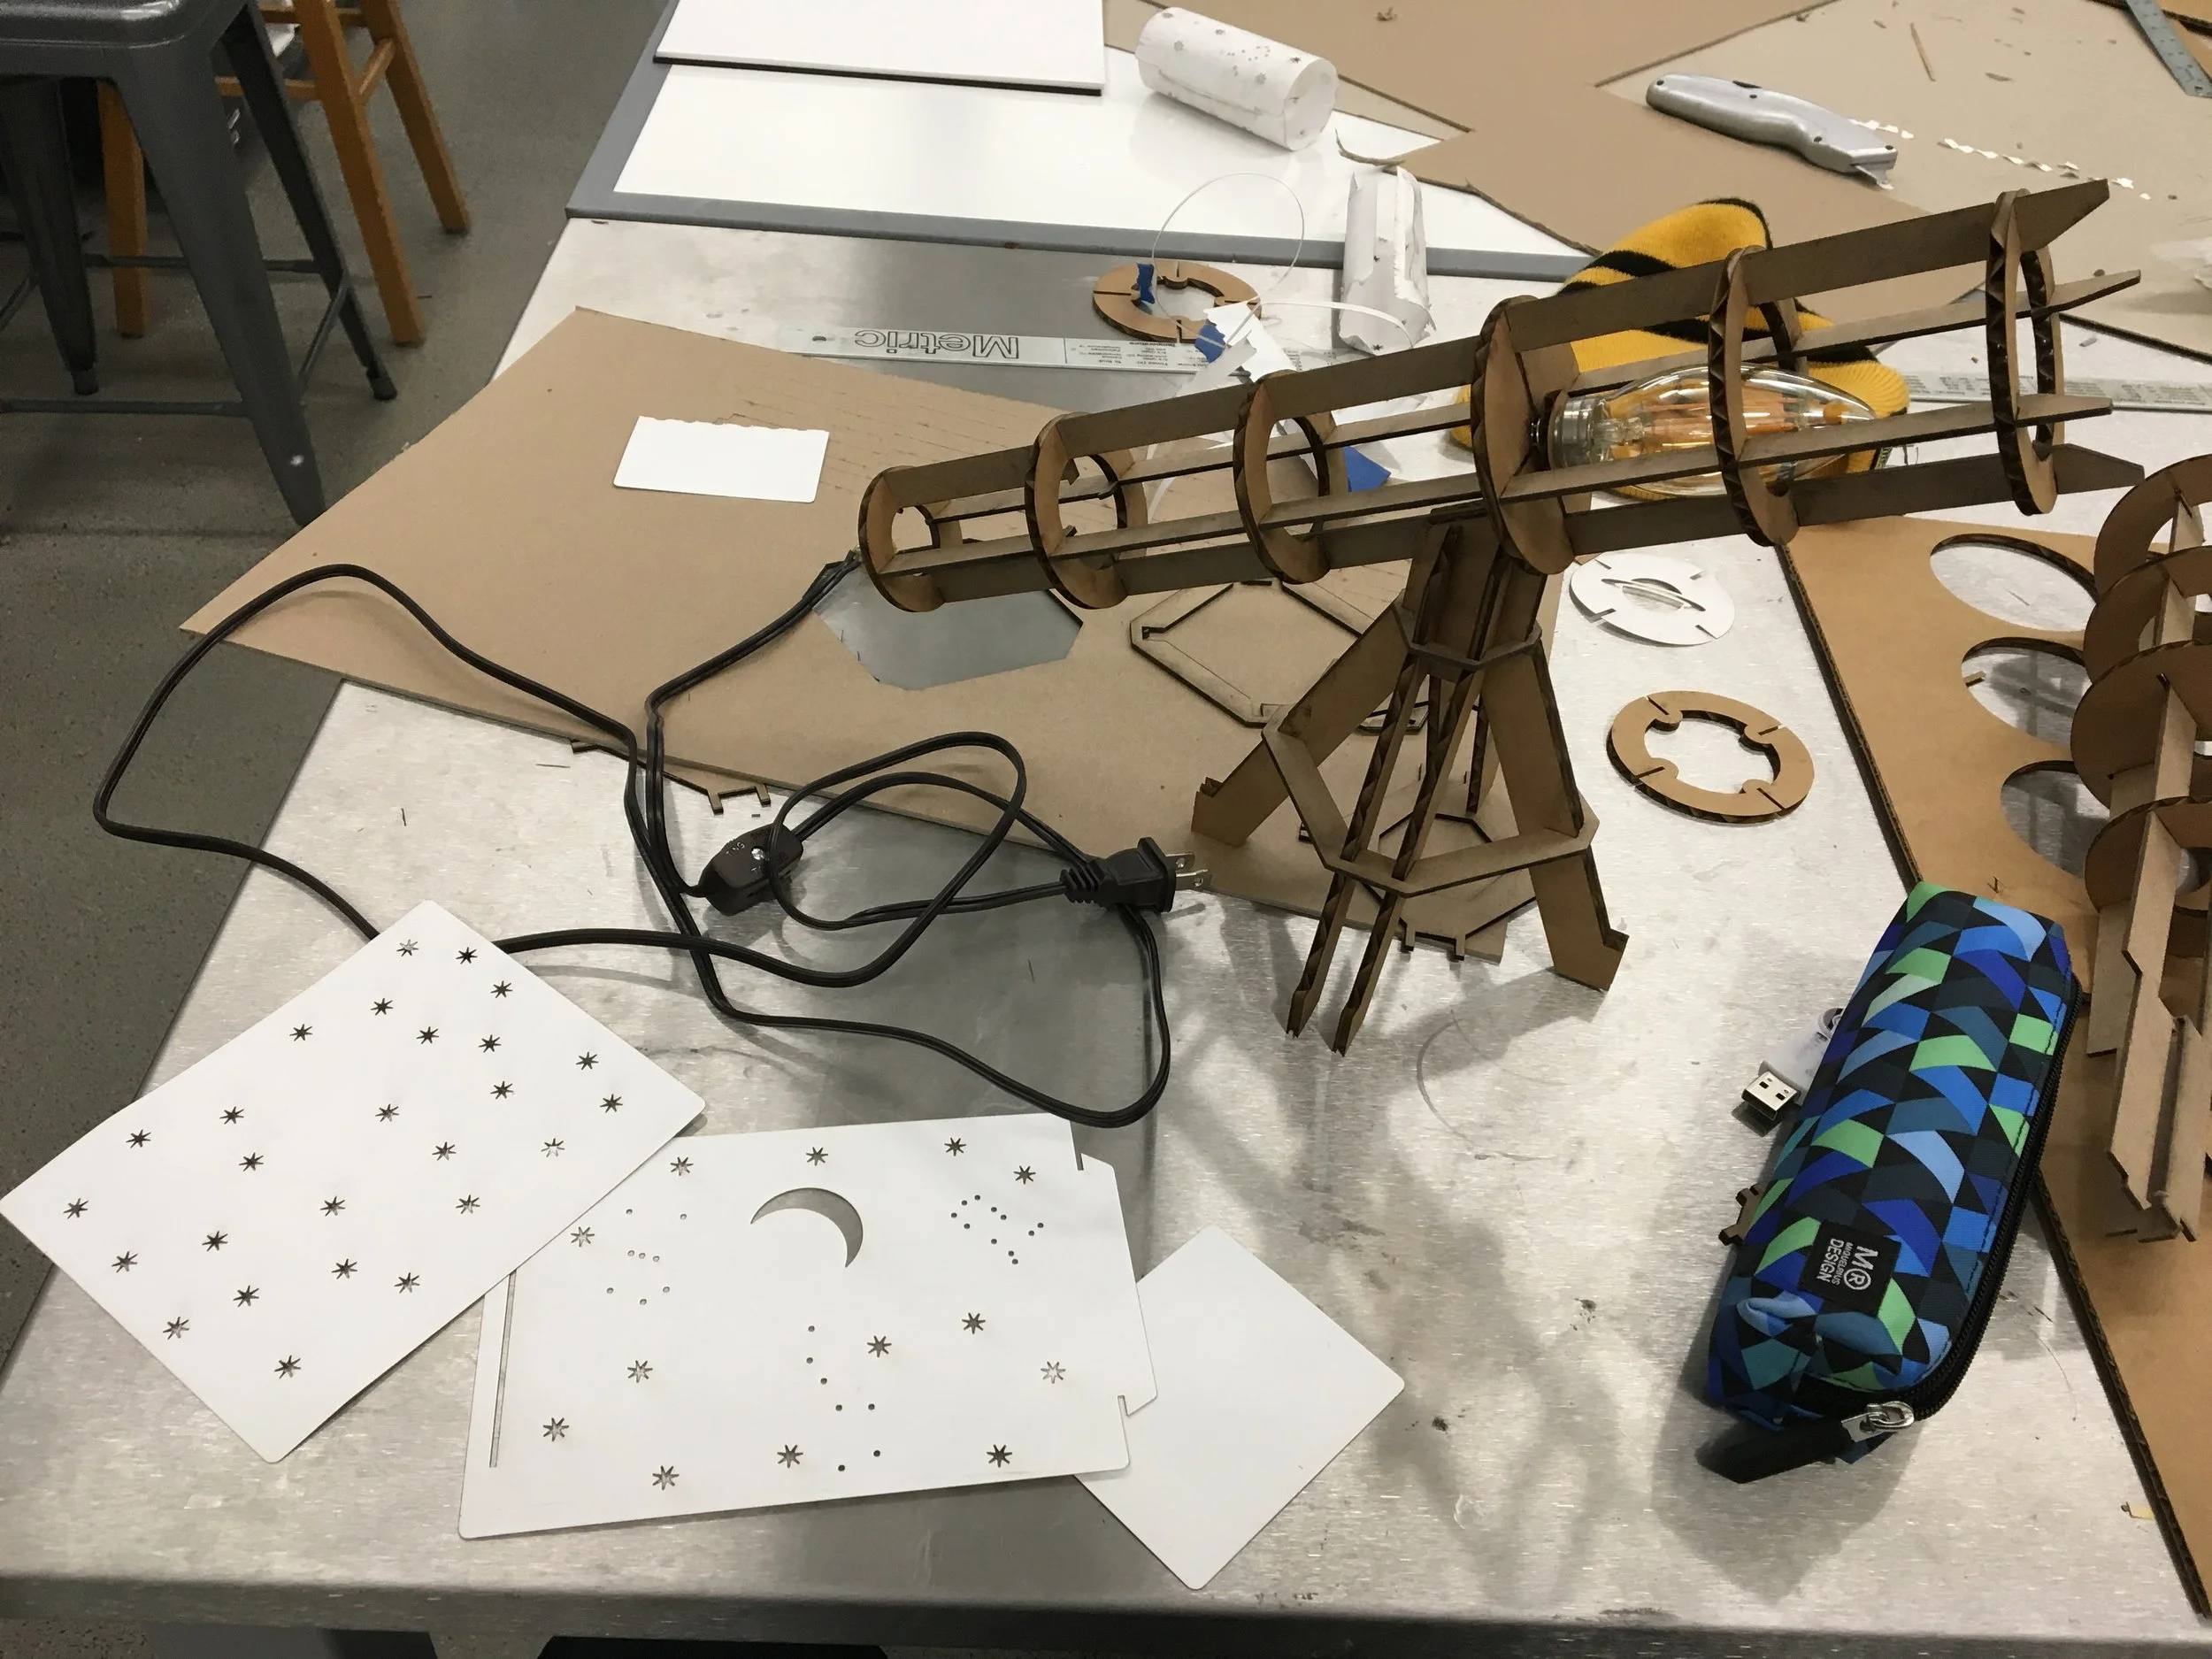
Bulb In! Shades Ready!
Final Assembly!
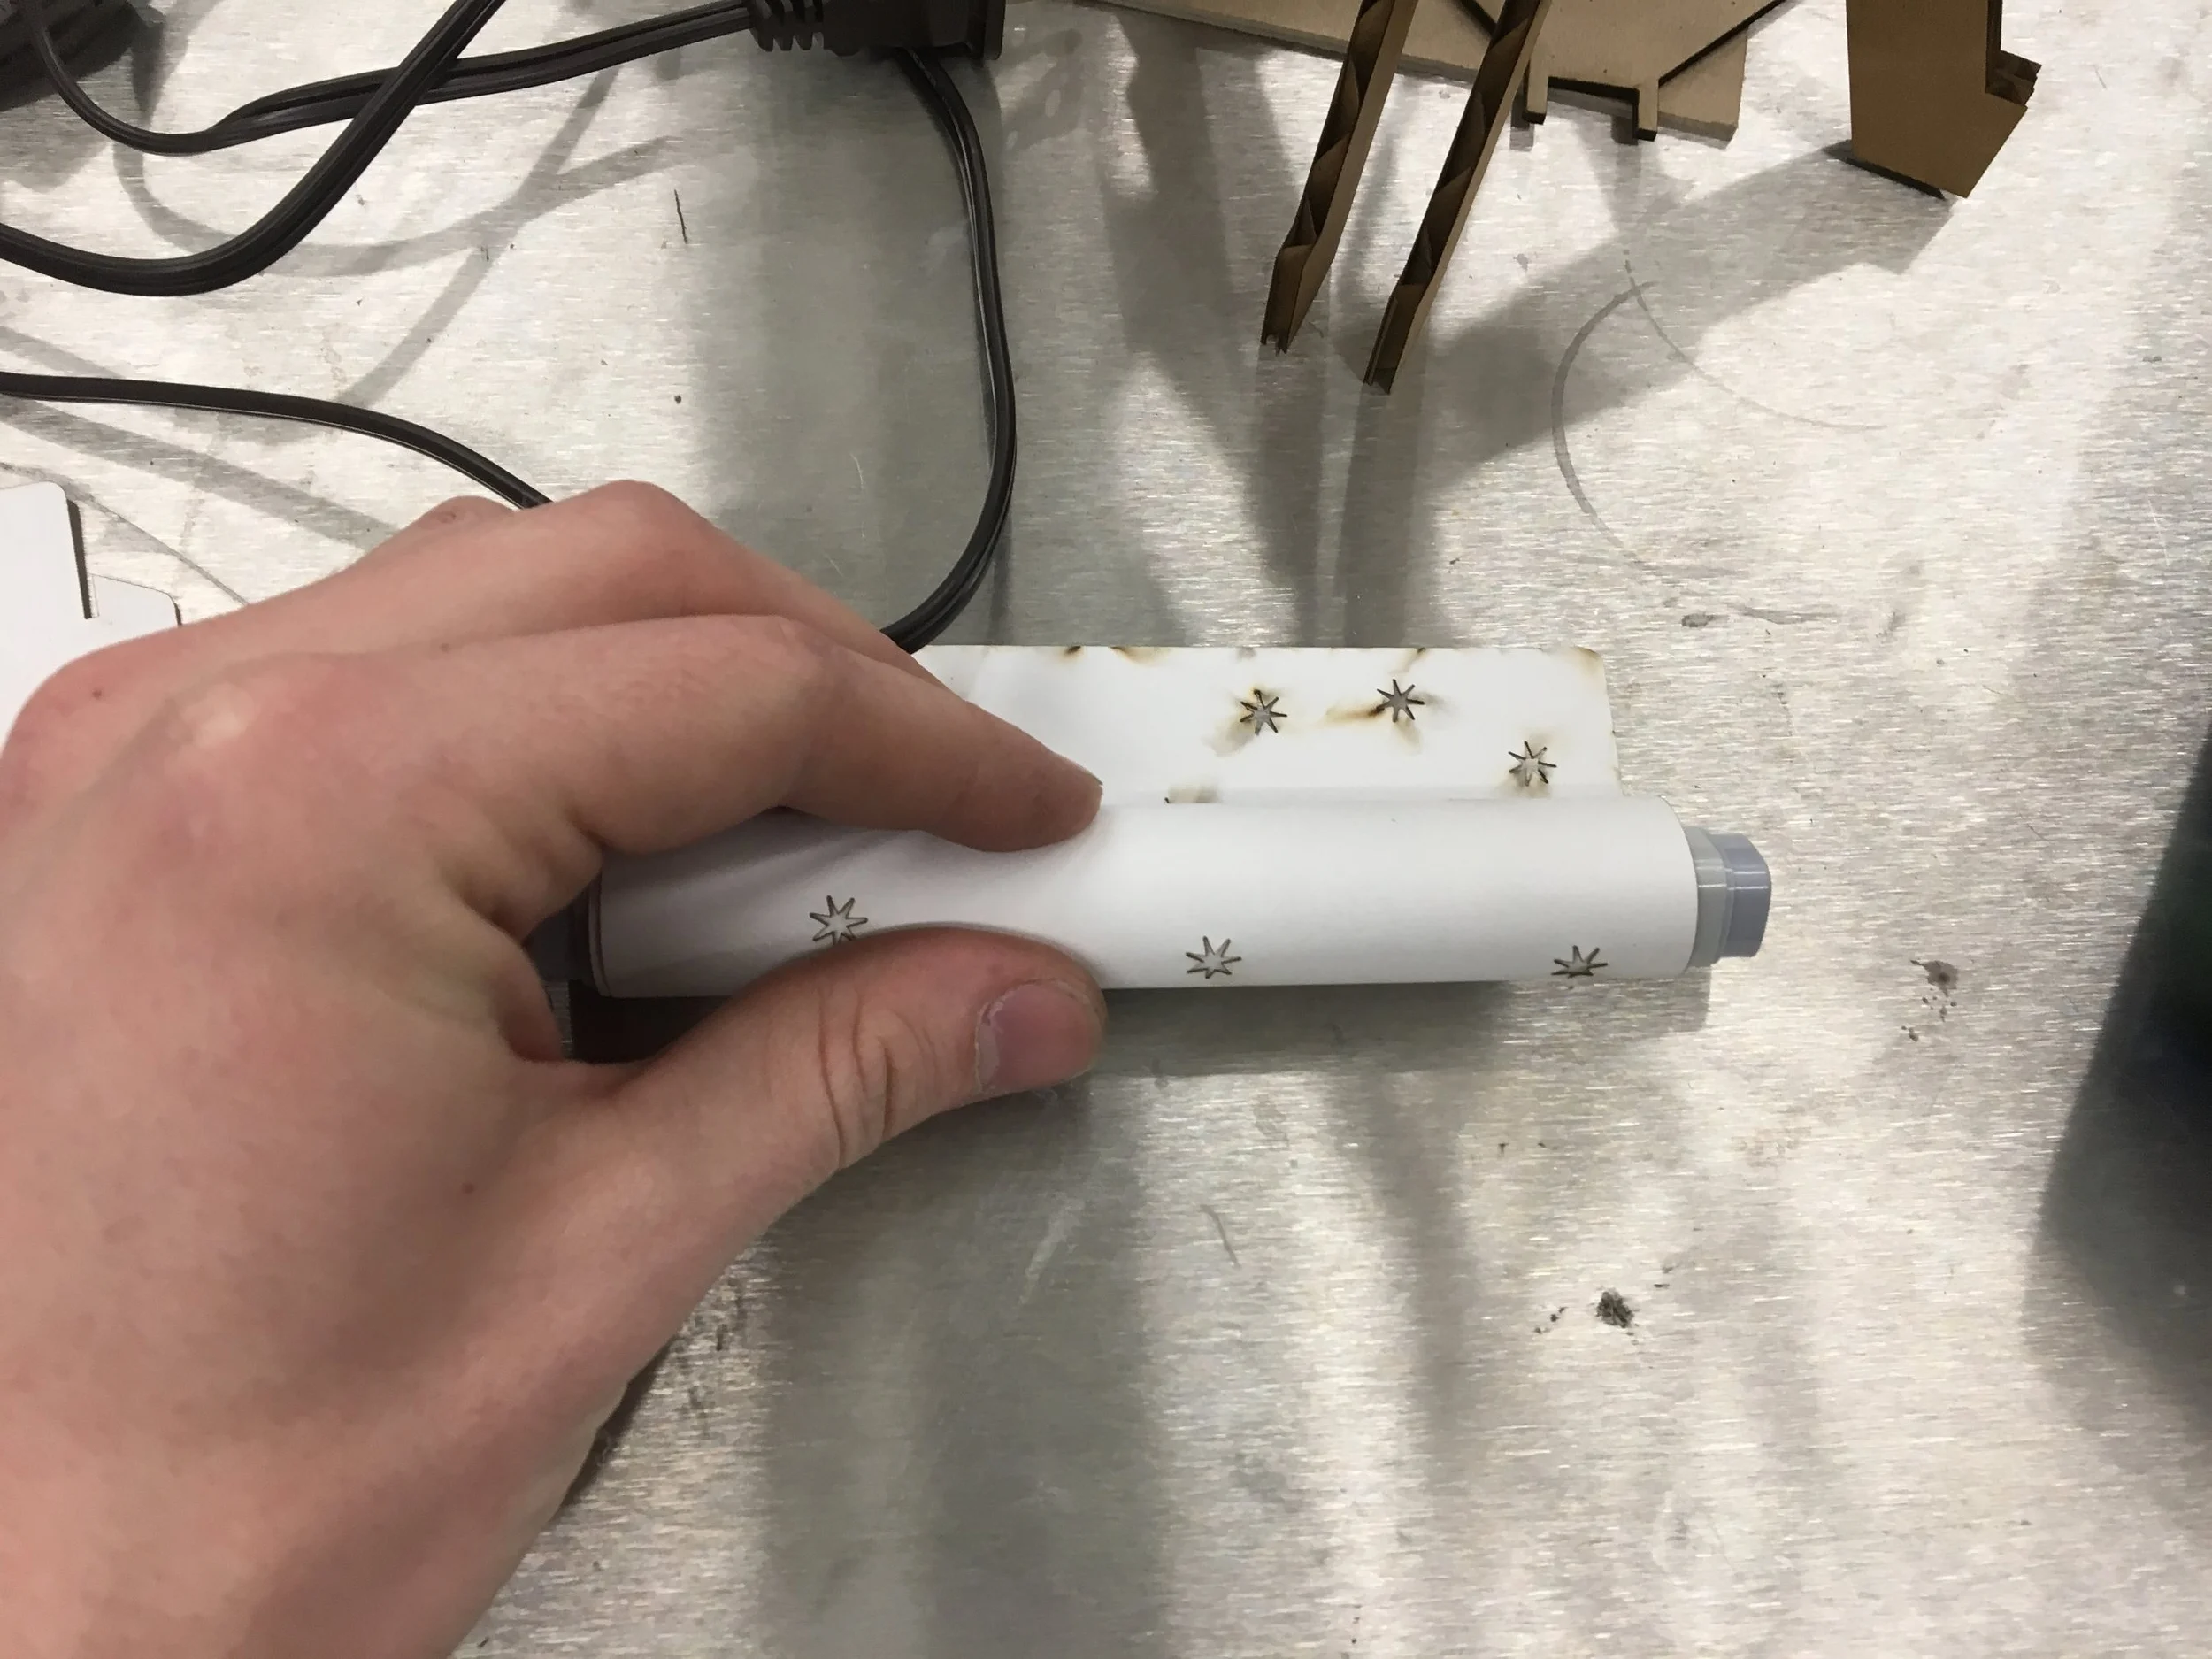
Rolling The Shades
I did this in order to slide the shades into the body of the telescope
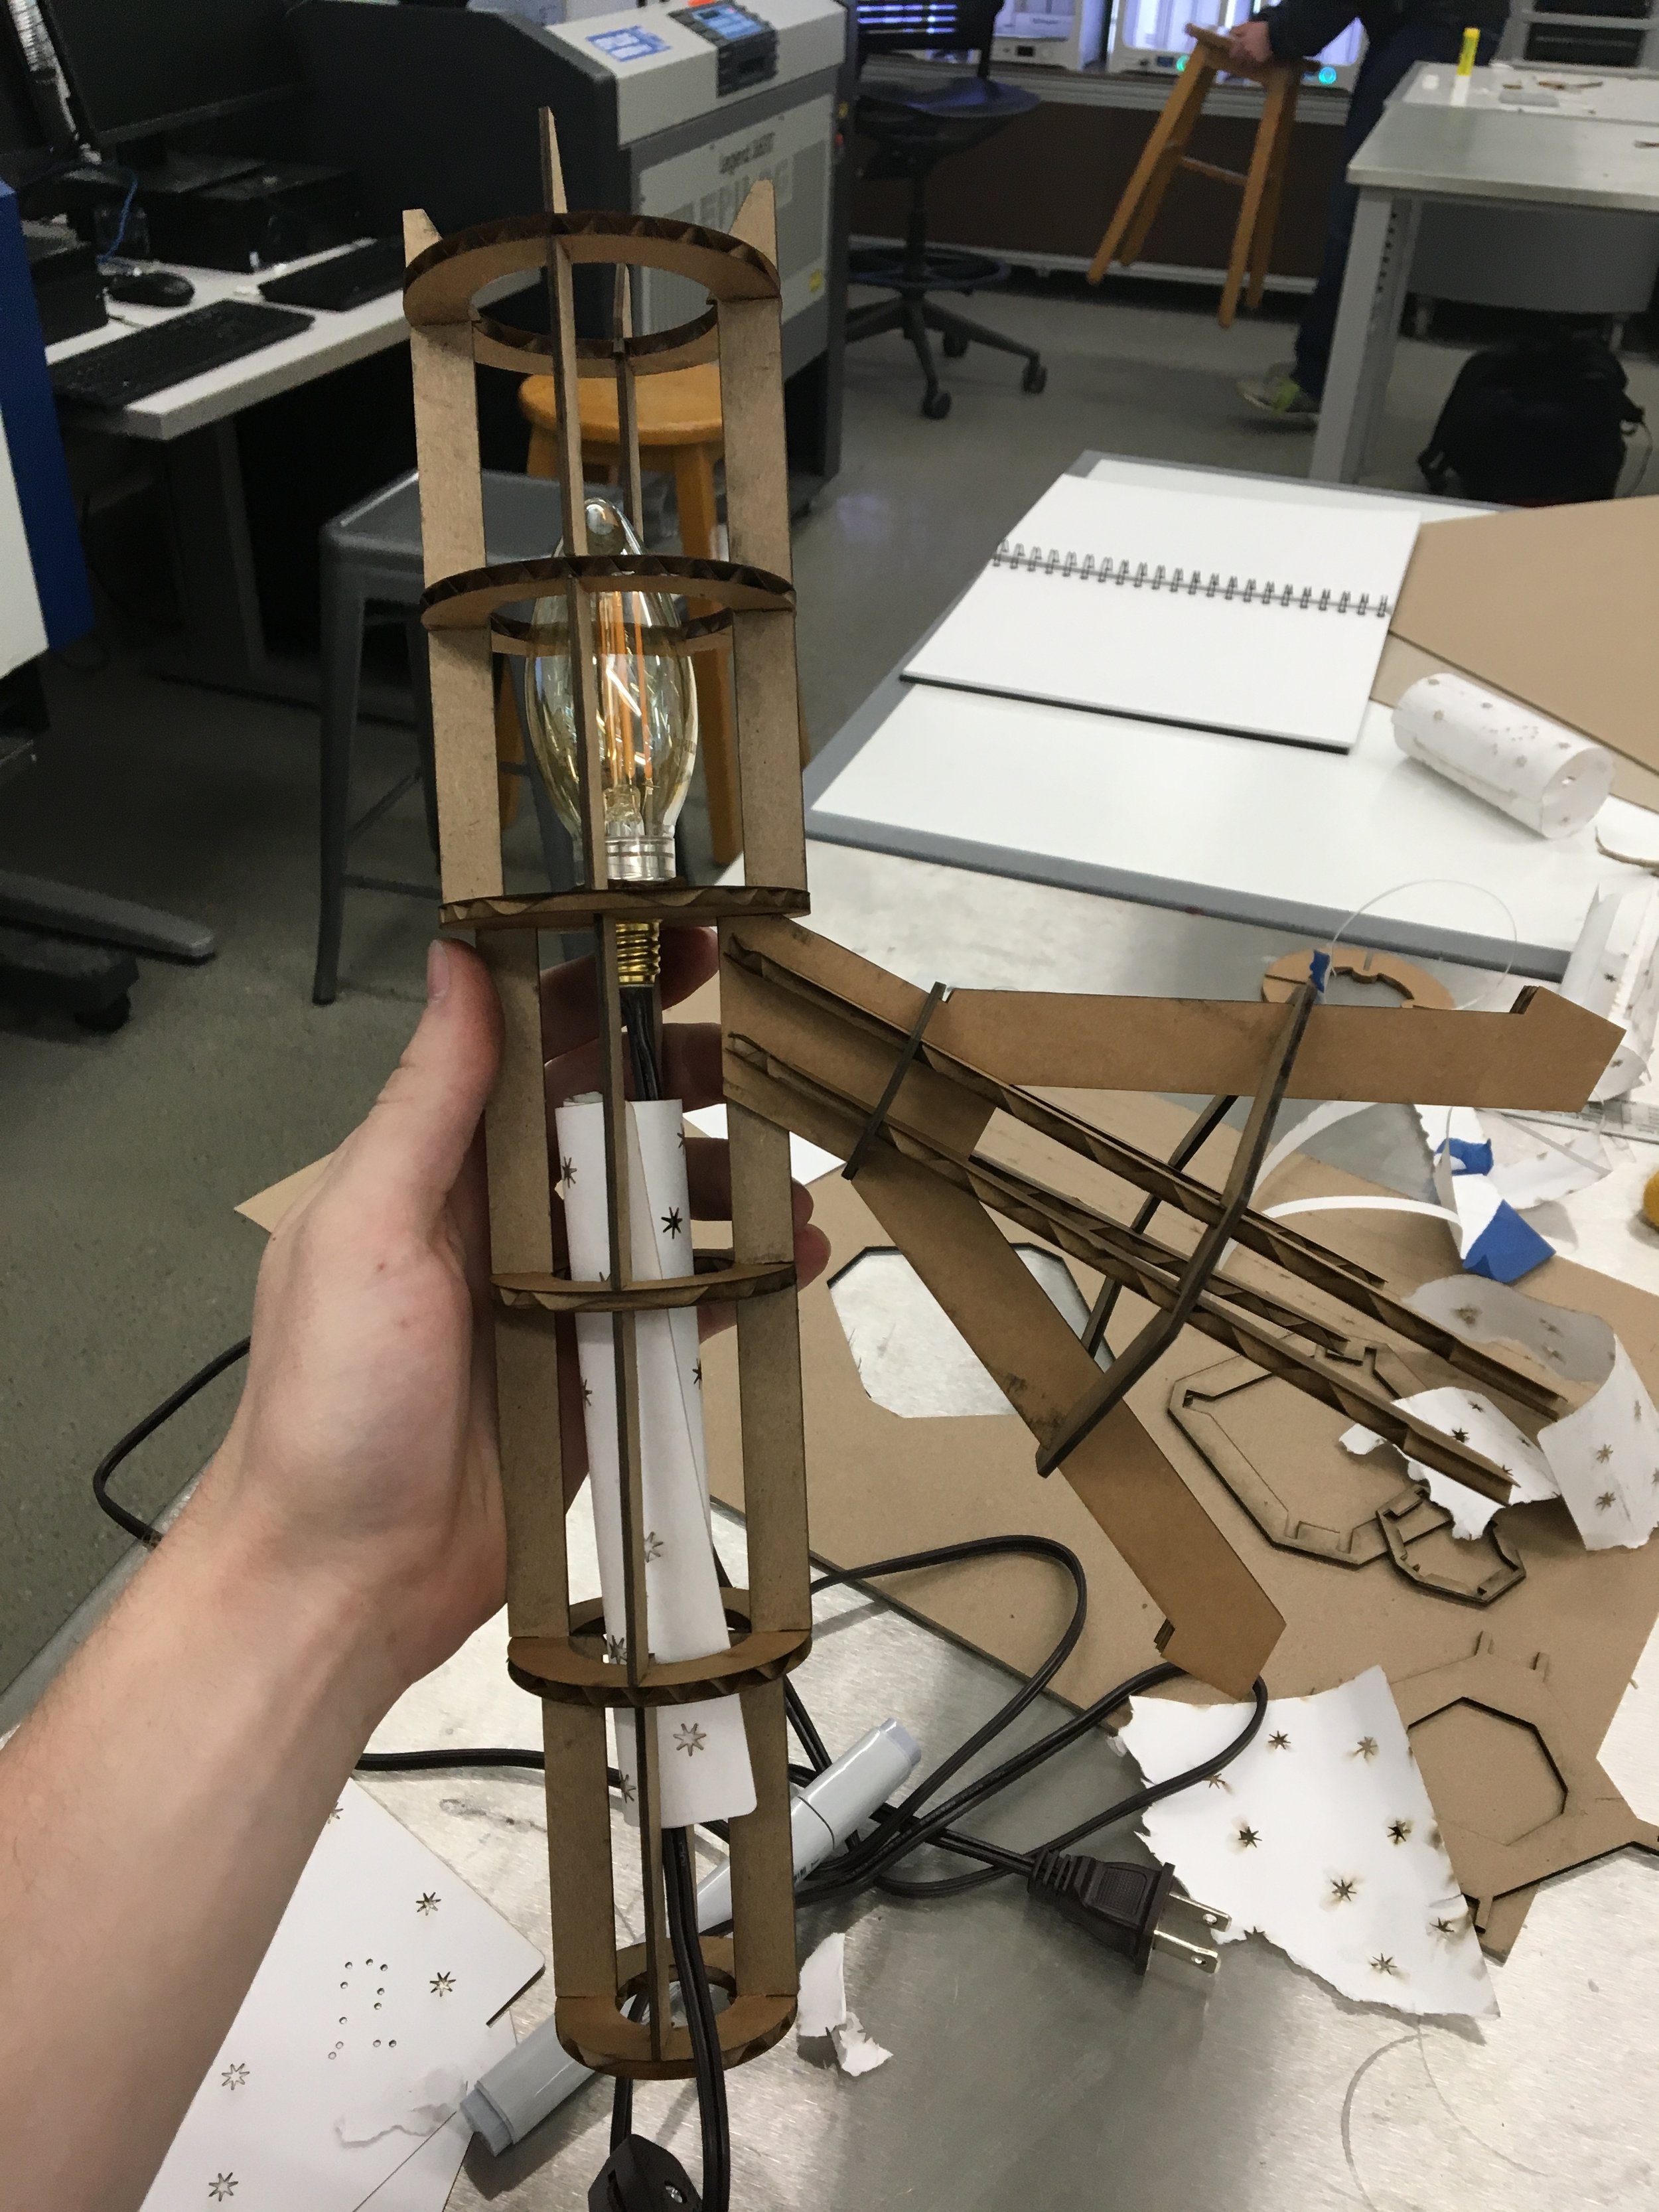
Final Install
The order of operations was very important here to ensure that I could get the bulb in with the cord in the middle of the shades.
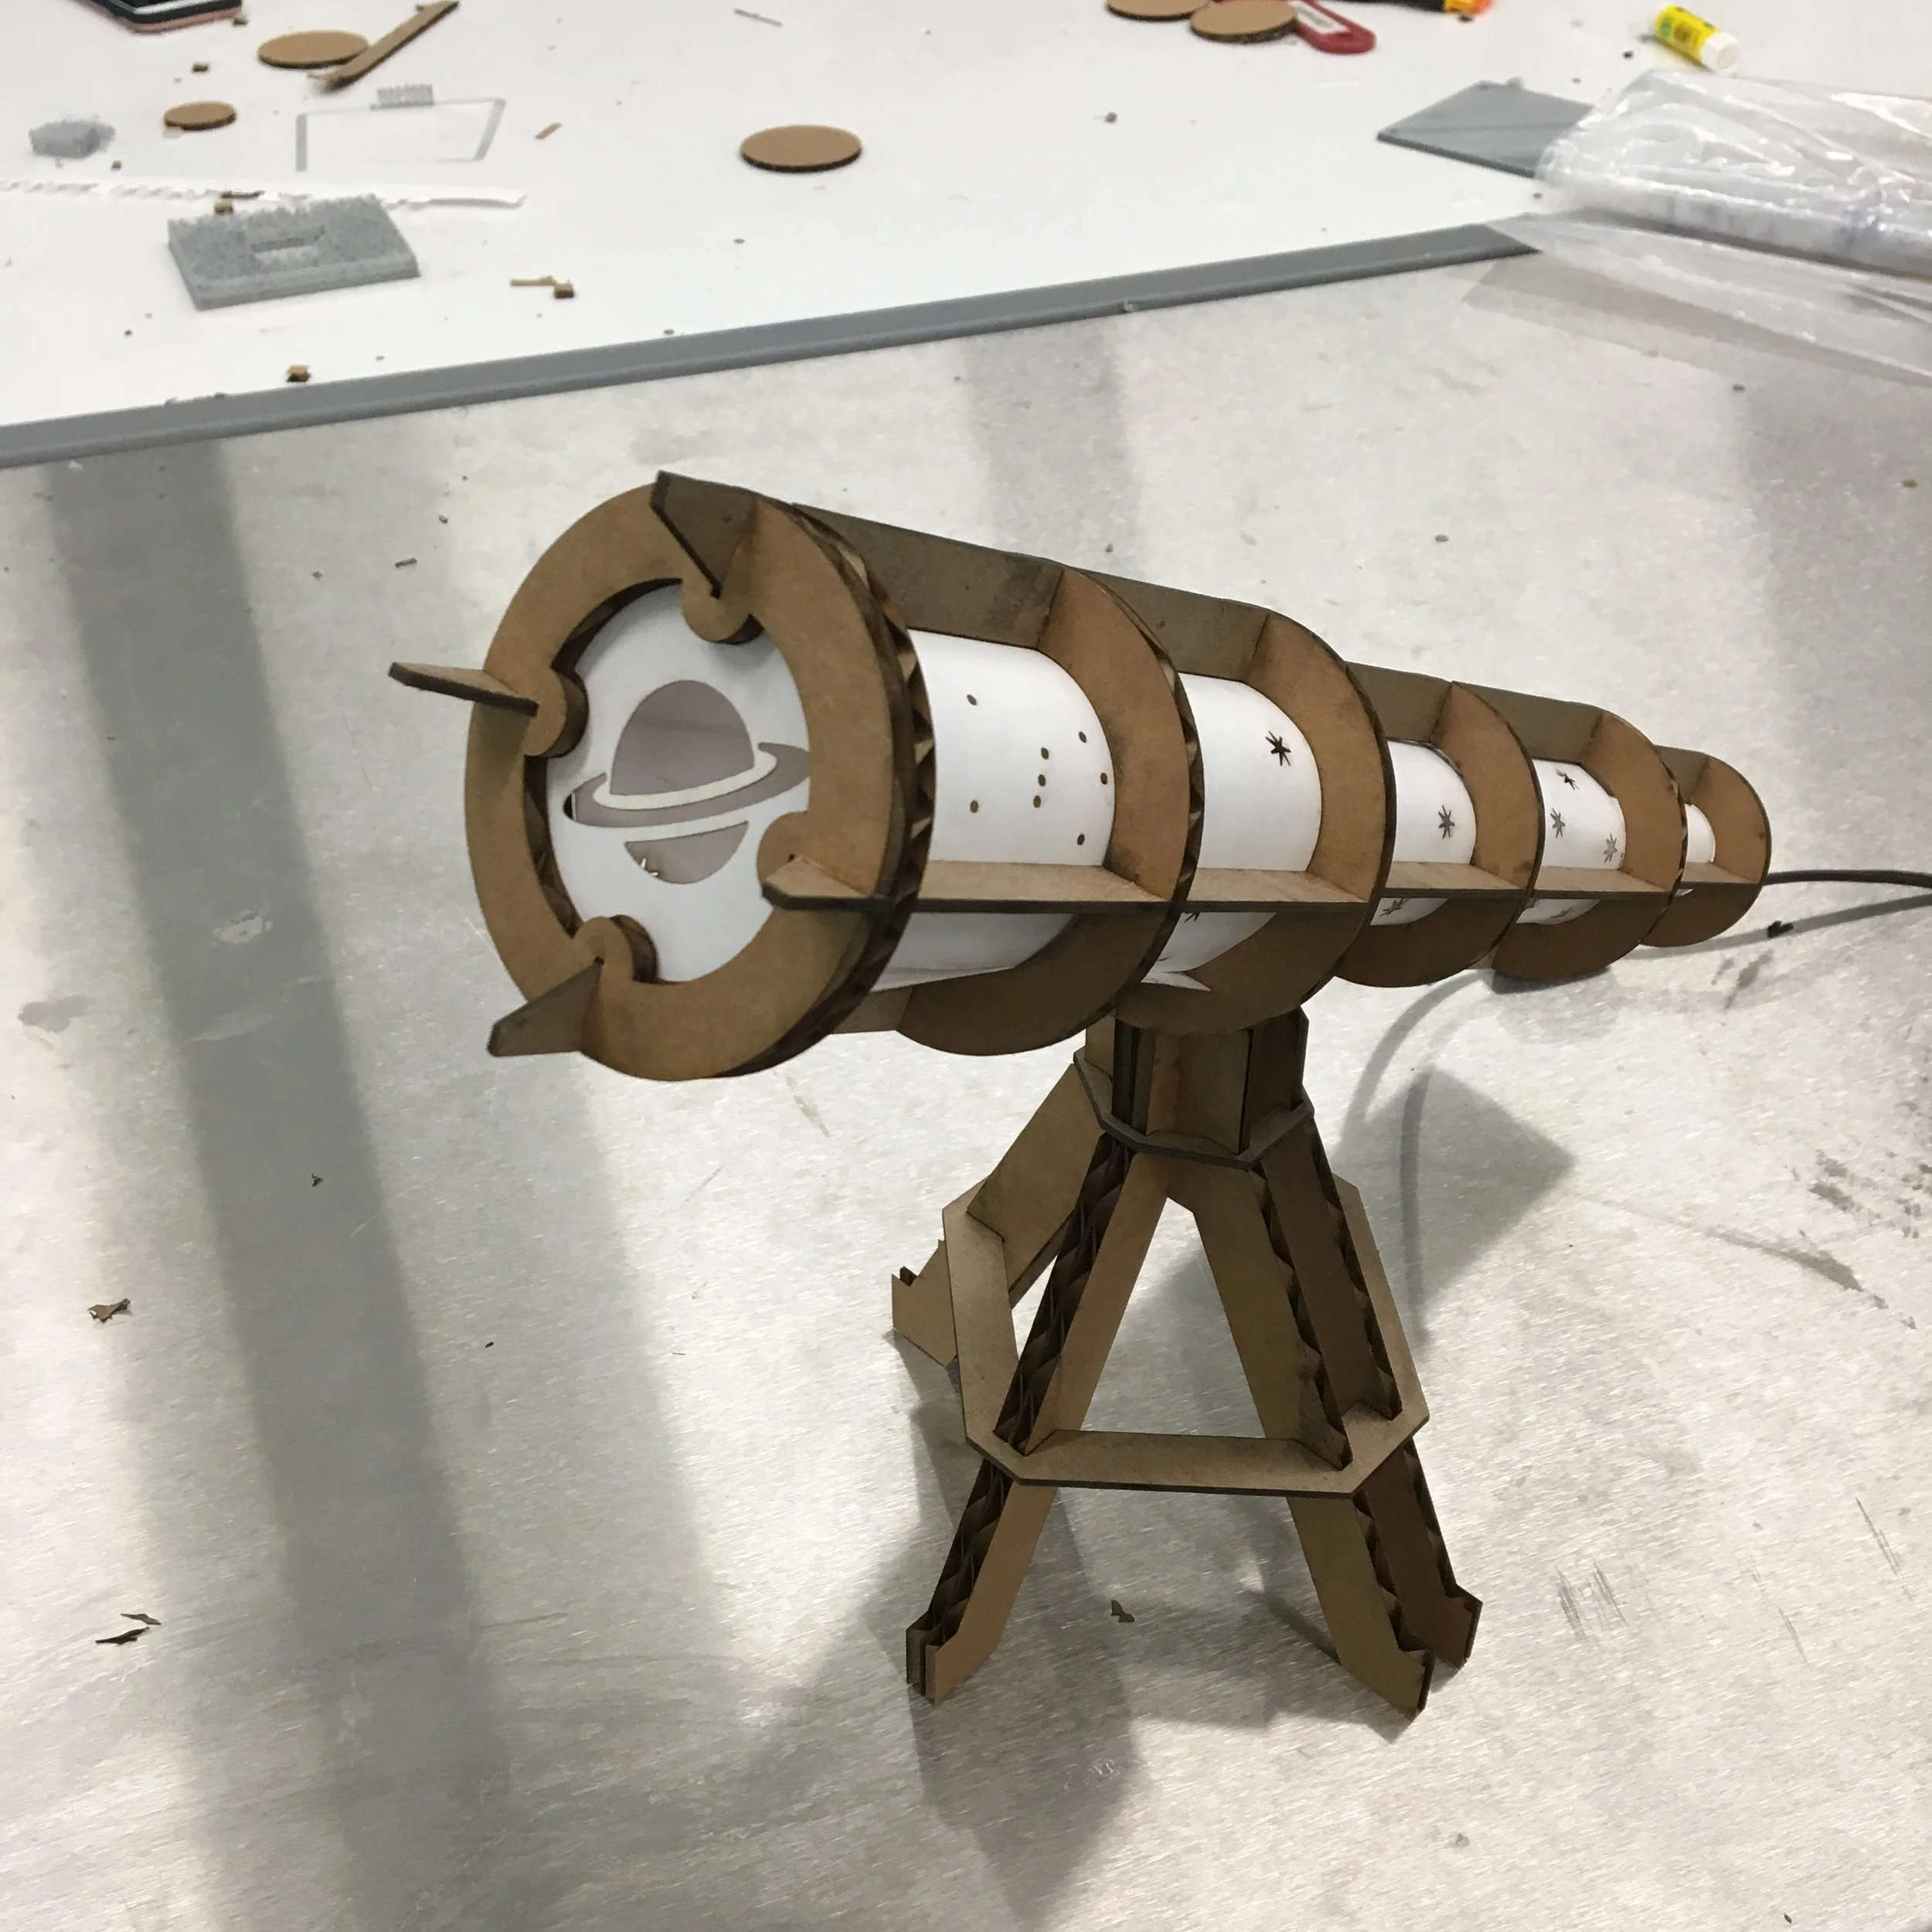
Finally Ready!

Amongst the Wreckage
All of my used materials and parts from previous prototypes
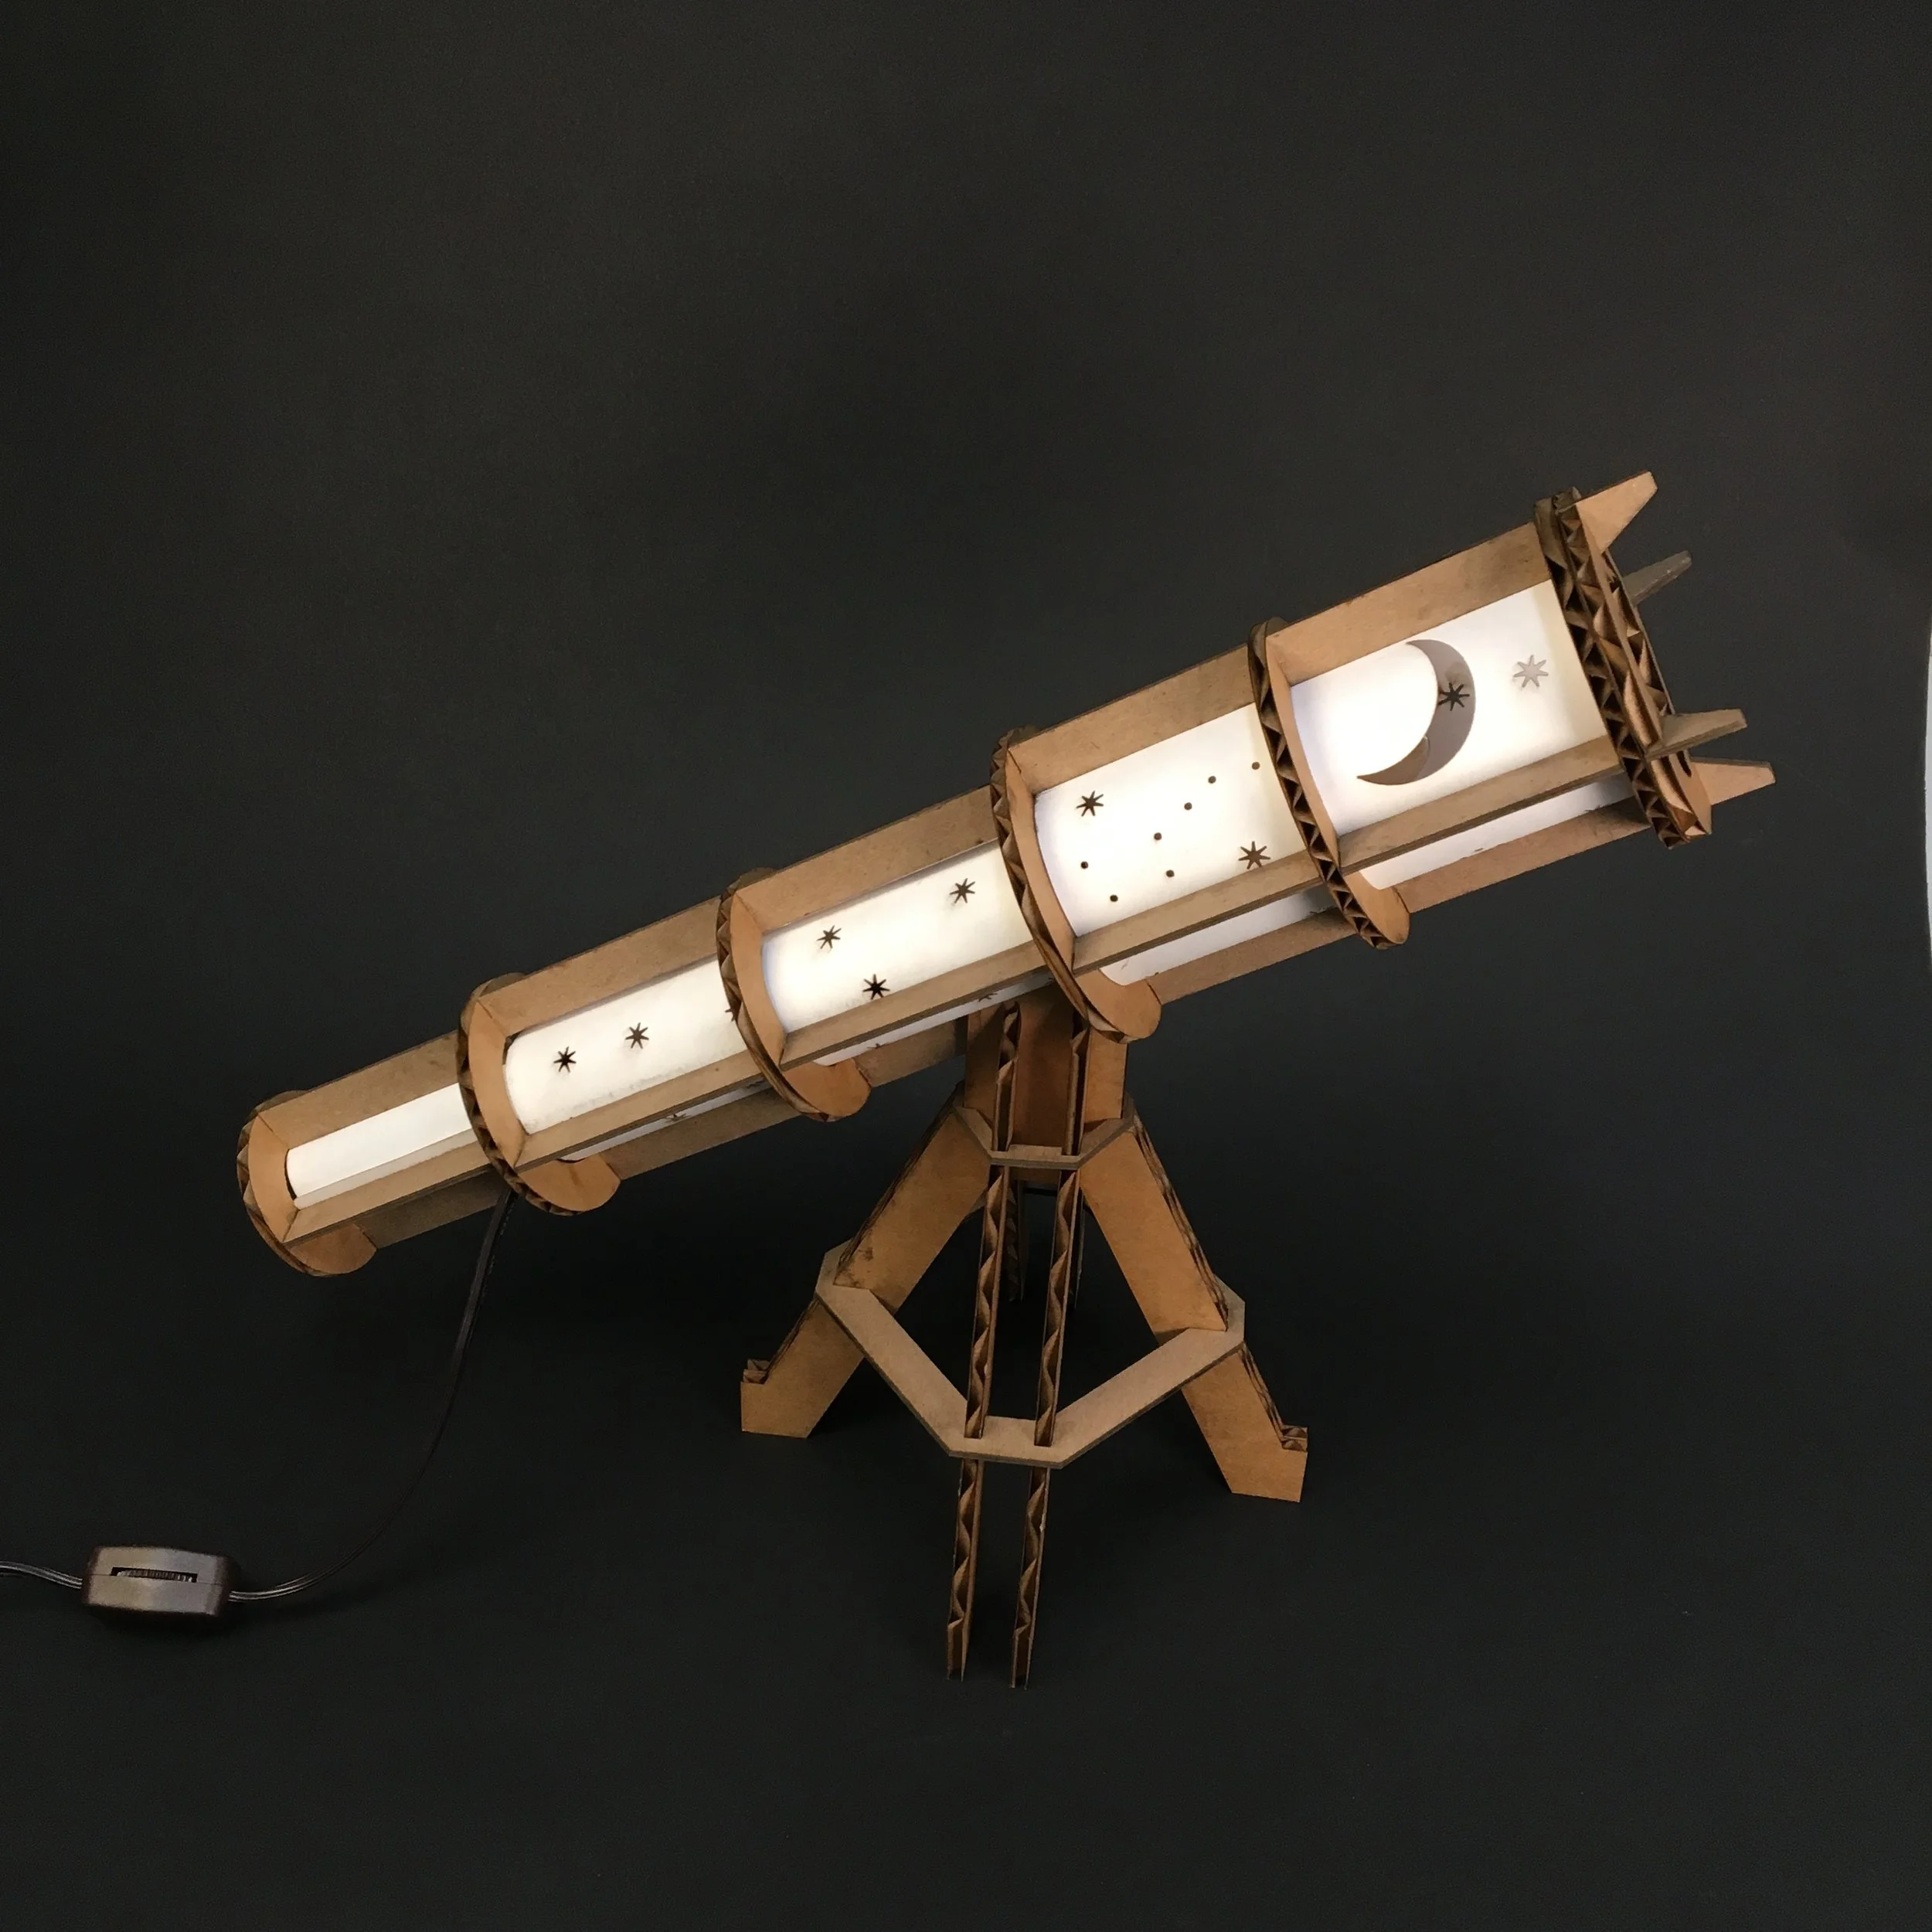
Glamour Shot
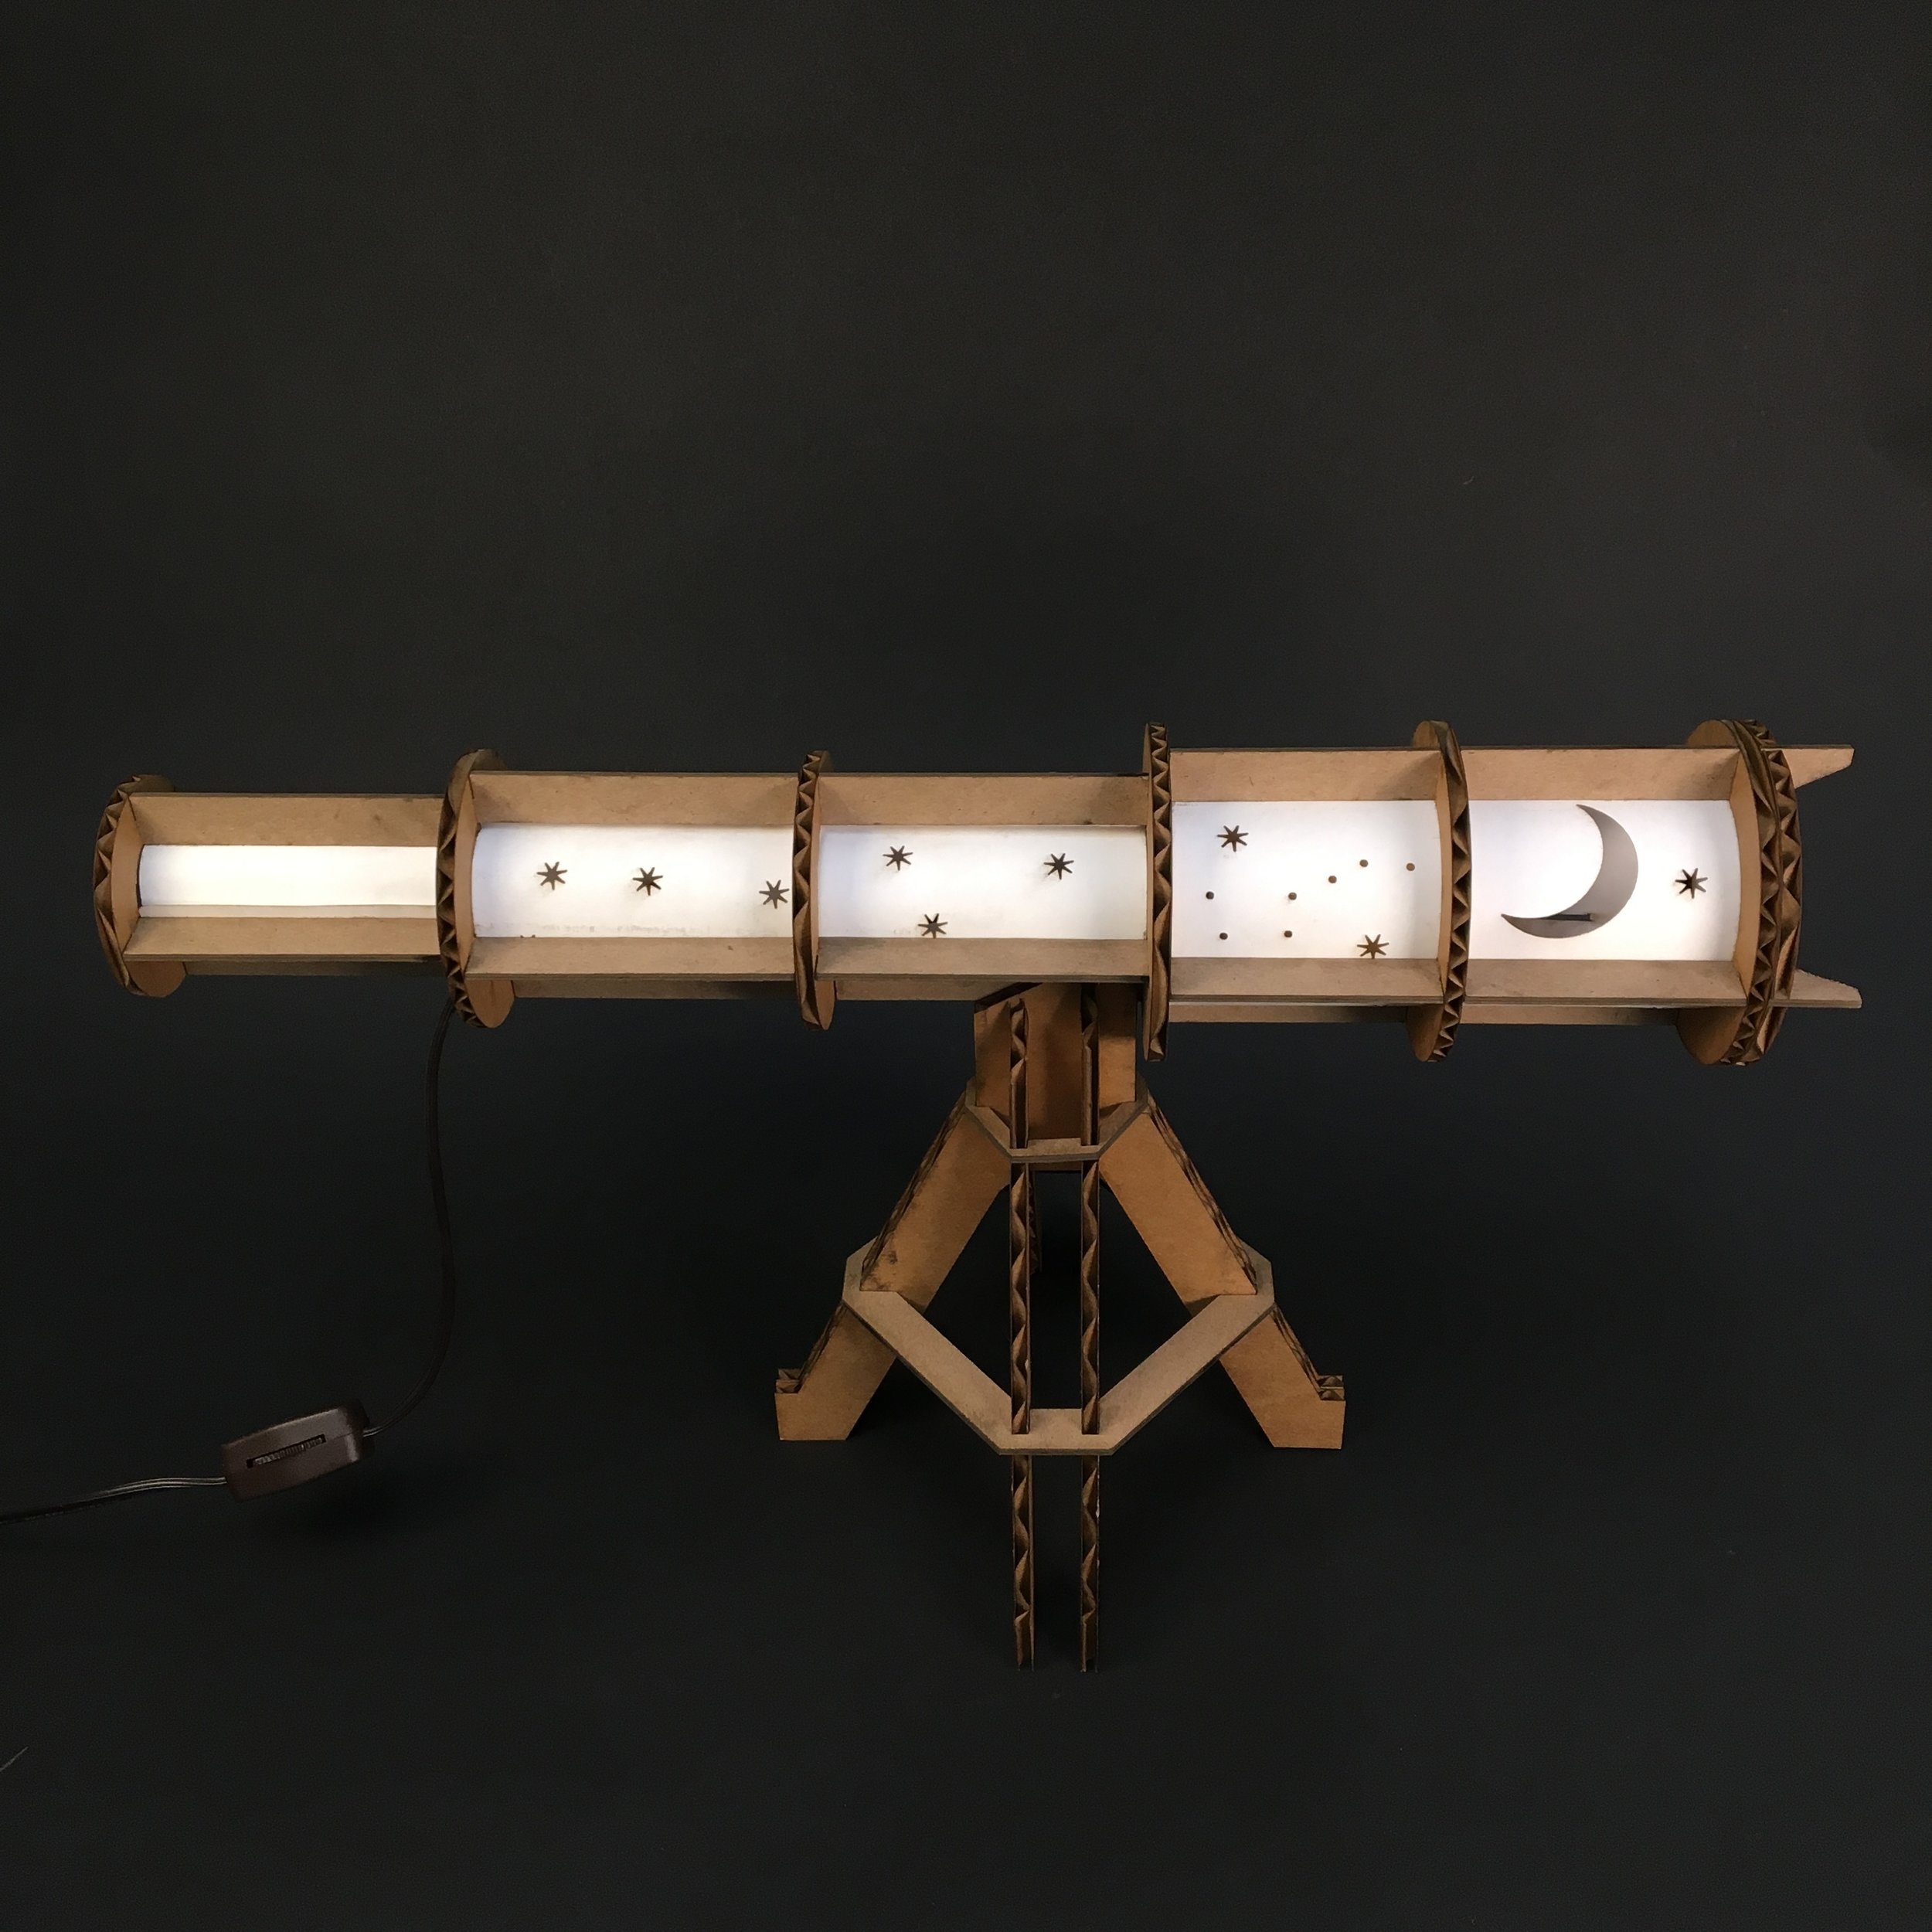
Scope Rotating on the Stand

LIGHT IT UP!!!!!

The Final Product

Planet!

Casting Shadows
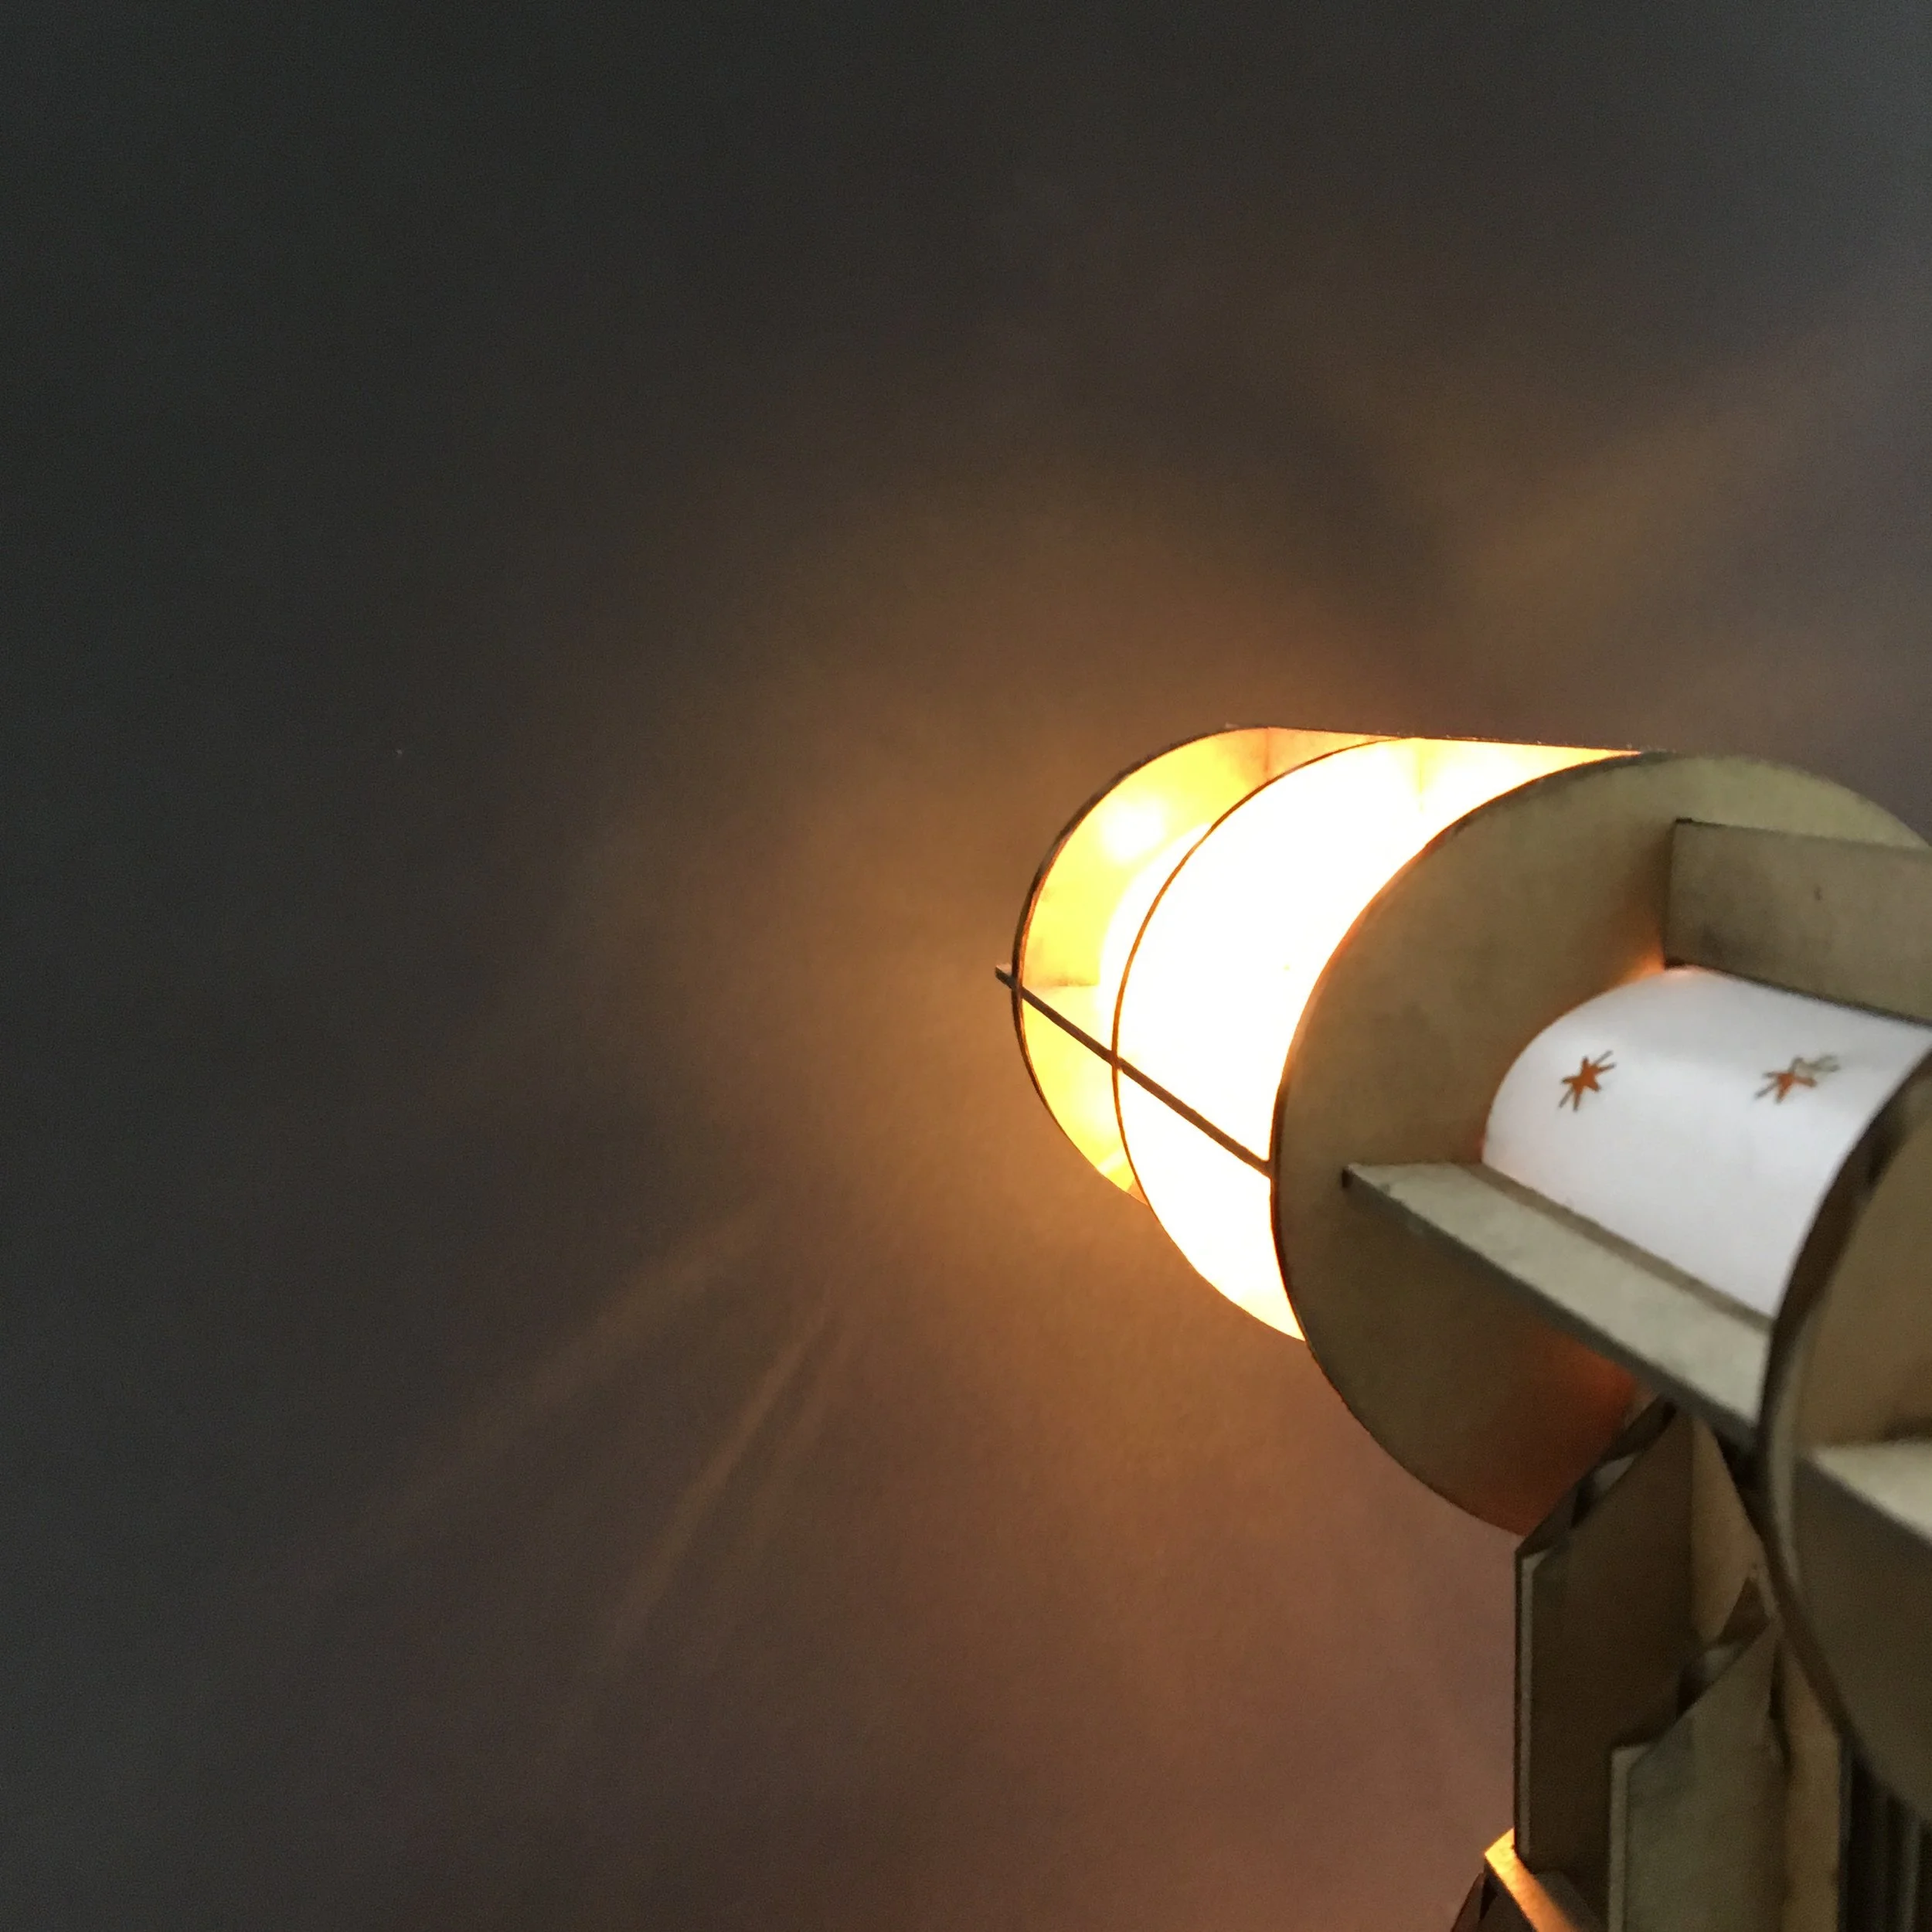
View Along The Telescope


