Hunter Rideout
Buggies Project Portfolio
HOME Resume About Me
BuggiesProject Portfolio
Hunter Rideout
HOMEResumeAbout Me
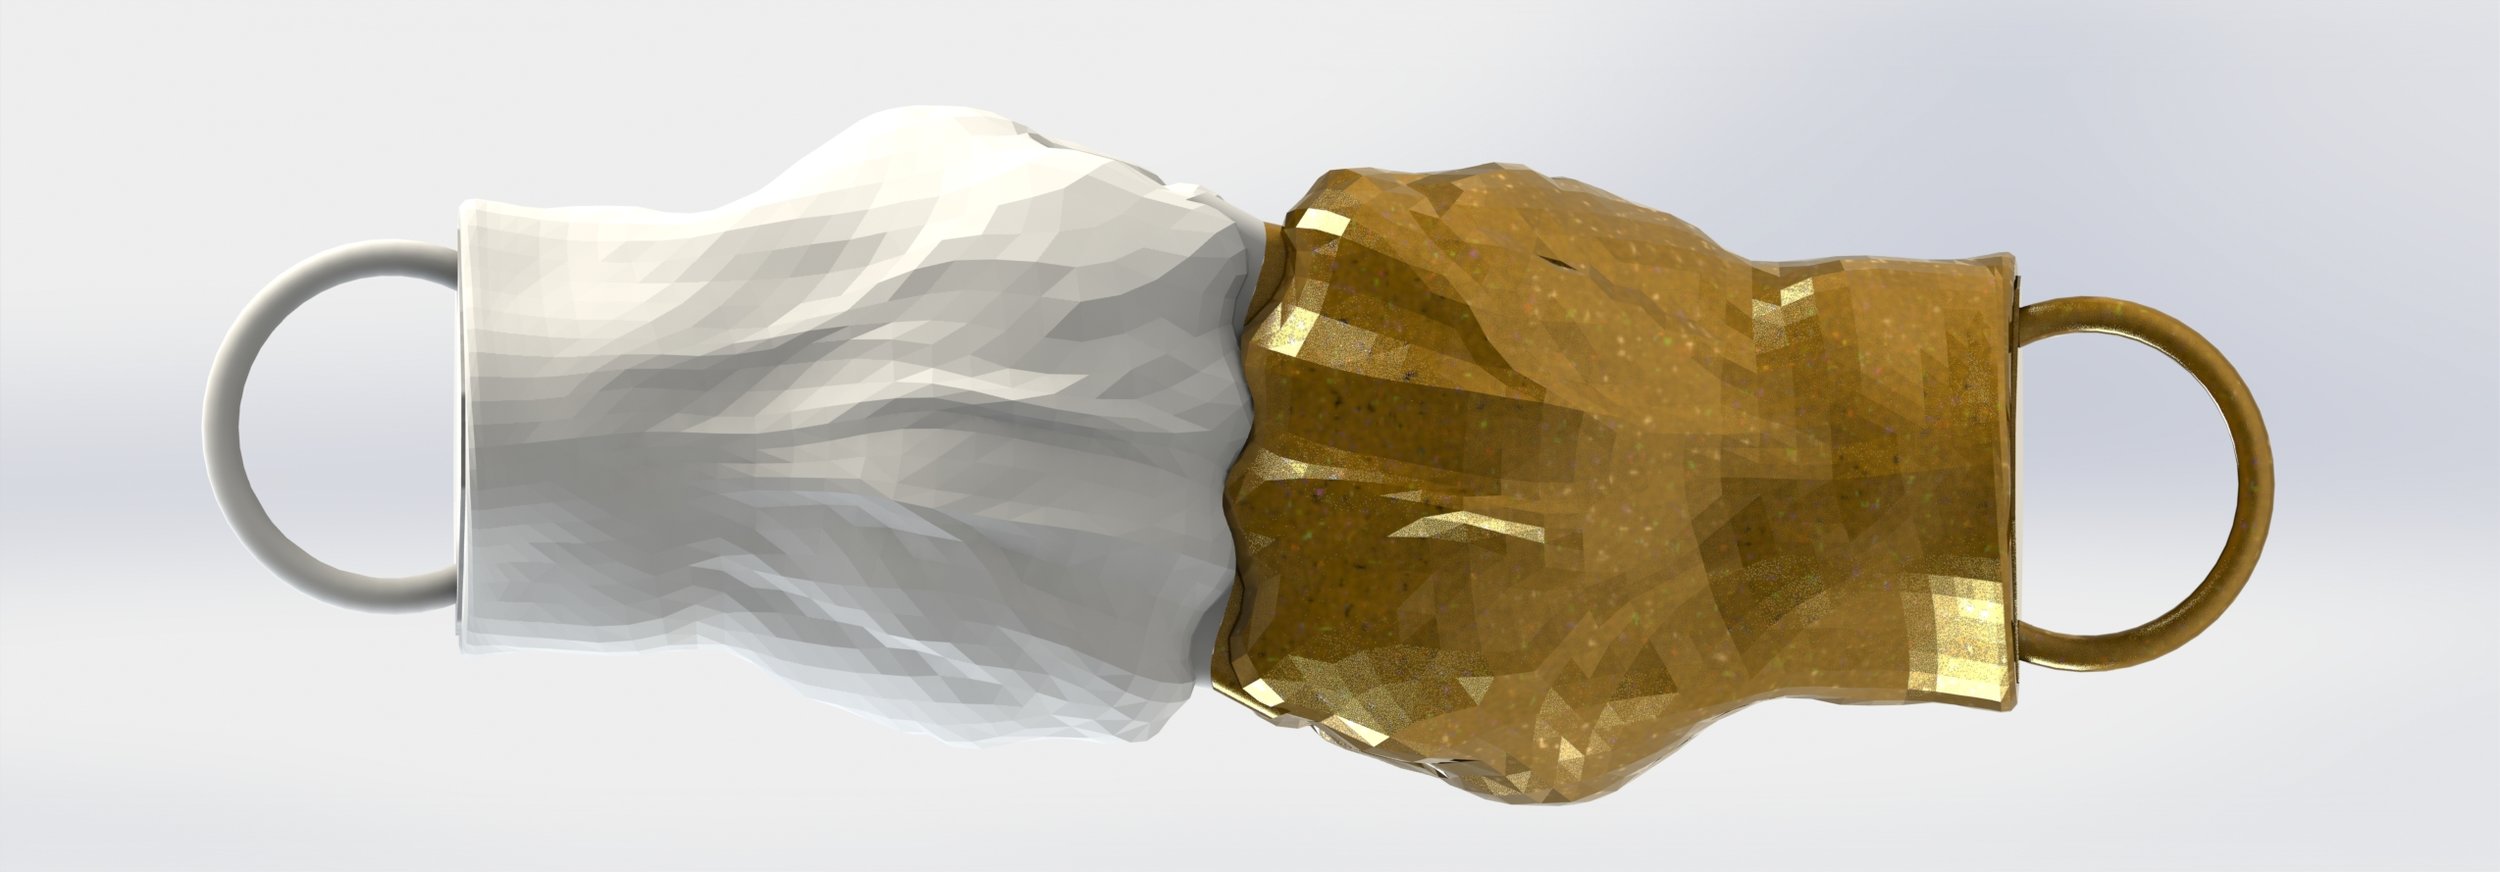
 CAD model.  An altered Hulk hand with a mirrored interlocking pad and attachment loop.
 CAD model. An altered Hulk hand with a mirrored interlocking pad and attachment loop.

CAD model. An altered Hulk hand with a mirrored interlocking pad and attachment loop.
 Bump It!

Bump It!

 Fresh off the printer

Fresh off the printer

 A little sanding and ready to be molded into the clay.  The clay was built up to the desired parting line.

A little sanding and ready to be molded into the clay.  The clay was built up to the desired parting line.

 Building the box

Building the box

 Filling in the corners

Filling in the corners

 Ready for pour #1!

Ready for pour #1!

 Mixing the 2-part silicone

Mixing the 2-part silicone

 Slow and steady pour (mold release first)

Slow and steady pour (mold release first)

 Break it open

Break it open

 Some flash on the sides

Some flash on the sides

 After trim, preparing for round 2

After trim, preparing for round 2

 Creating weep holes and pour spout

Creating weep holes and pour spout

 The two halves split apart easily

The two halves split apart easily

 Filling mold with water

Filling mold with water

 Into the freezer...

Into the freezer...

 Custom ice cubes!

Custom ice cubes!

IMG_1803.JPG
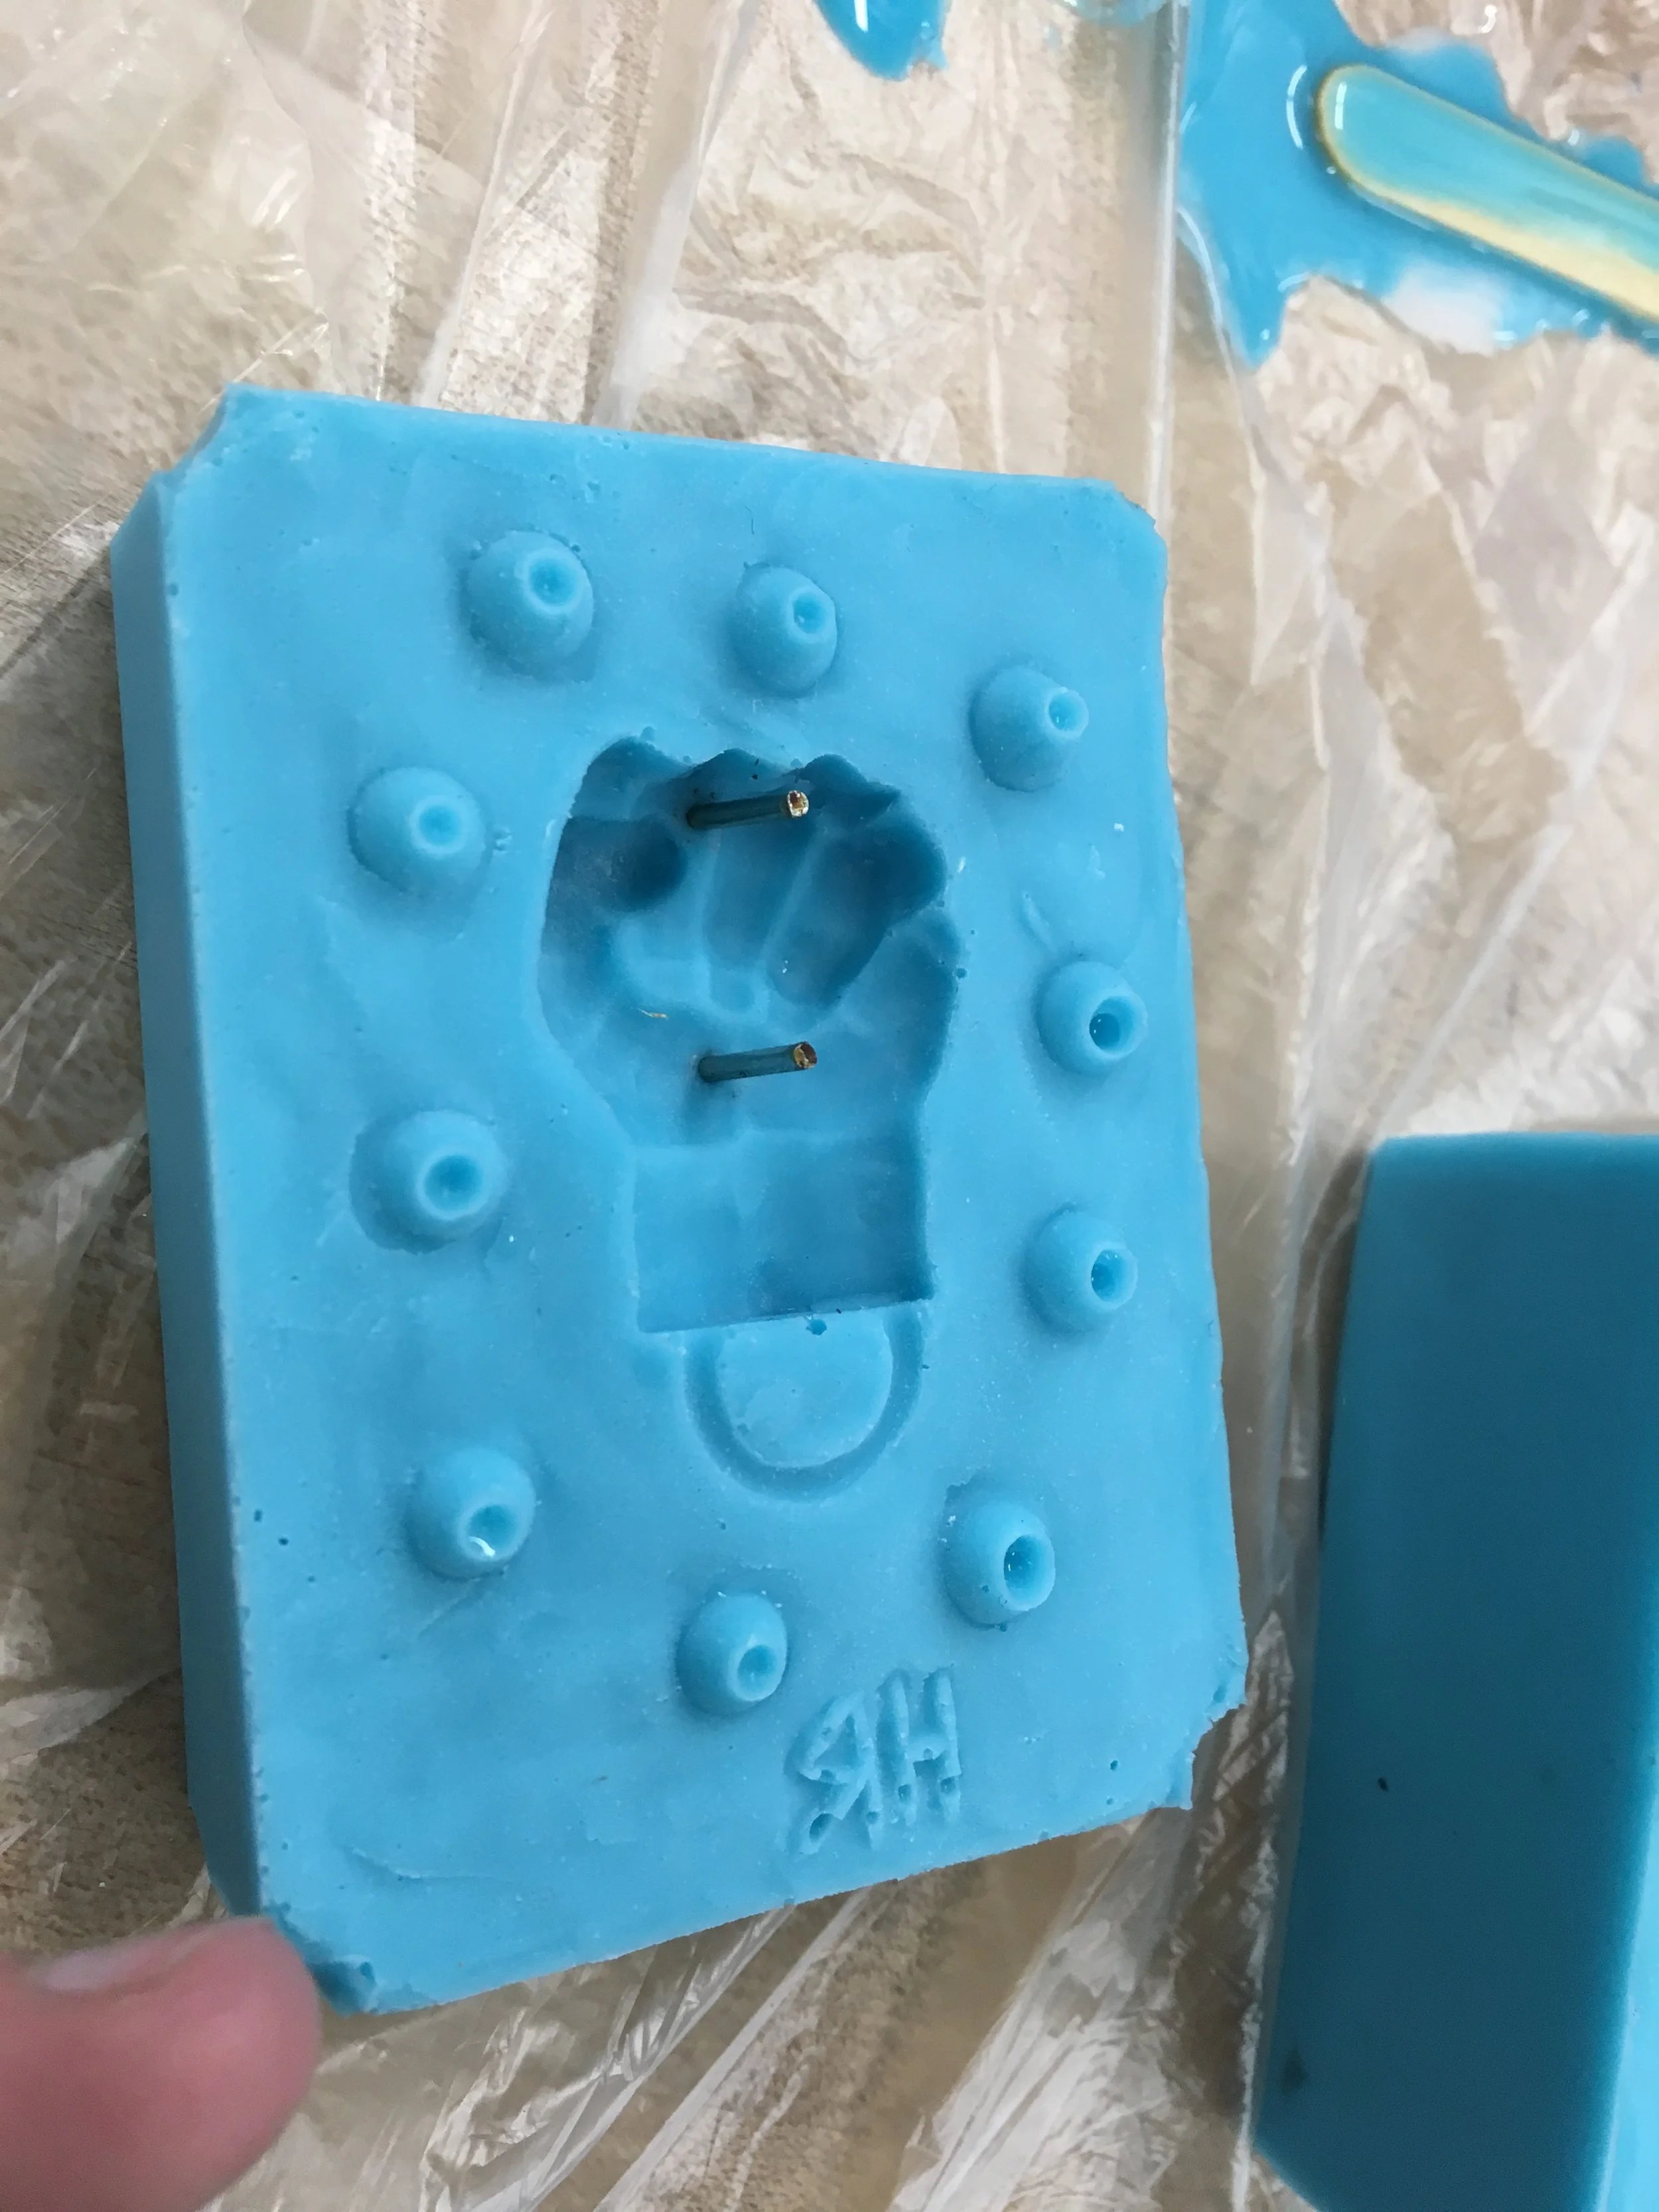
 Embedding two magnetic posts for the magnet

Embedding two magnetic posts for the magnet

 Ready for molding

Ready for molding

 De-gassing the resin

De-gassing the resin

 Prop it so the weep hole is at the highest point

Prop it so the weep hole is at the highest point

 Attempt #1

Attempt #1

 The magnet slipped to the bottom during the molding process.  I also did not de-gas the resin enough.

The magnet slipped to the bottom during the molding process.  I also did not de-gas the resin enough.

 Attempt # 2 with an extra magnet support

Attempt # 2 with an extra magnet support

 Looks good! minor gap in the loop

Looks good! minor gap in the loop

 Weep holes and spout visible

Weep holes and spout visible

 Shiny!

Shiny!

 The finished and unfinished parts

The finished and unfinished parts

 Strong enough to hold my keys!

Strong enough to hold my keys!

1 2 3 4 5 6 7 8 9 10 11 12 13 14 15 16 17 18 19 20 21 22 23 24 25 26 27 28 29 30
Previous Next
 CAD model. An altered Hulk hand with a mirrored interlocking pad and attachment loop.
 Bump It!
 Fresh off the printer
 A little sanding and ready to be molded into the clay.  The clay was built up to the desired parting line.
 Building the box
 Filling in the corners
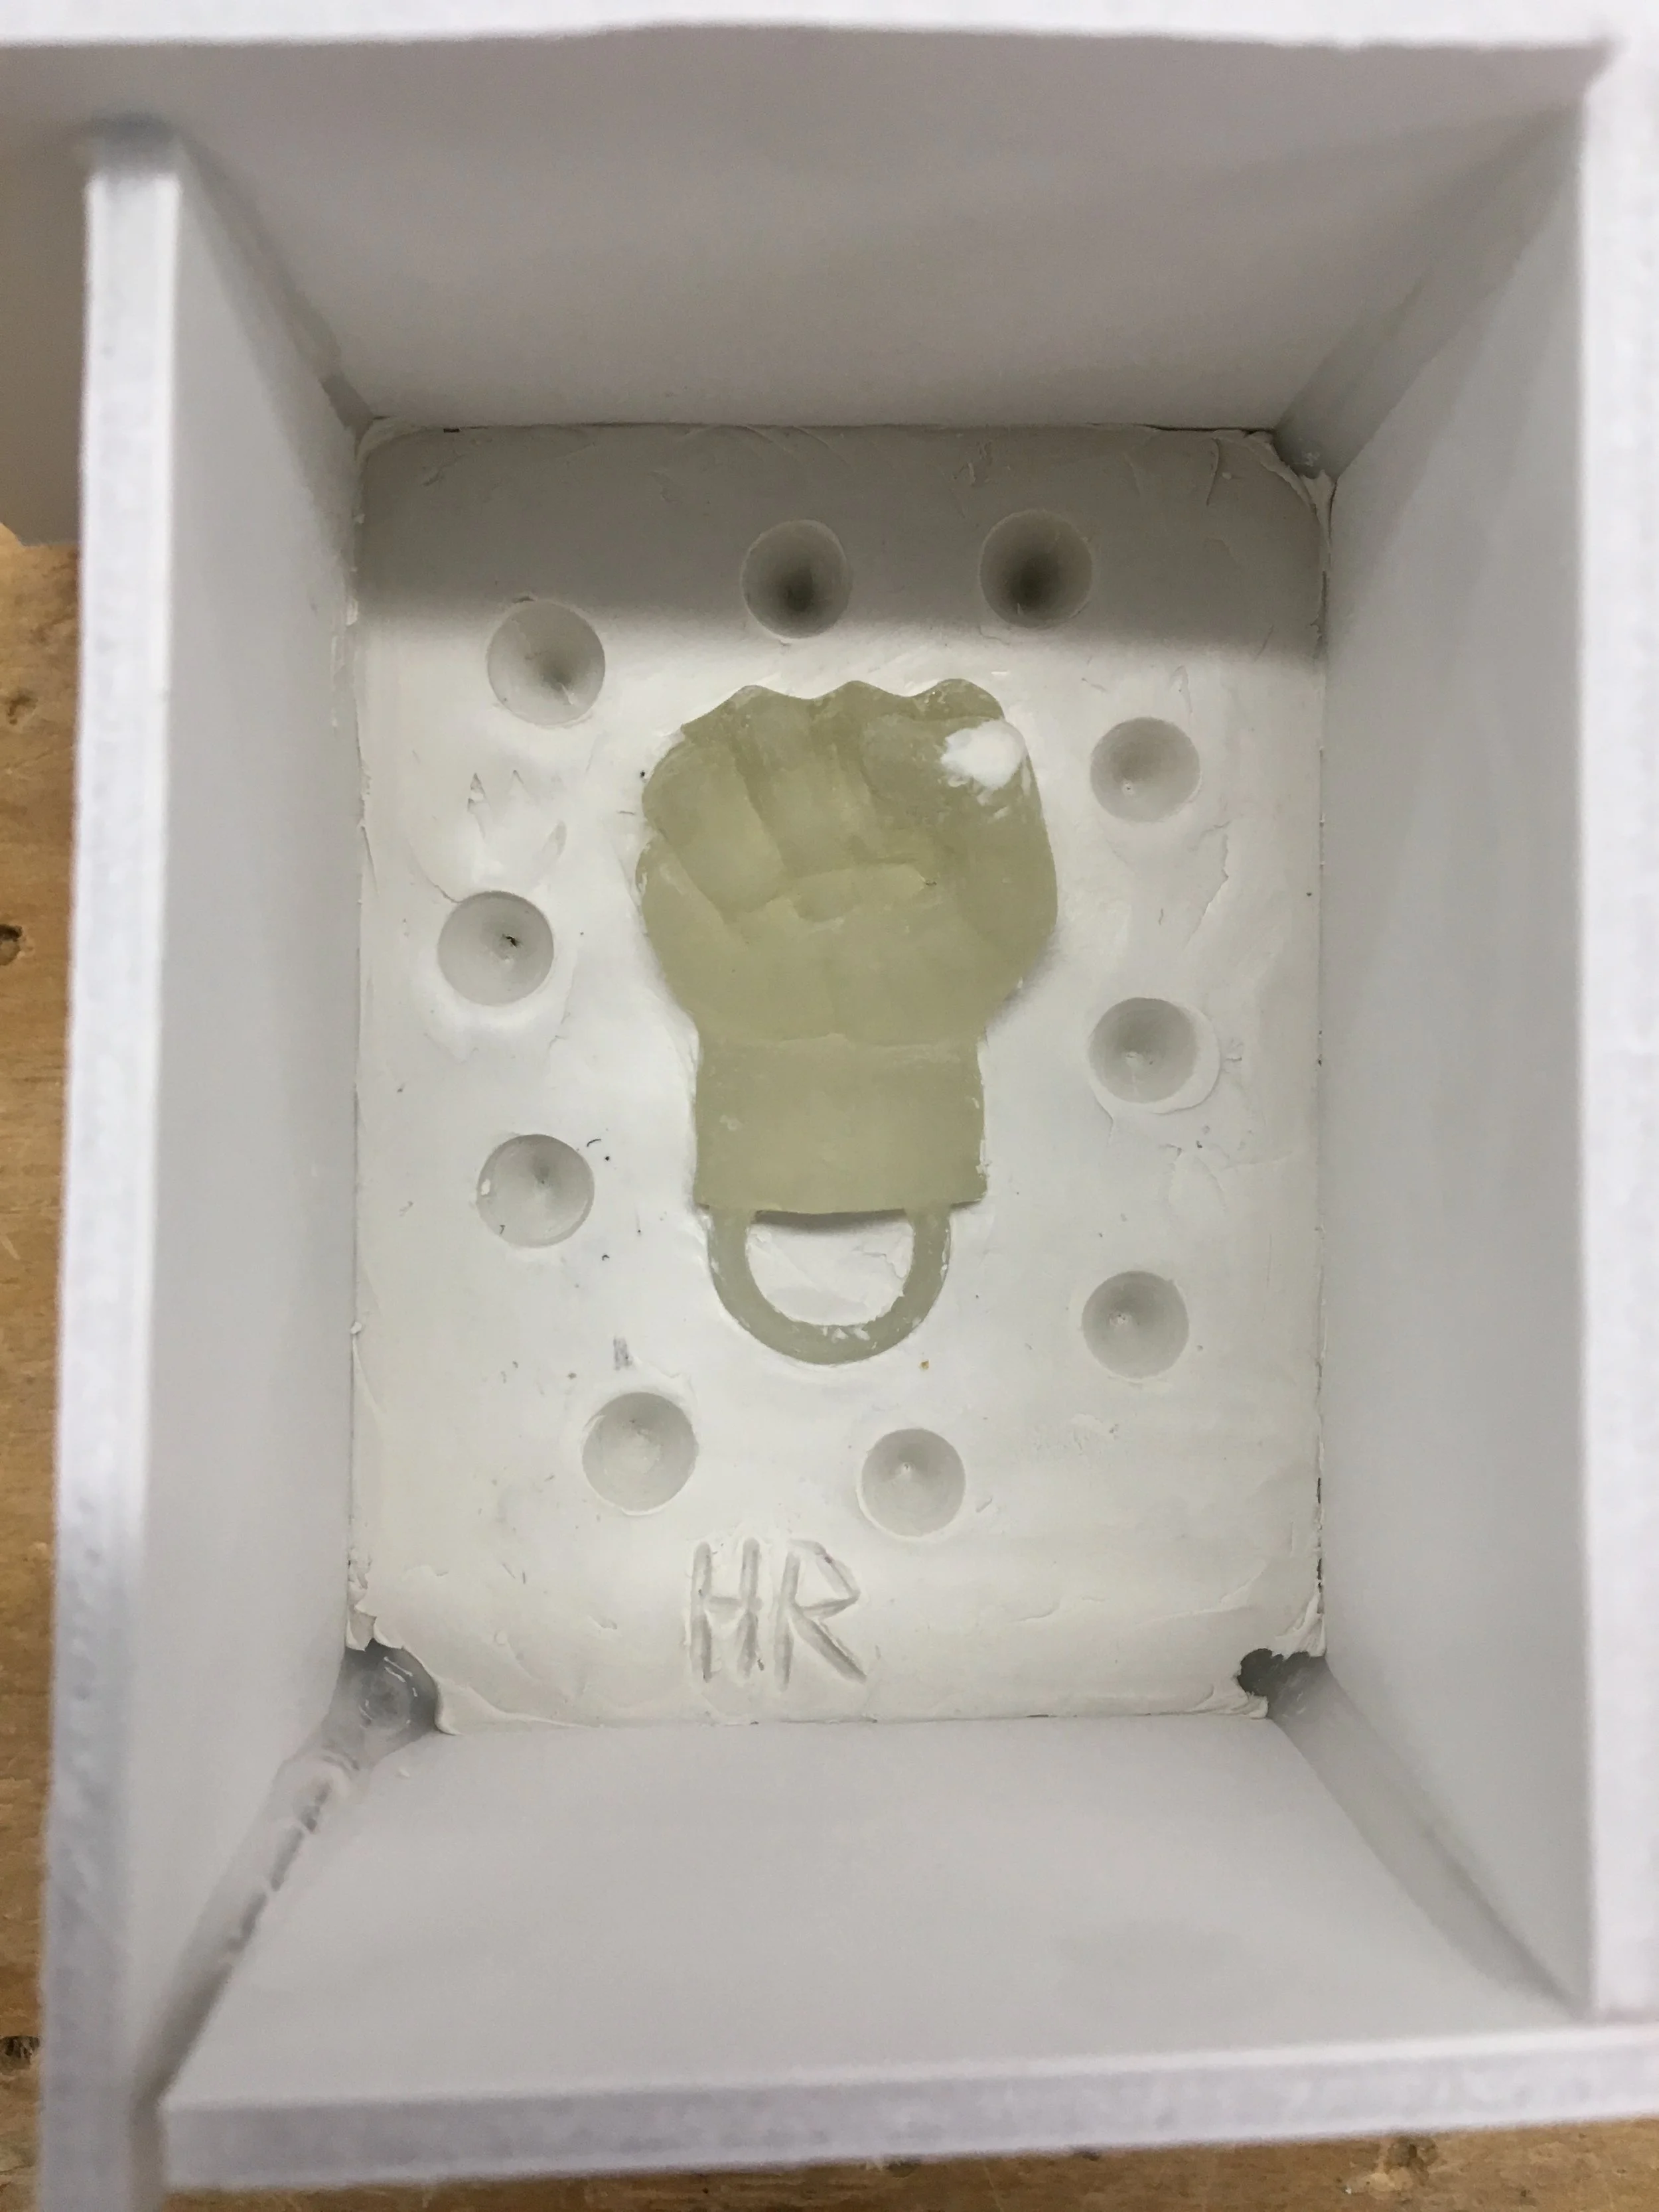
 Ready for pour #1!
 Mixing the 2-part silicone
 Slow and steady pour (mold release first)
 Break it open
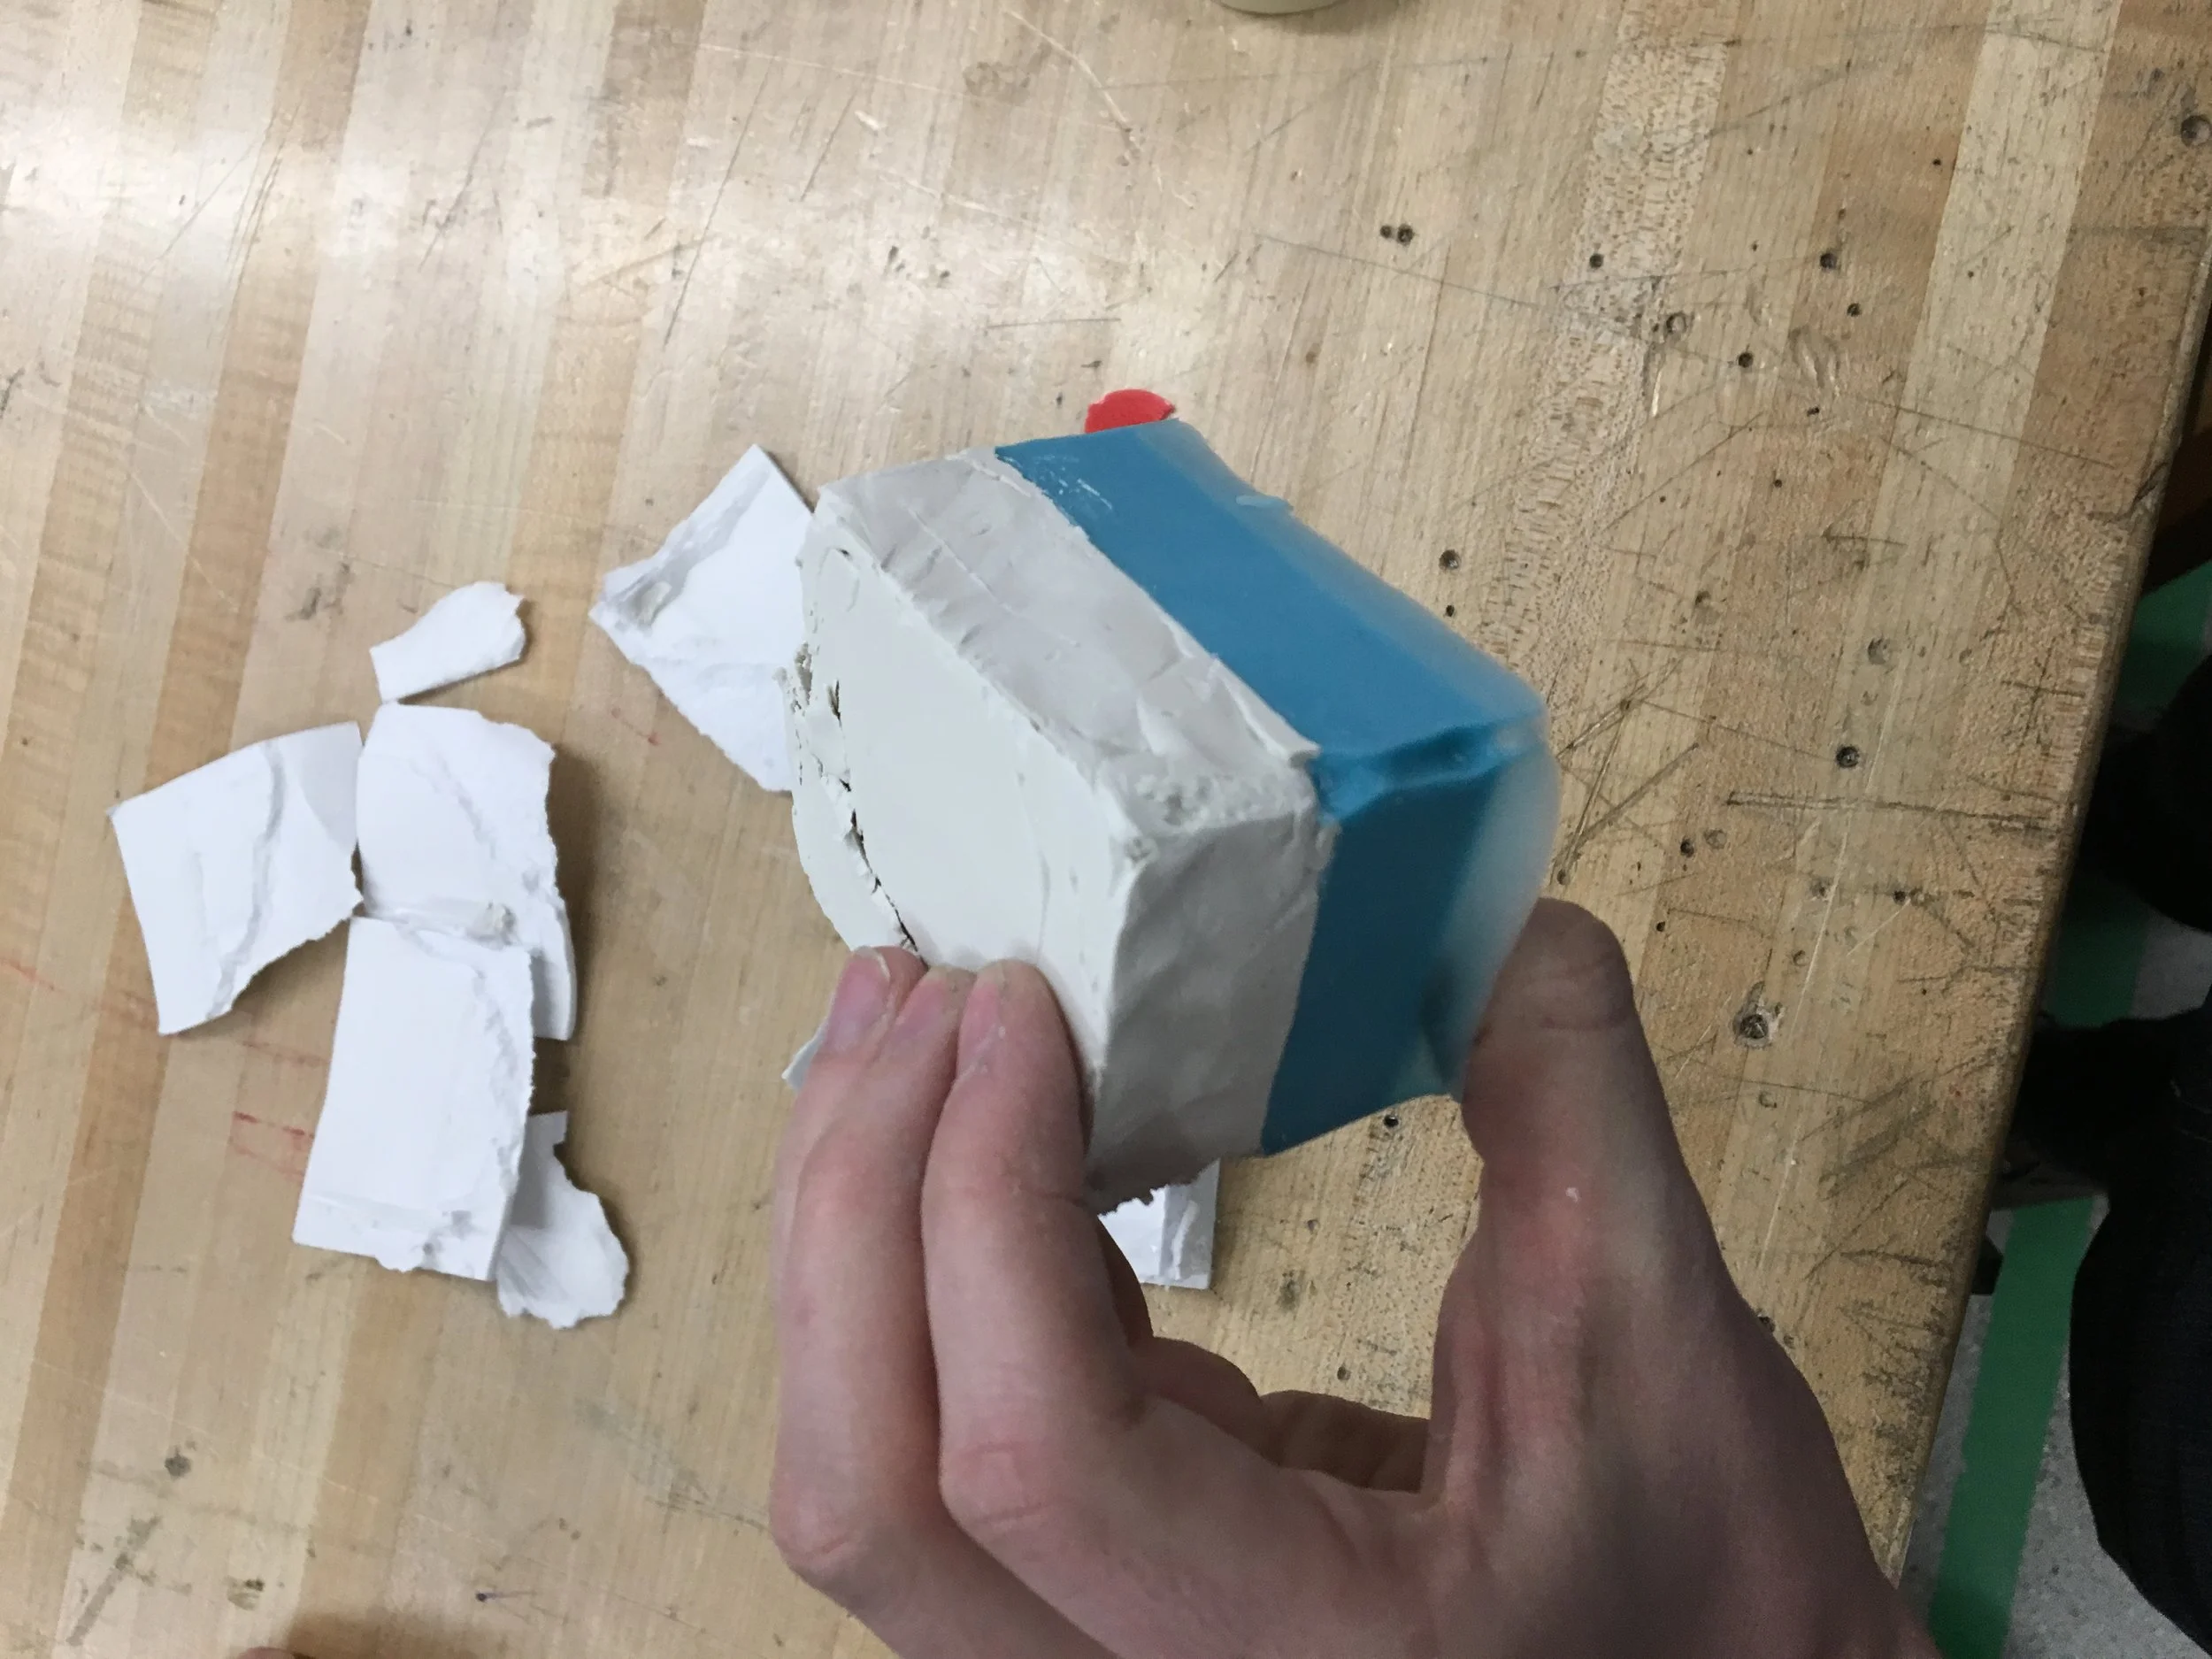
 Some flash on the sides
 After trim, preparing for round 2
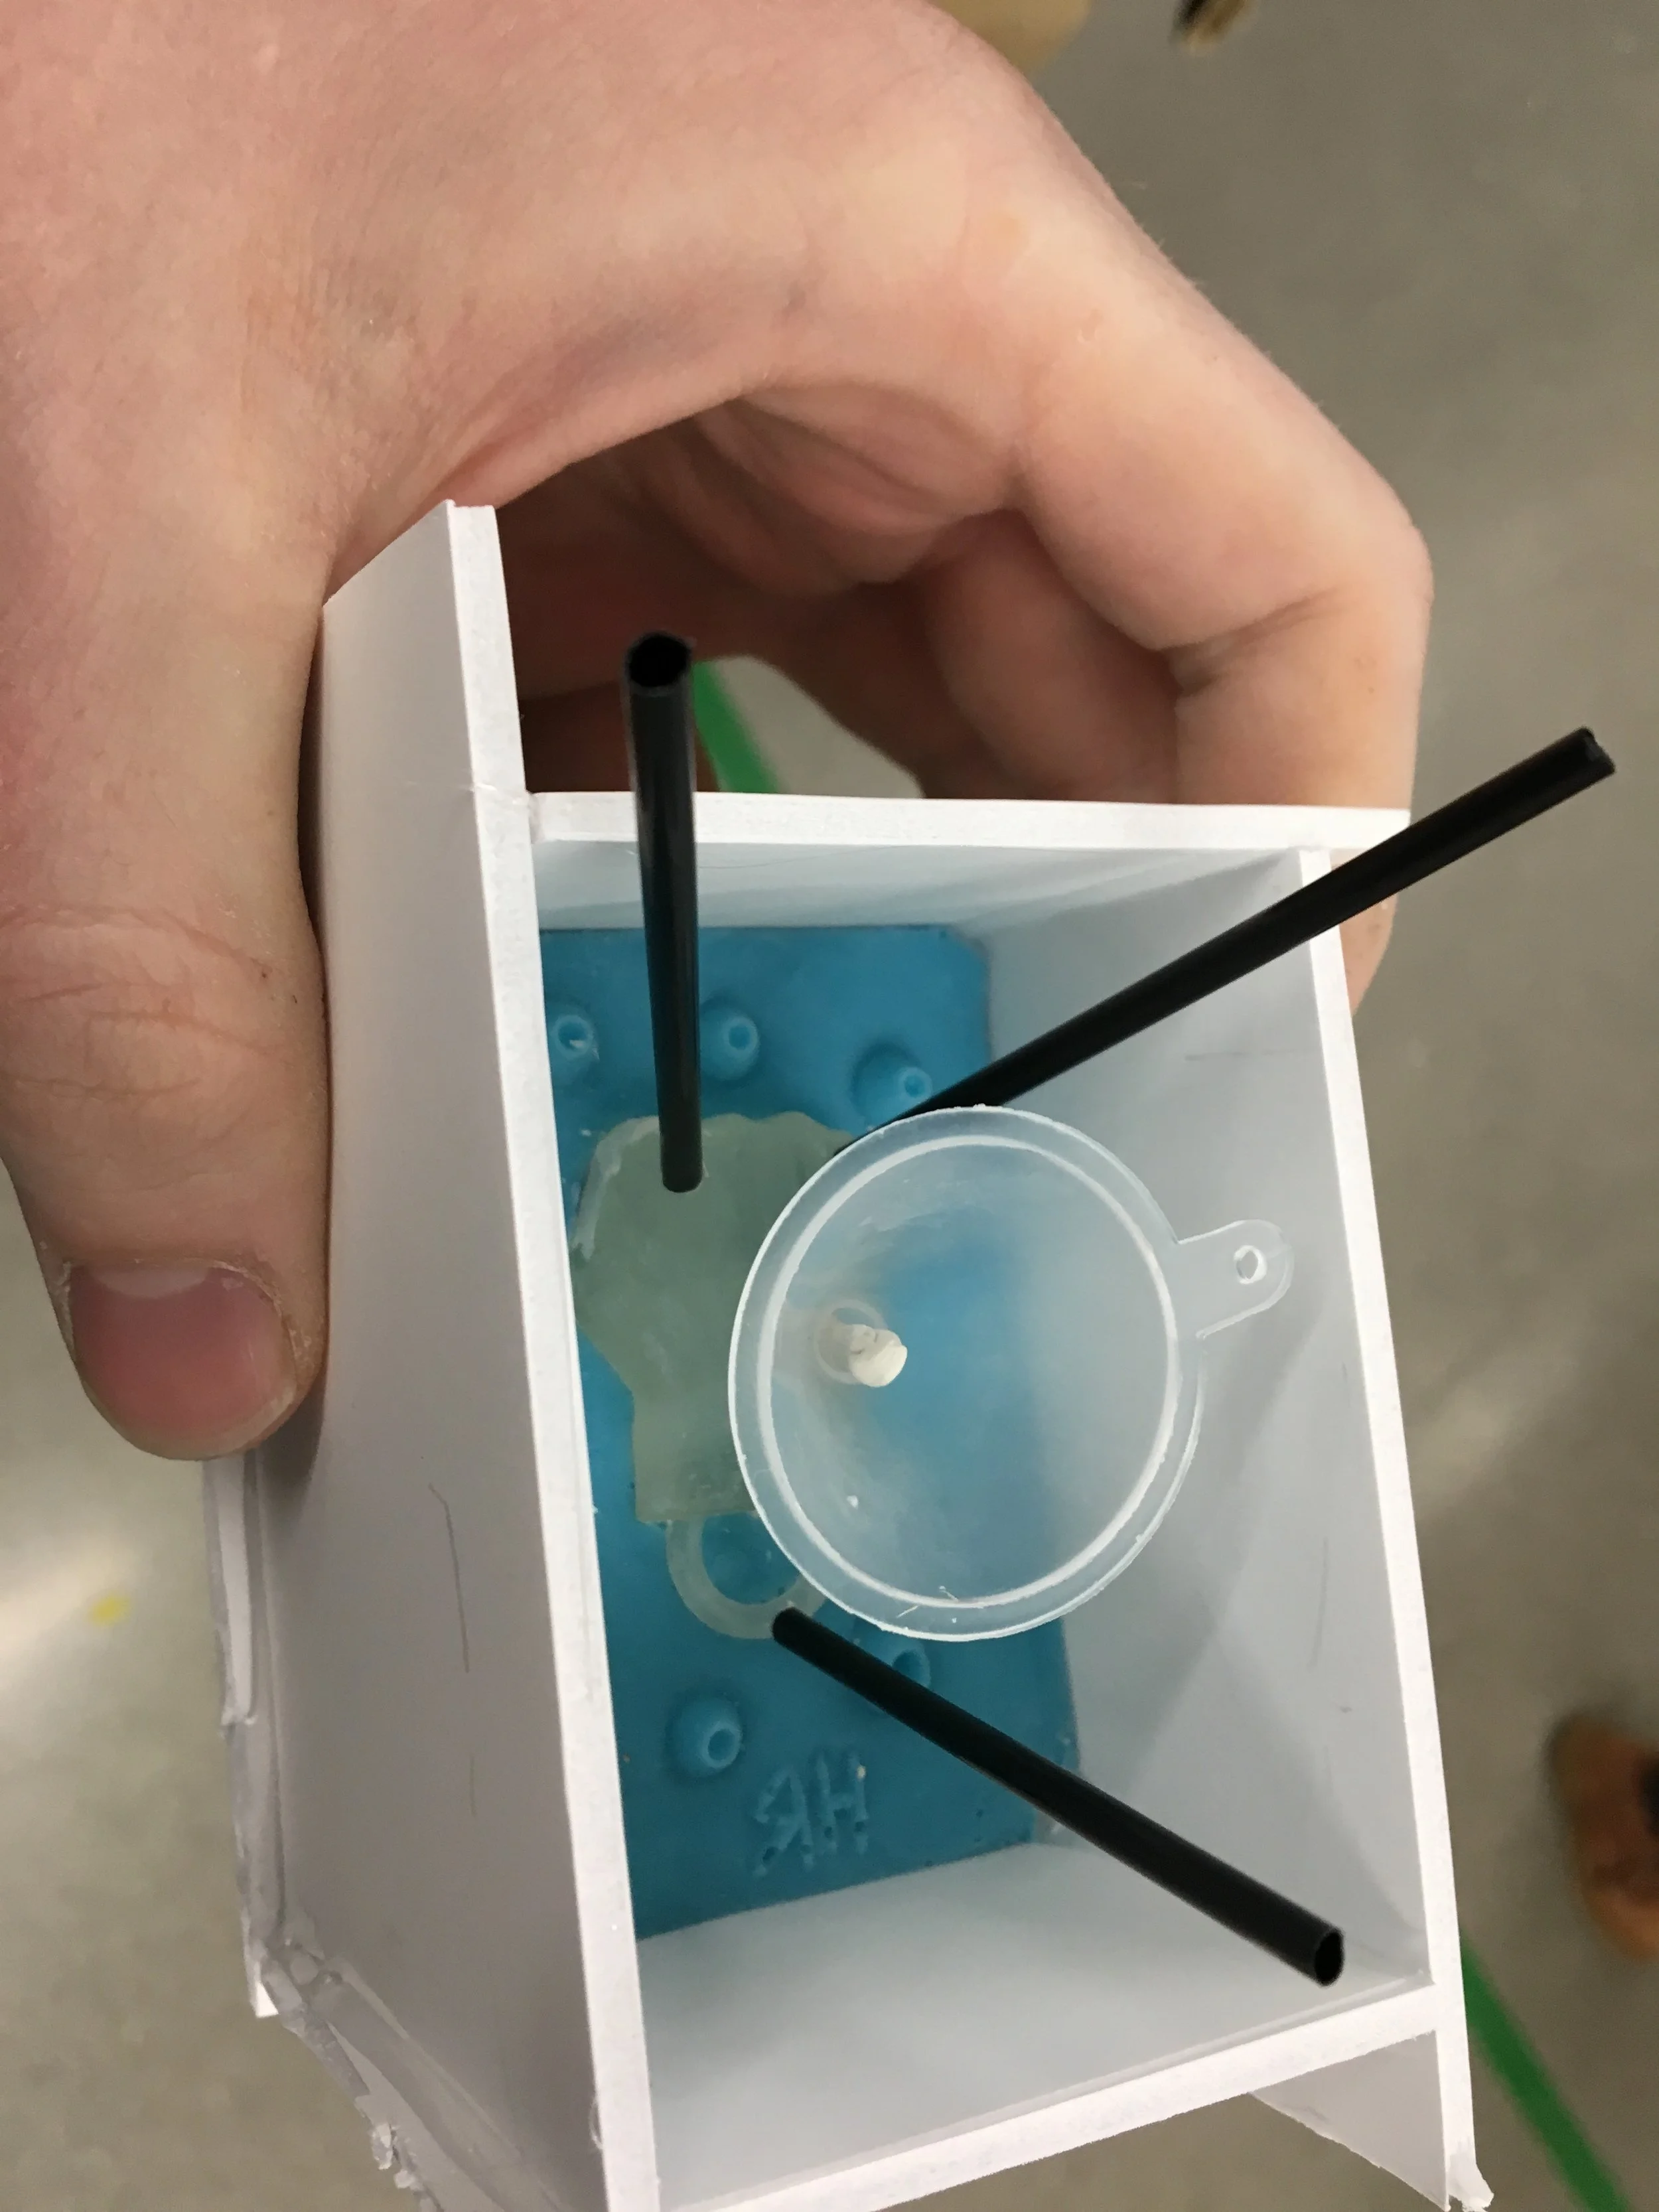
 Creating weep holes and pour spout
 The two halves split apart easily
 Filling mold with water
 Into the freezer...
 Custom ice cubes!
IMG_1803.JPG
 Embedding two magnetic posts for the magnet
 Ready for molding
 De-gassing the resin
 Prop it so the weep hole is at the highest point
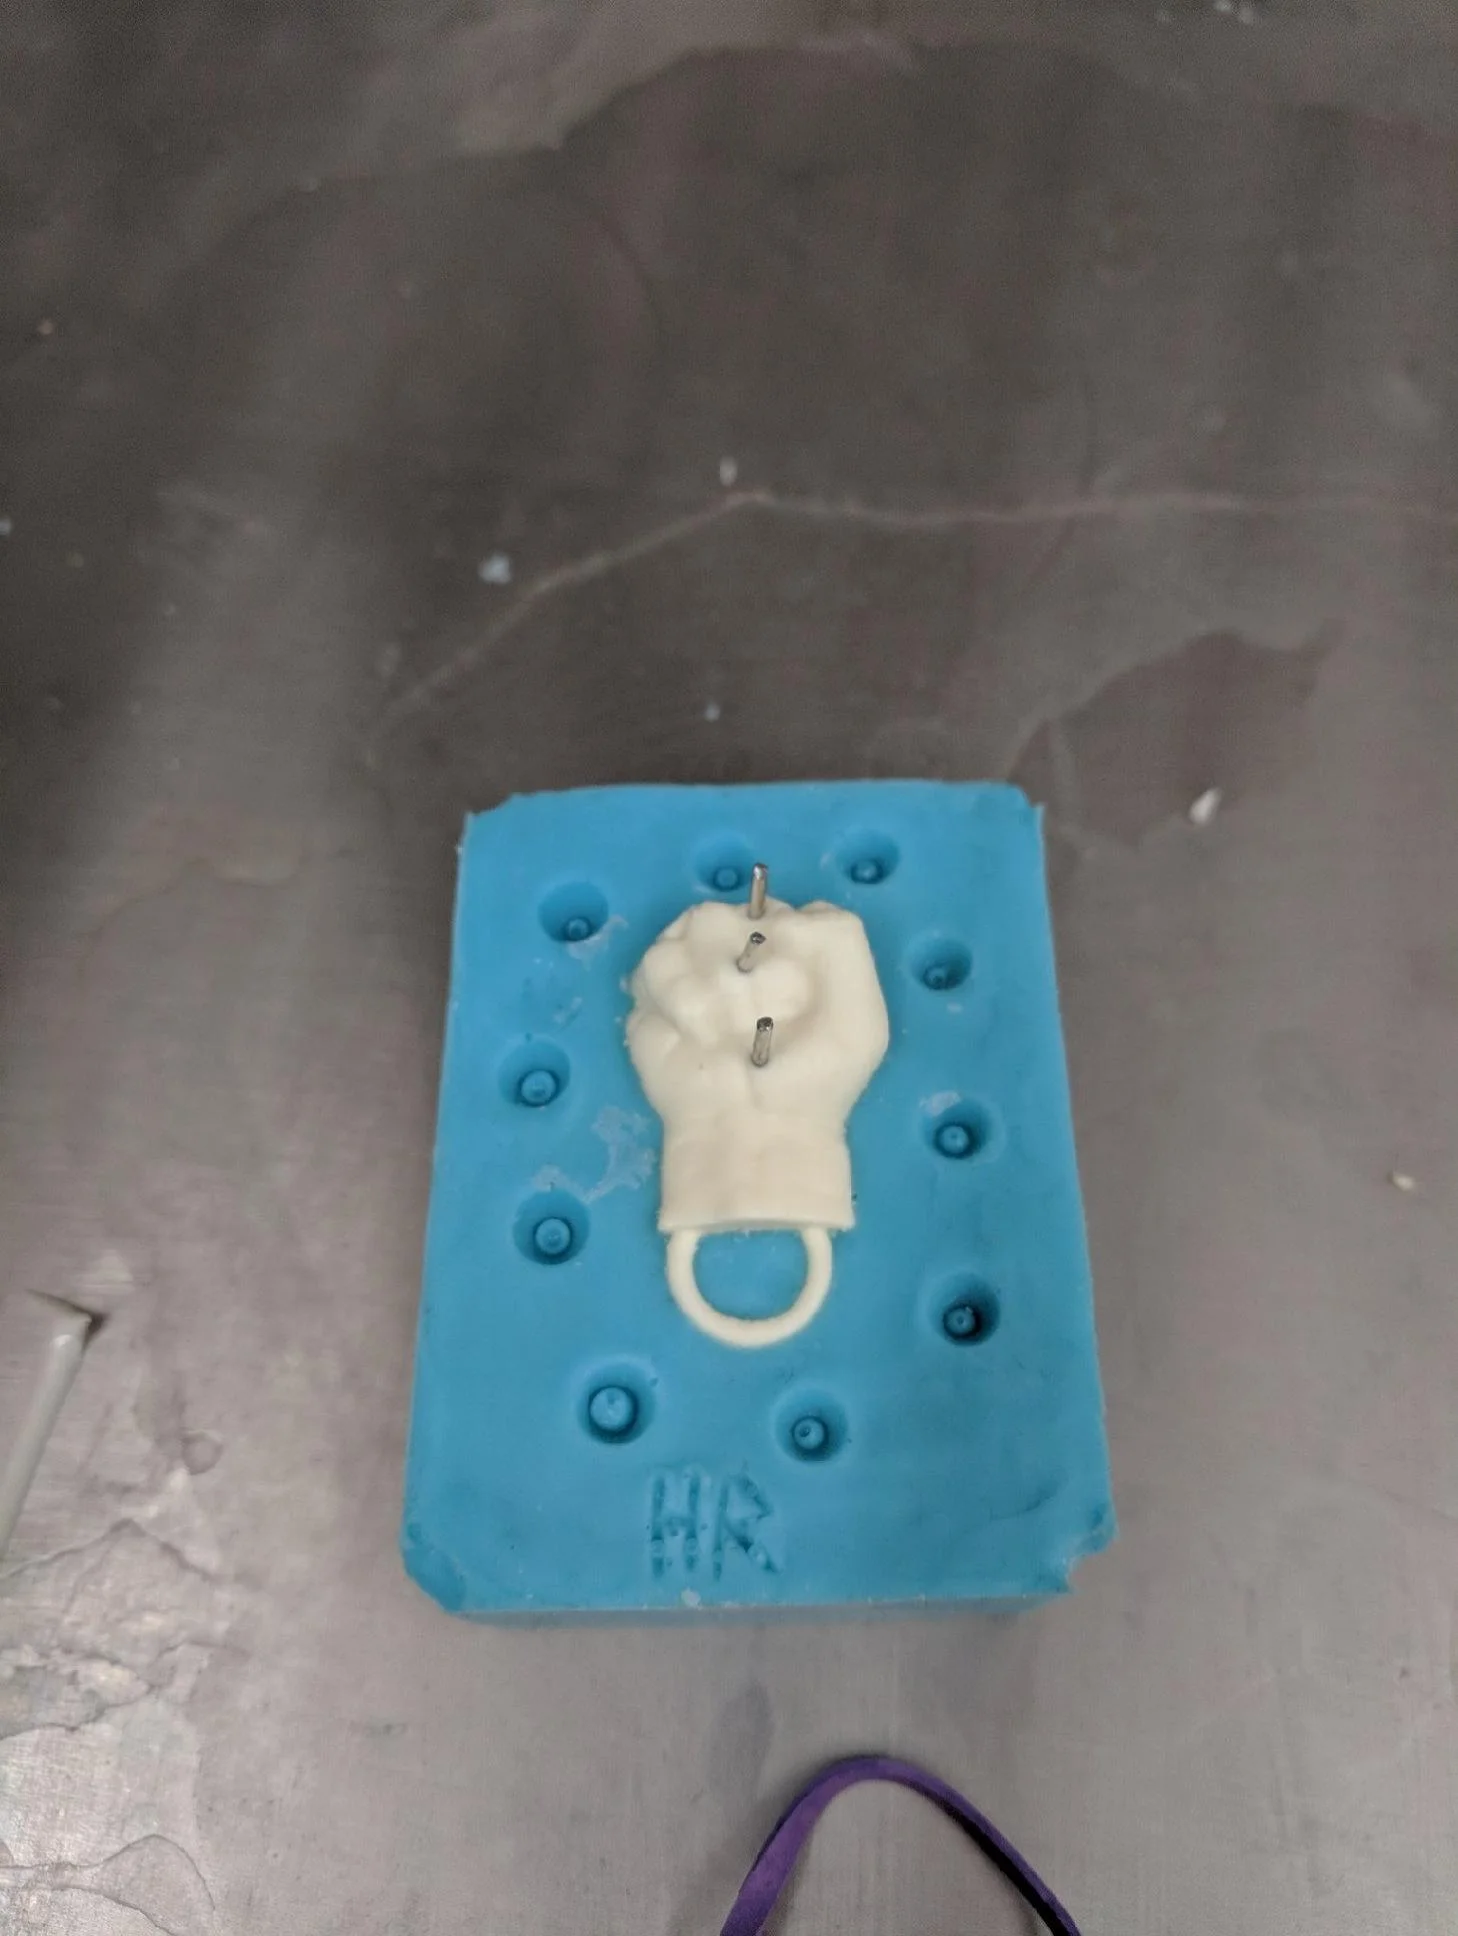
 Attempt #1
 The magnet slipped to the bottom during the molding process.  I also did not de-gas the resin enough.
 Attempt # 2 with an extra magnet support
 Looks good! minor gap in the loop
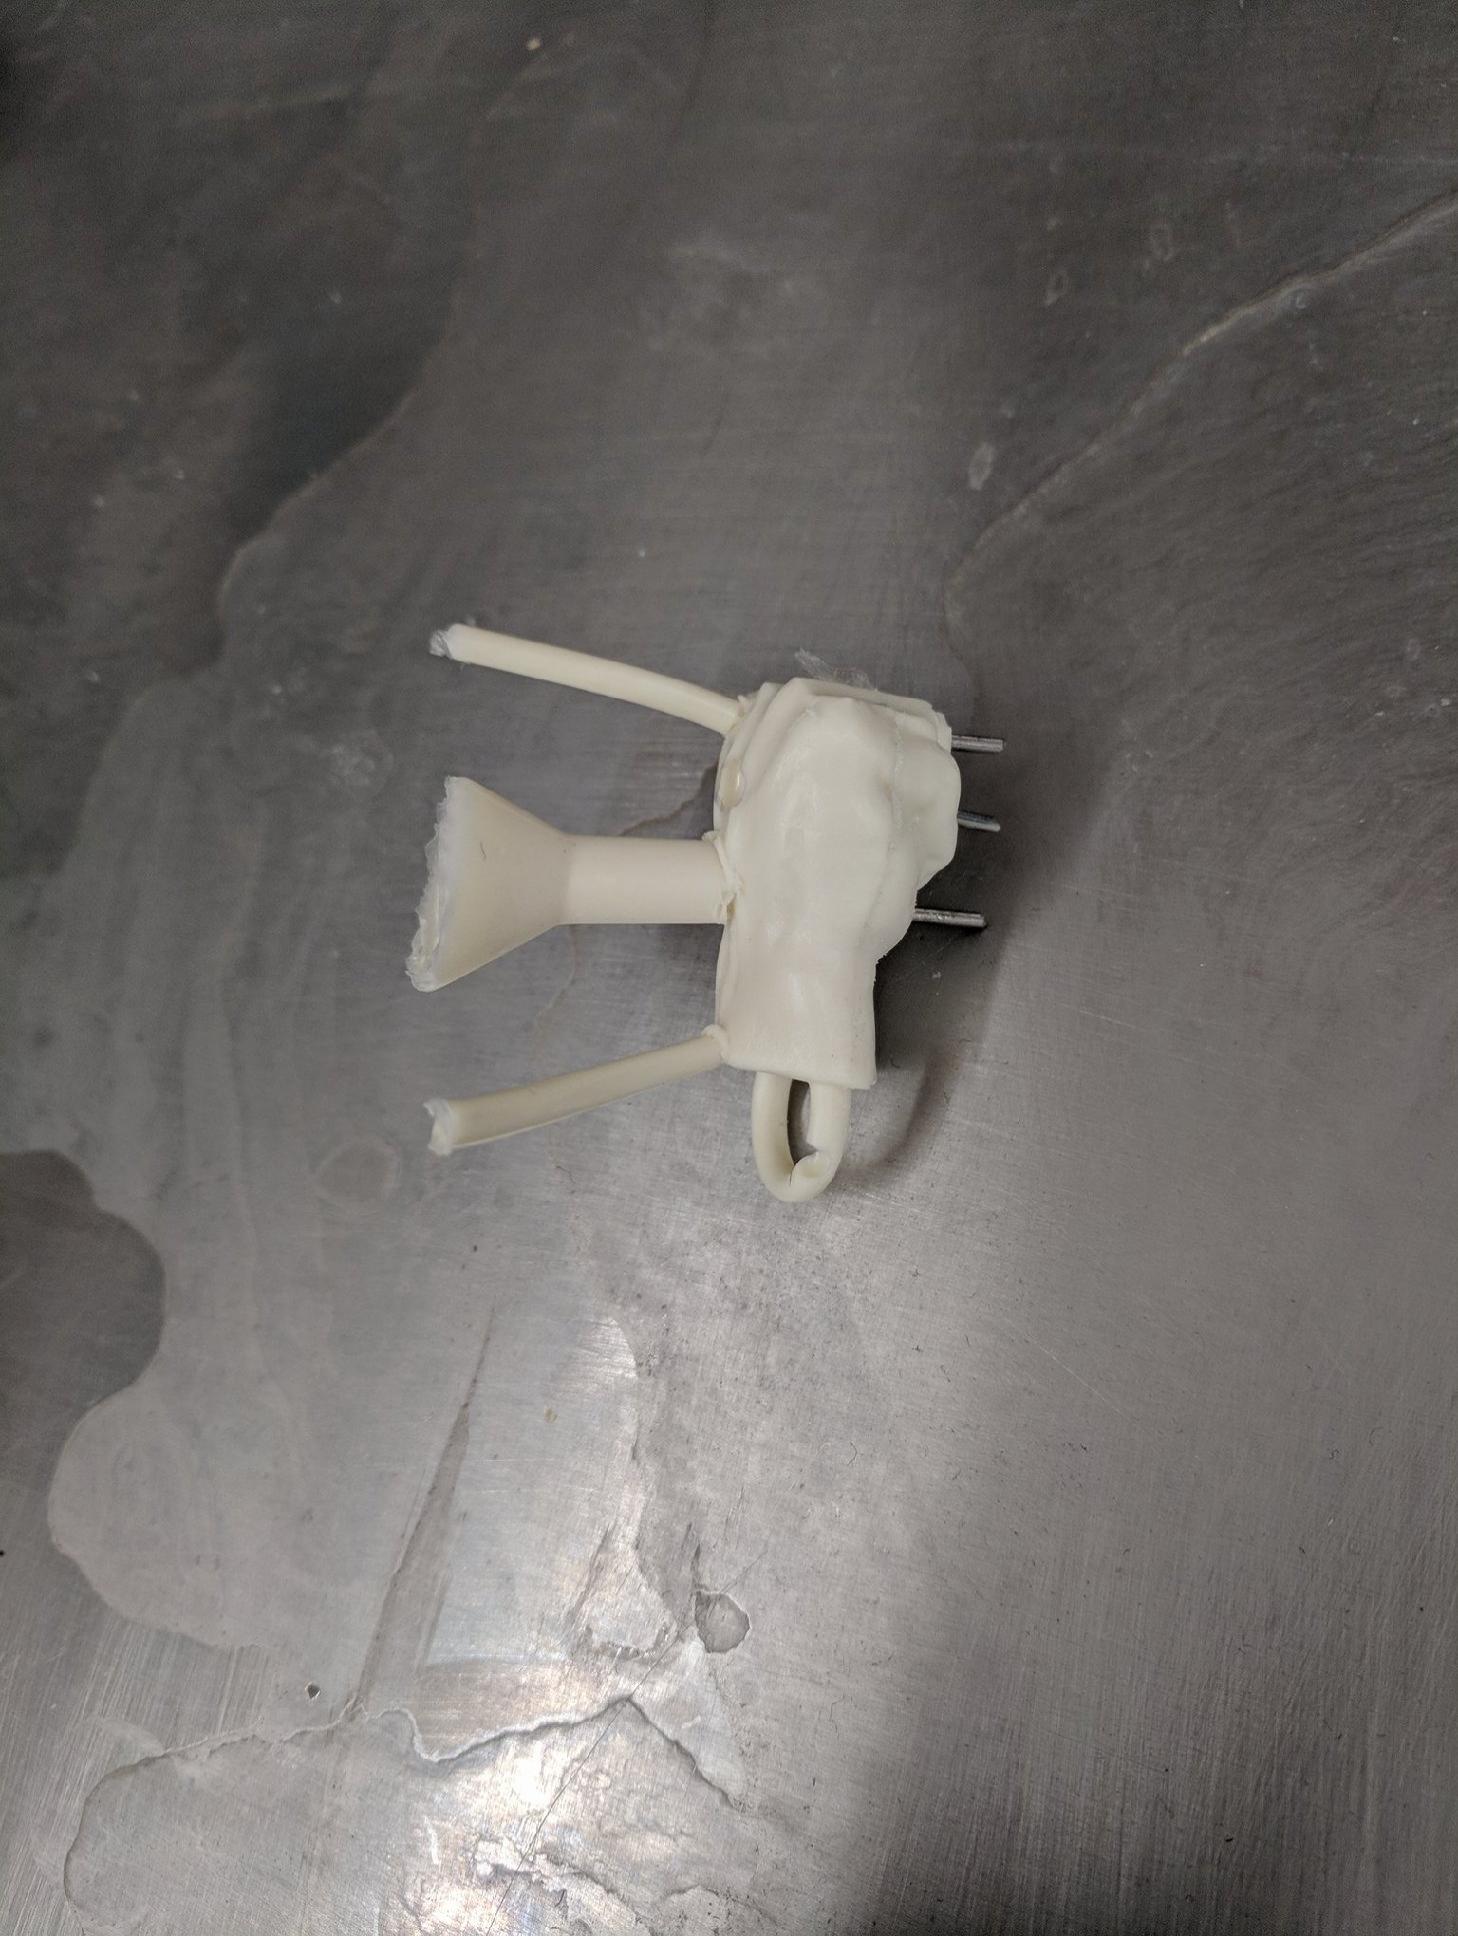
 Weep holes and spout visible
 Shiny!
 The finished and unfinished parts
 Strong enough to hold my keys!
R-logo-white.png

(828)-514-5442 • rideouthtr@gmail.com