Hunter Rideout
Buggies Project Portfolio
HOME Resume About Me
BuggiesProject Portfolio
Hunter Rideout
HOMEResumeAbout Me
 Initial Concept Development
 Initial Concept Development

Initial Concept Development

 Foam core prototype to visualize and solidify the shape of the board
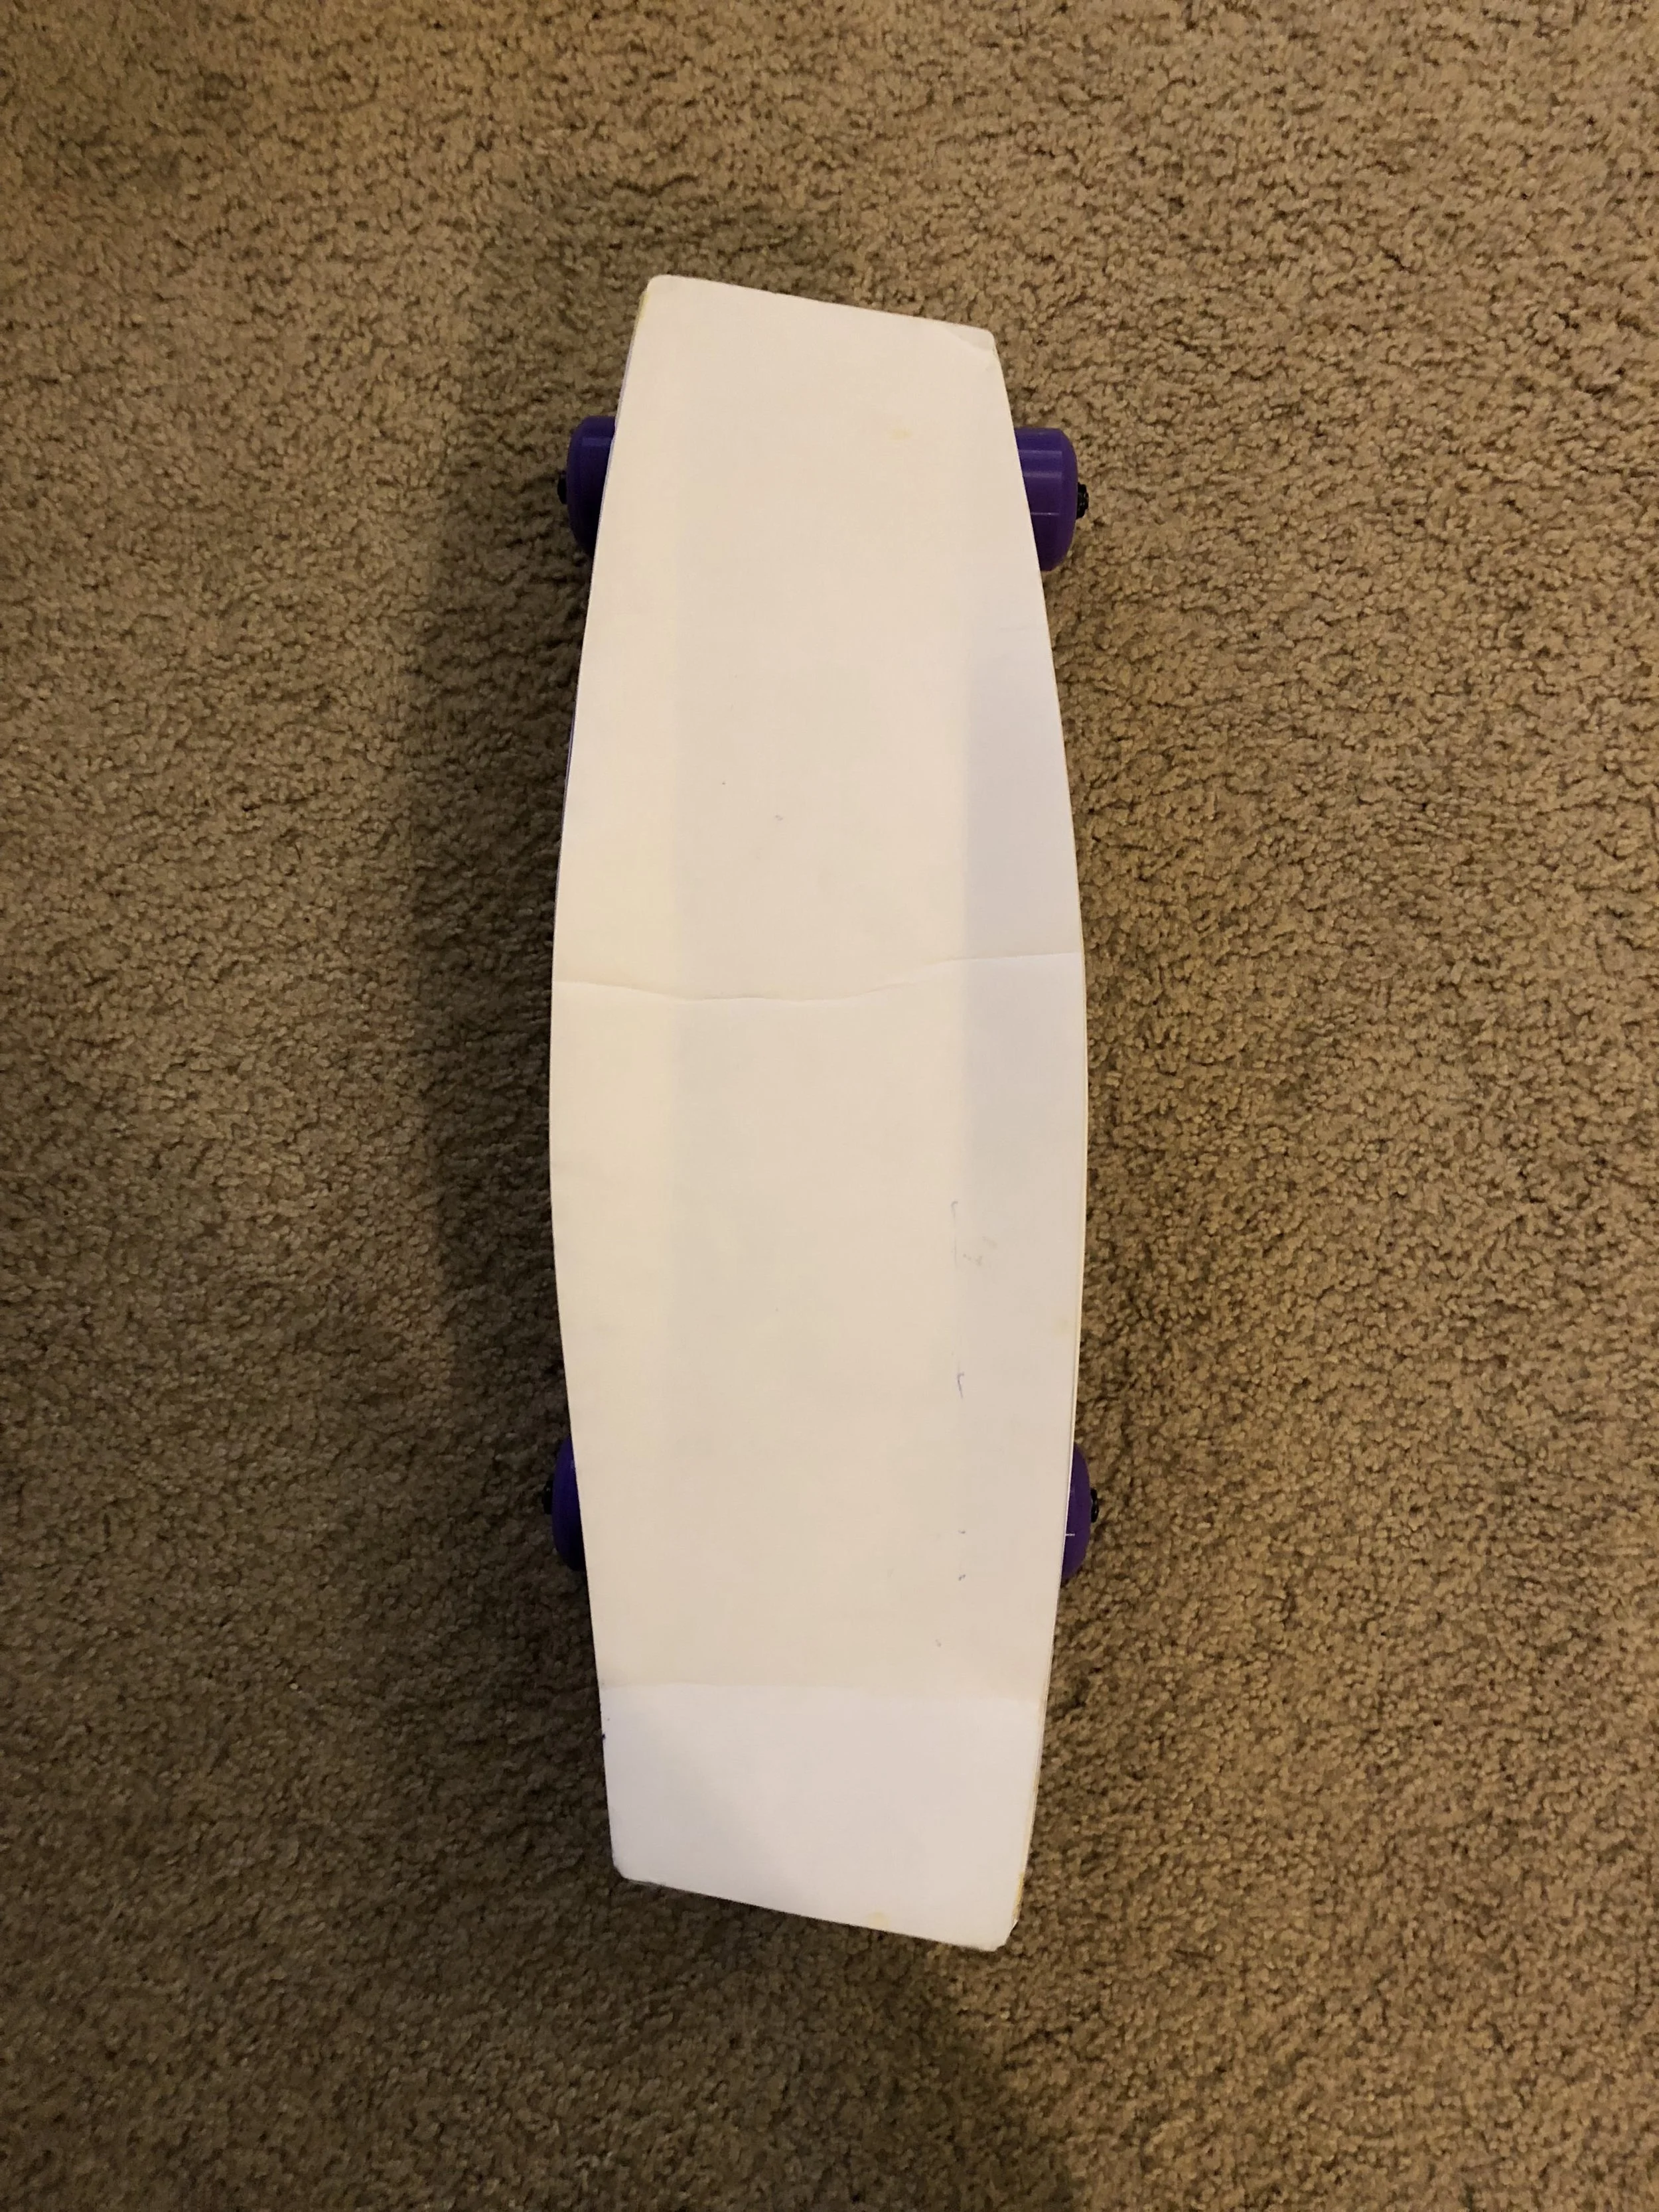
Foam core prototype to visualize and solidify the shape of the board

 This helps to ensure that the board is the right size for my feet, doesn’t interfere with the wheels when turning hard, and will be an appropriate size to carry into class

This helps to ensure that the board is the right size for my feet, doesn’t interfere with the wheels when turning hard, and will be an appropriate size to carry into class

 This also allows me to adjust the kick-tail angle experimentally rather than just guessing and hoping for the best.  I discovered that the necessary angle was shallower than my initial CAD design

This also allows me to adjust the kick-tail angle experimentally rather than just guessing and hoping for the best. I discovered that the necessary angle was shallower than my initial CAD design
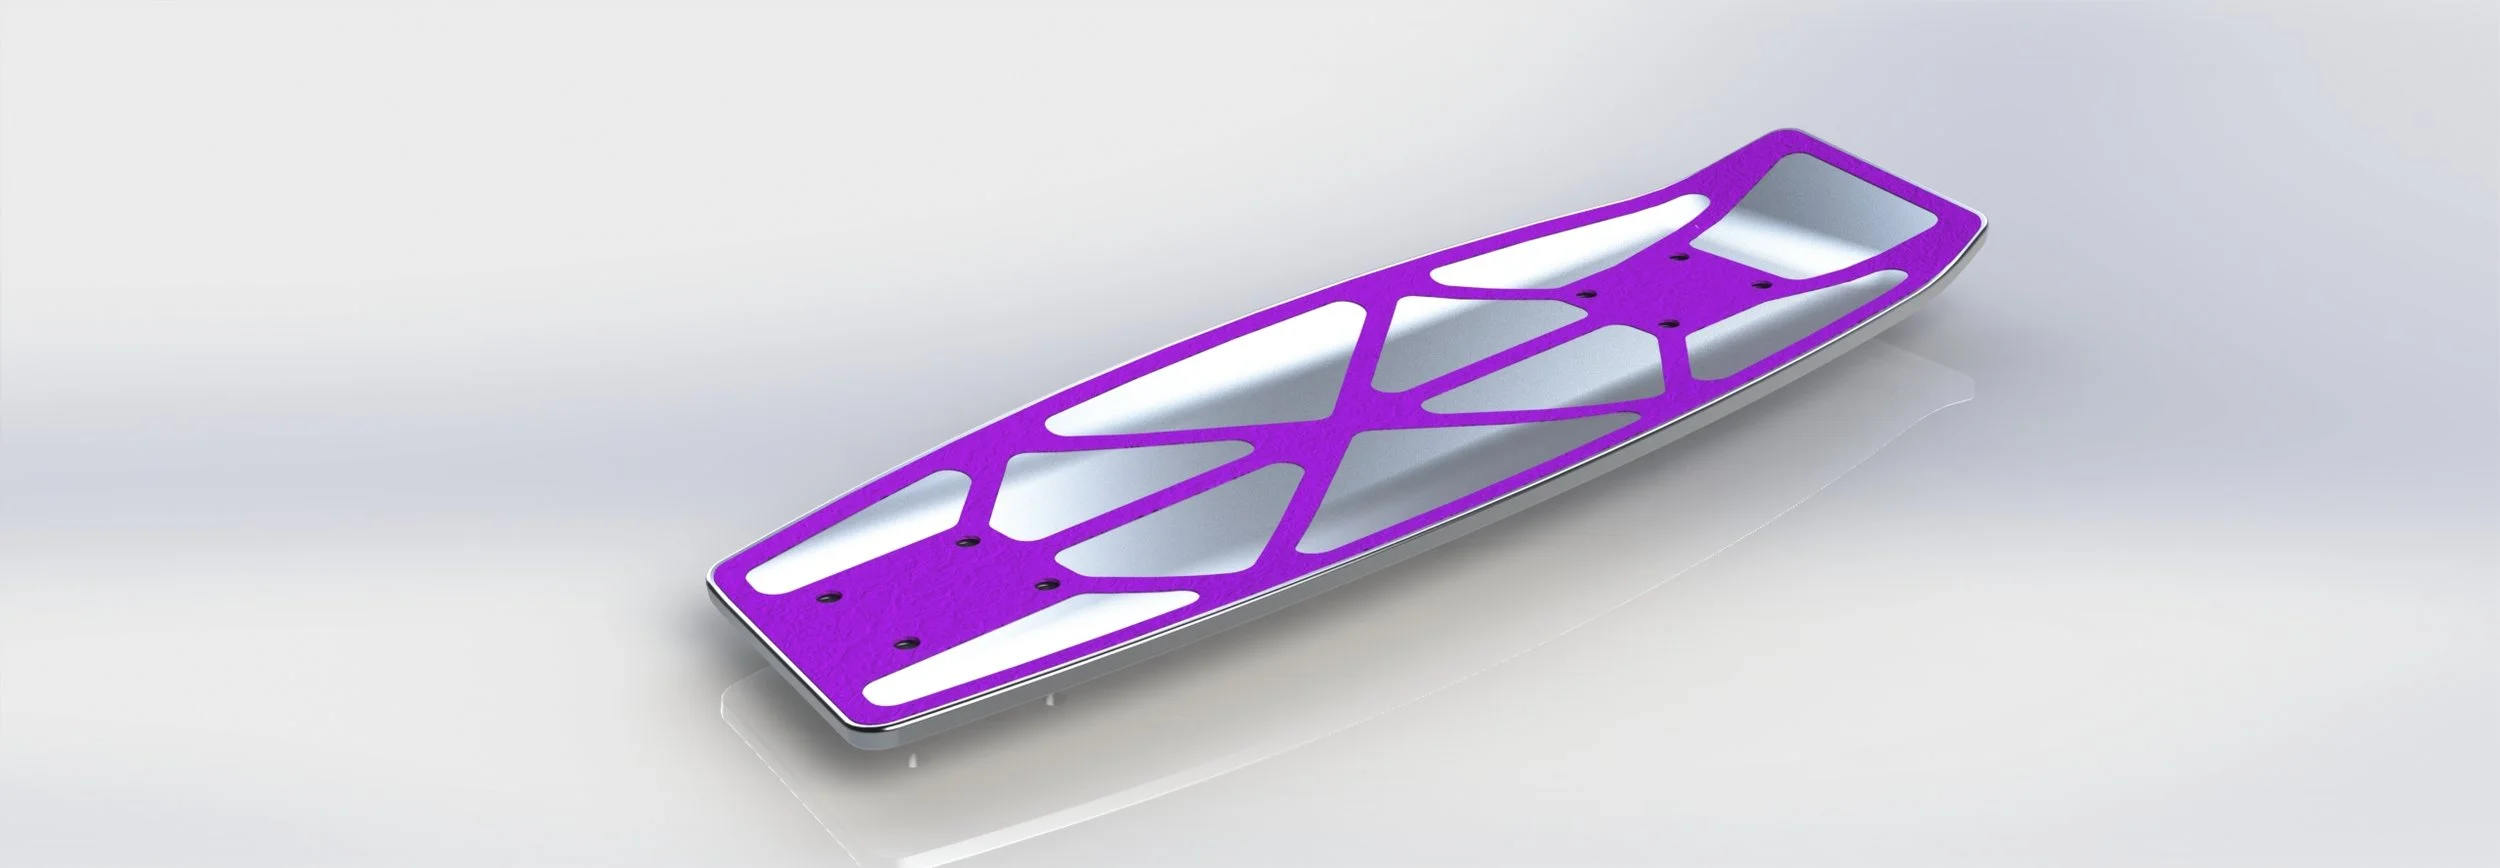
 Fleshed out CAD design for aluminum permanent mold casting

Fleshed out CAD design for aluminum permanent mold casting

 Engineering drawing for the permanent mold casting
Engineering drawing for the permanent mold casting

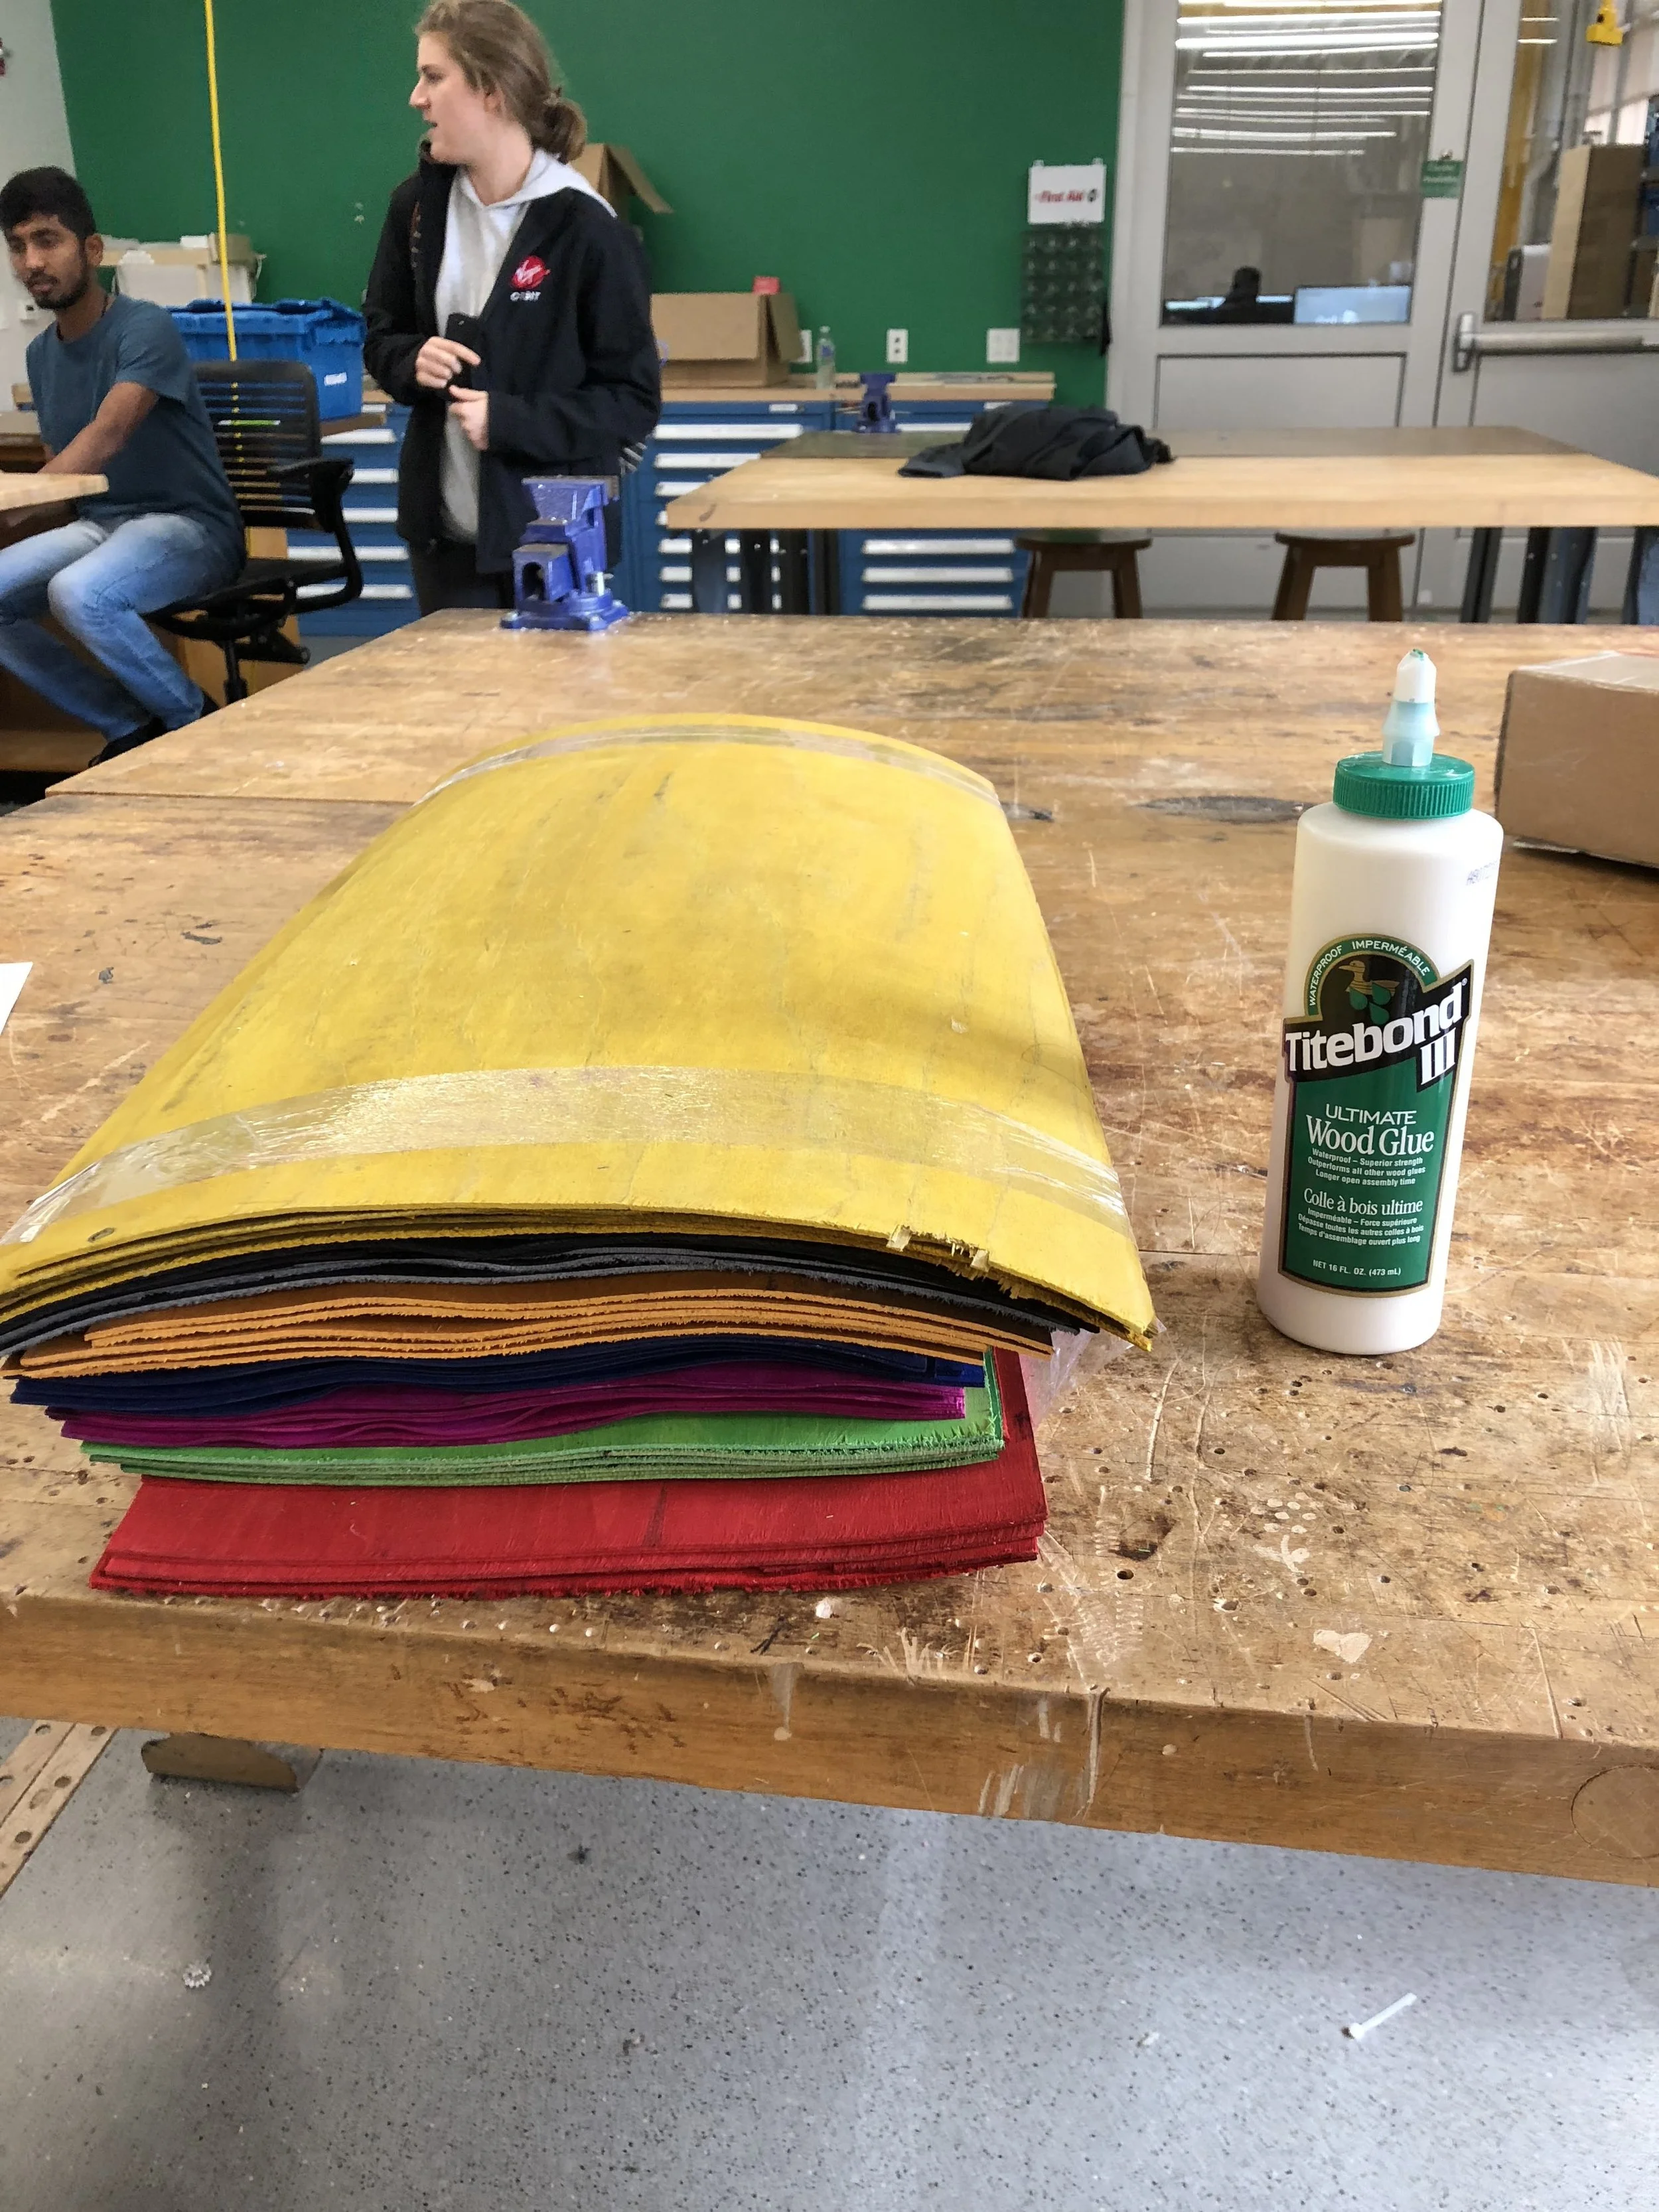
 The raw material is 1/16in maple veneer. Each piece is dyed already so I just chose the color stack that I liked

The raw material is 1/16in maple veneer. Each piece is dyed already so I just chose the color stack that I liked

 We laid out the mold on 2in insulation foam and shaded the areas the need to be tapered to achieve the desired curve

We laid out the mold on 2in insulation foam and shaded the areas the need to be tapered to achieve the desired curve

 Profile shaping was done on the bandsaw

Profile shaping was done on the bandsaw

 Some rough grit sanding blocks made quick work of the curve sections
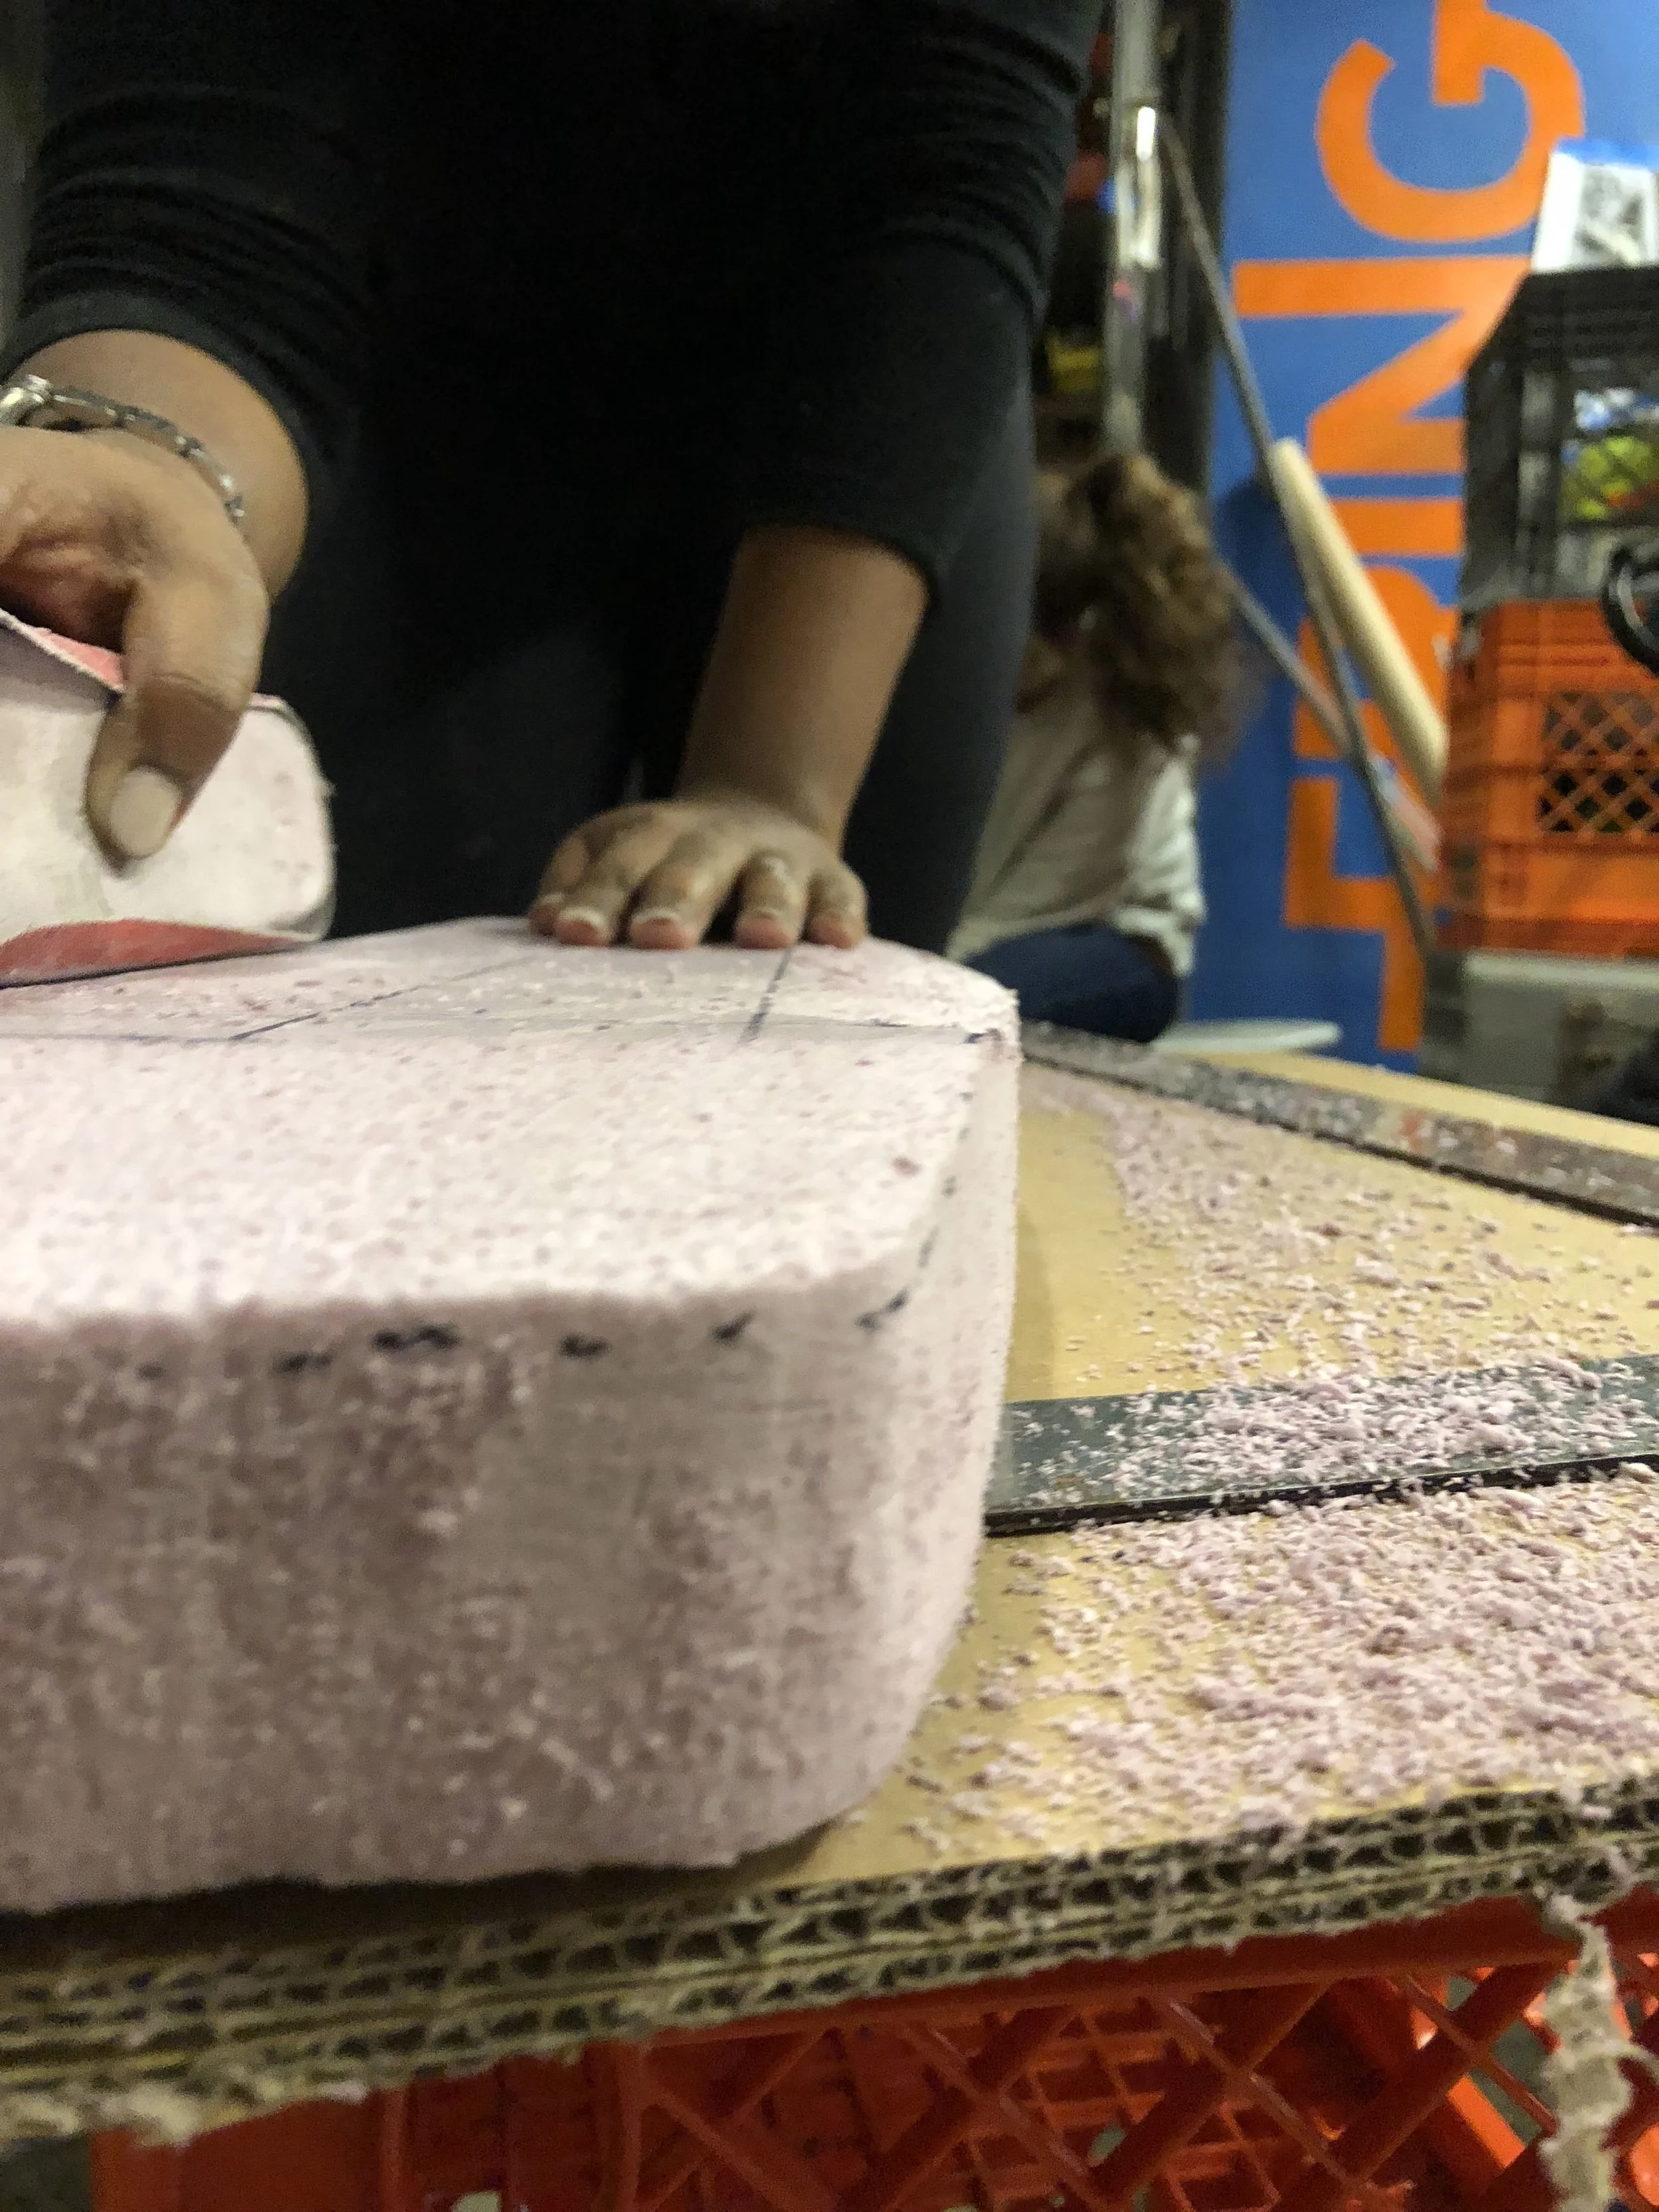
Some rough grit sanding blocks made quick work of the curve sections

 The side bend has a relatively shallow angle but it gives the board additional rigidity and a location register for the rider’s heels and toes

The side bend has a relatively shallow angle but it gives the board additional rigidity and a location register for the rider’s heels and toes

 A closer look at the angle and size of the kick-tail.  Large enough to get the width of your foot on but just barely.  No sense in making the wheel base any shorter than needed

A closer look at the angle and size of the kick-tail. Large enough to get the width of your foot on but just barely. No sense in making the wheel base any shorter than needed

 The mold was then covered in duct tape to make it more durable and less likely to stick to any of the adhesives we will use
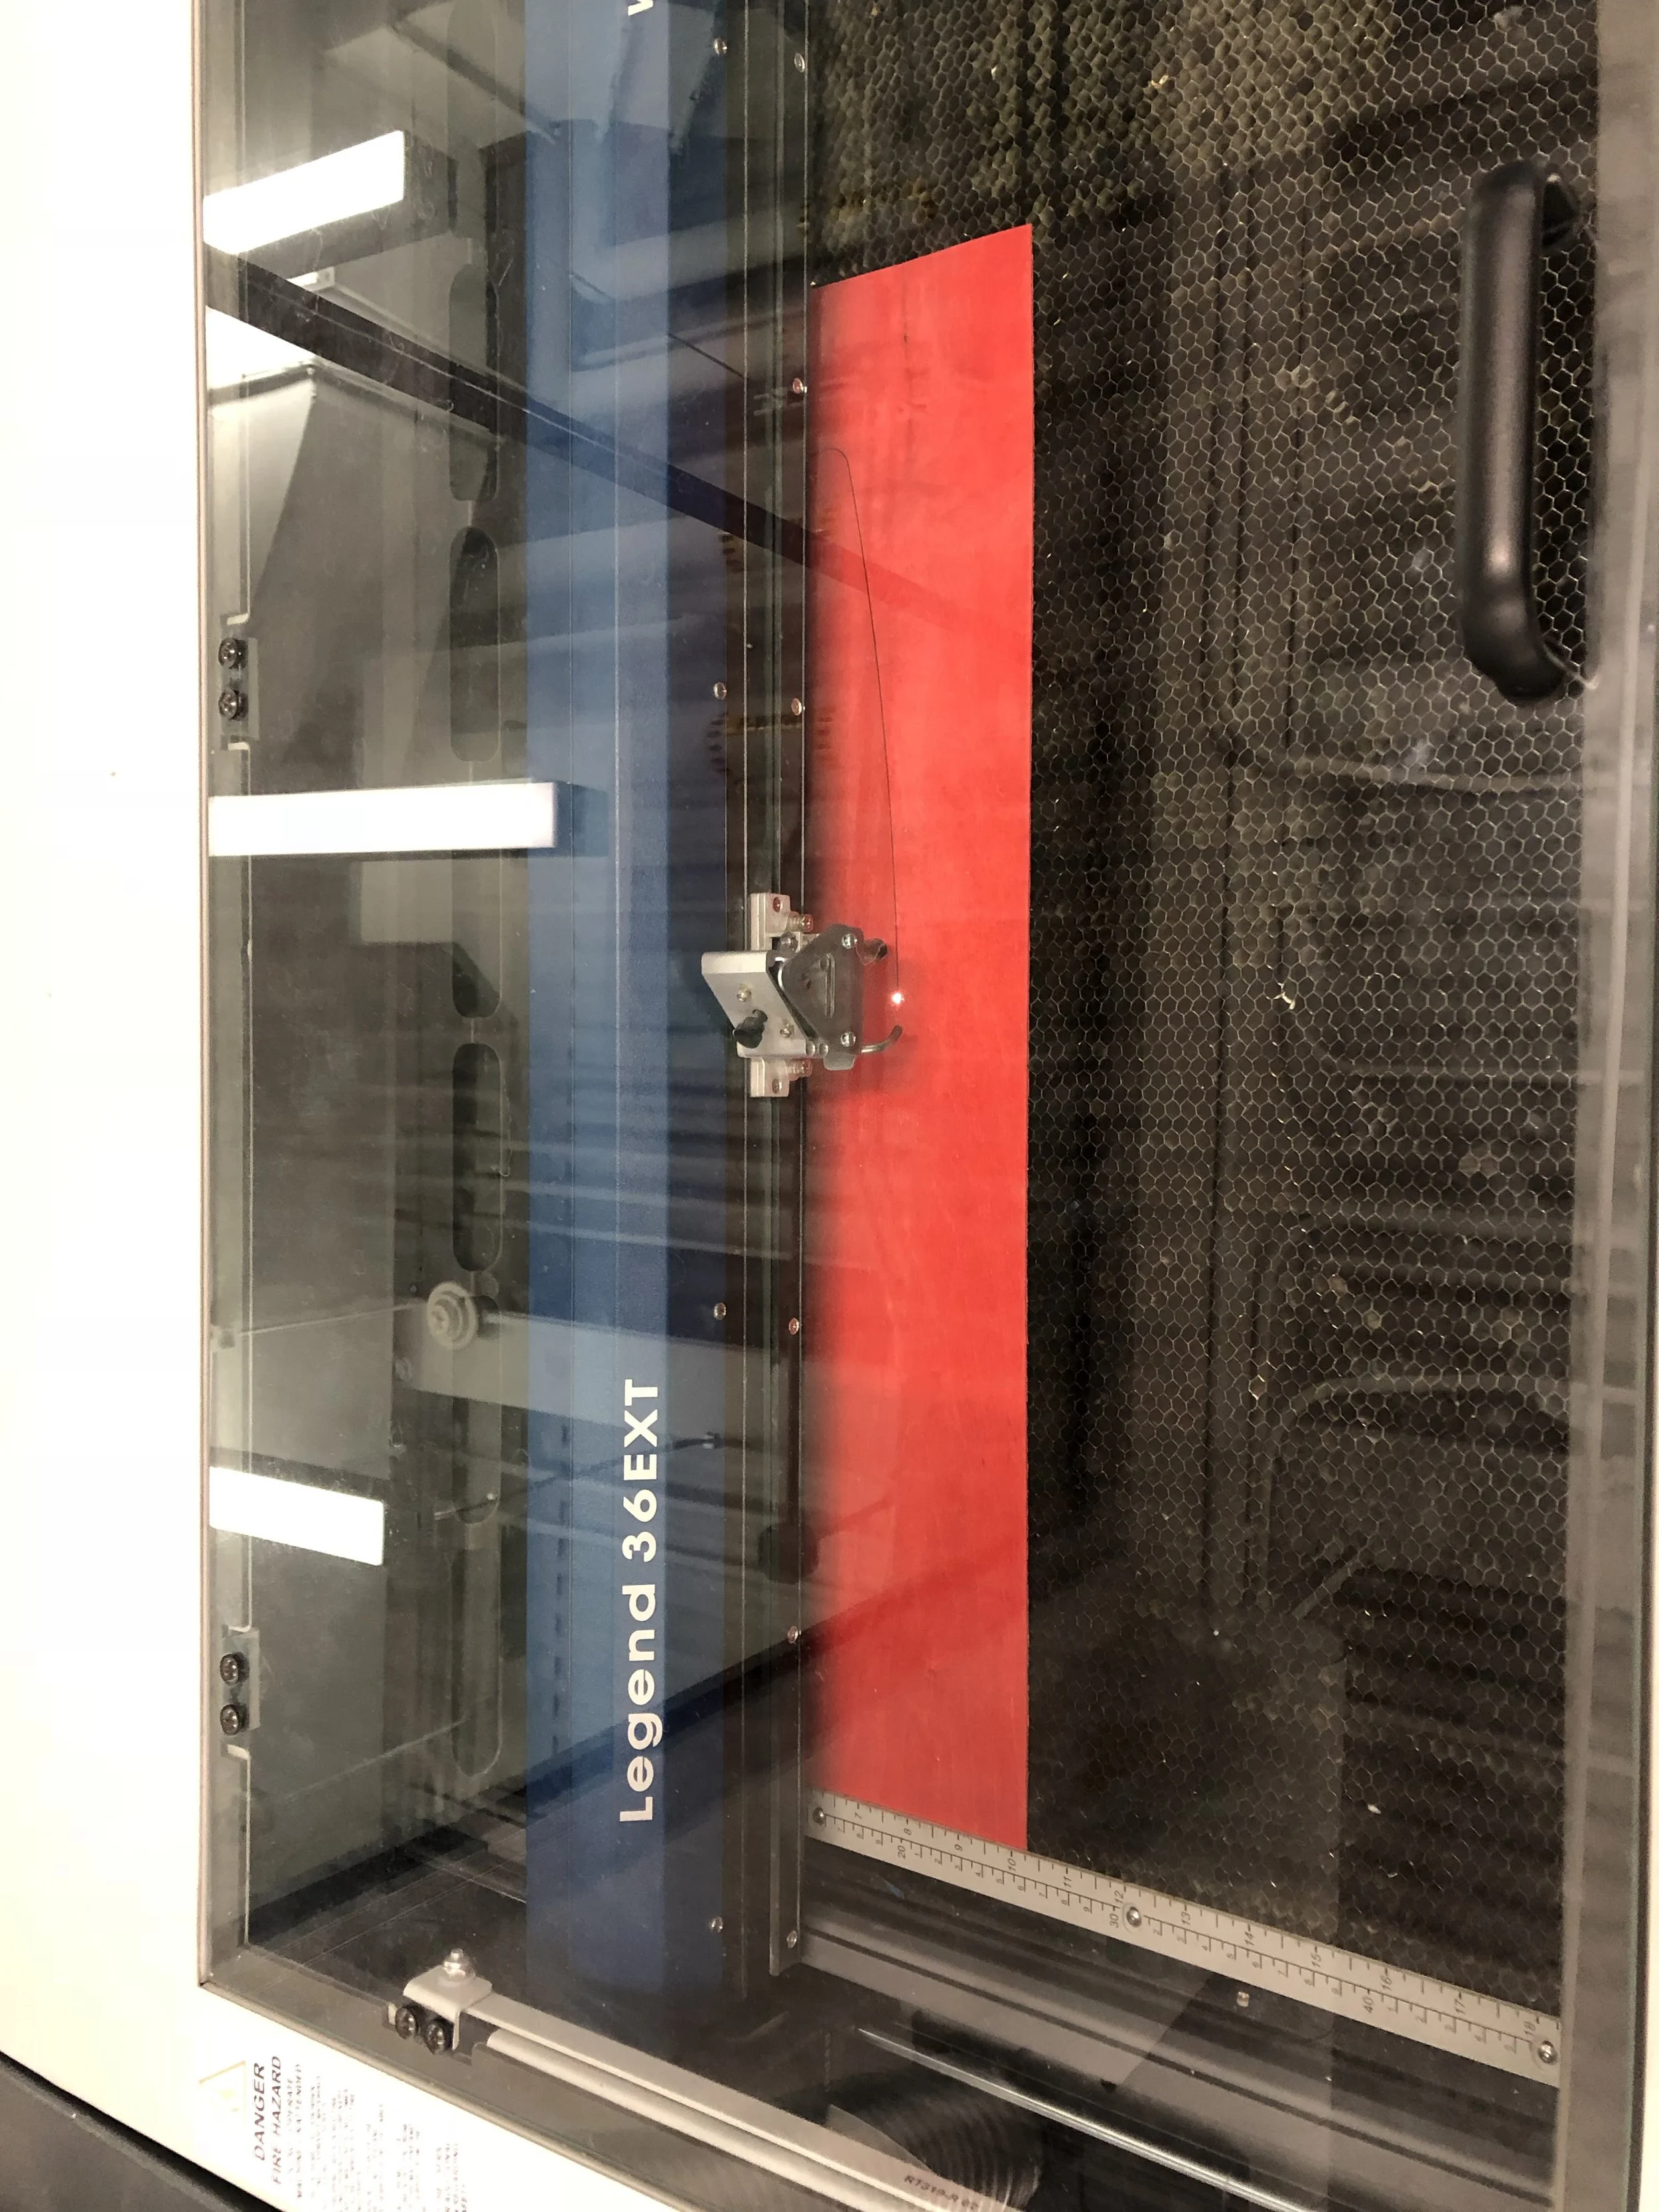
The mold was then covered in duct tape to make it more durable and less likely to stick to any of the adhesives we will use

 Basic profiles (slightly oversized to allow for later edge cleanup) were cut out of the veneers to allow us to line the parts up with the mold

Basic profiles (slightly oversized to allow for later edge cleanup) were cut out of the veneers to allow us to line the parts up with the mold

 Plies were cut one at a time but luckily did not take very long because the material is thin

Plies were cut one at a time but luckily did not take very long because the material is thin

 Here we can see what the stack taking shape in this dry-fit

Here we can see what the stack taking shape in this dry-fit

 All the pieces of the puzzle on the work station and ready to be put together

All the pieces of the puzzle on the work station and ready to be put together

 It’s important to coat both sides of the layers to ensure that there are no dry spots that could cause delamination down the road

It’s important to coat both sides of the layers to ensure that there are no dry spots that could cause delamination down the road

 The materials glued up and the vacuum nozzle and breather-strip in place
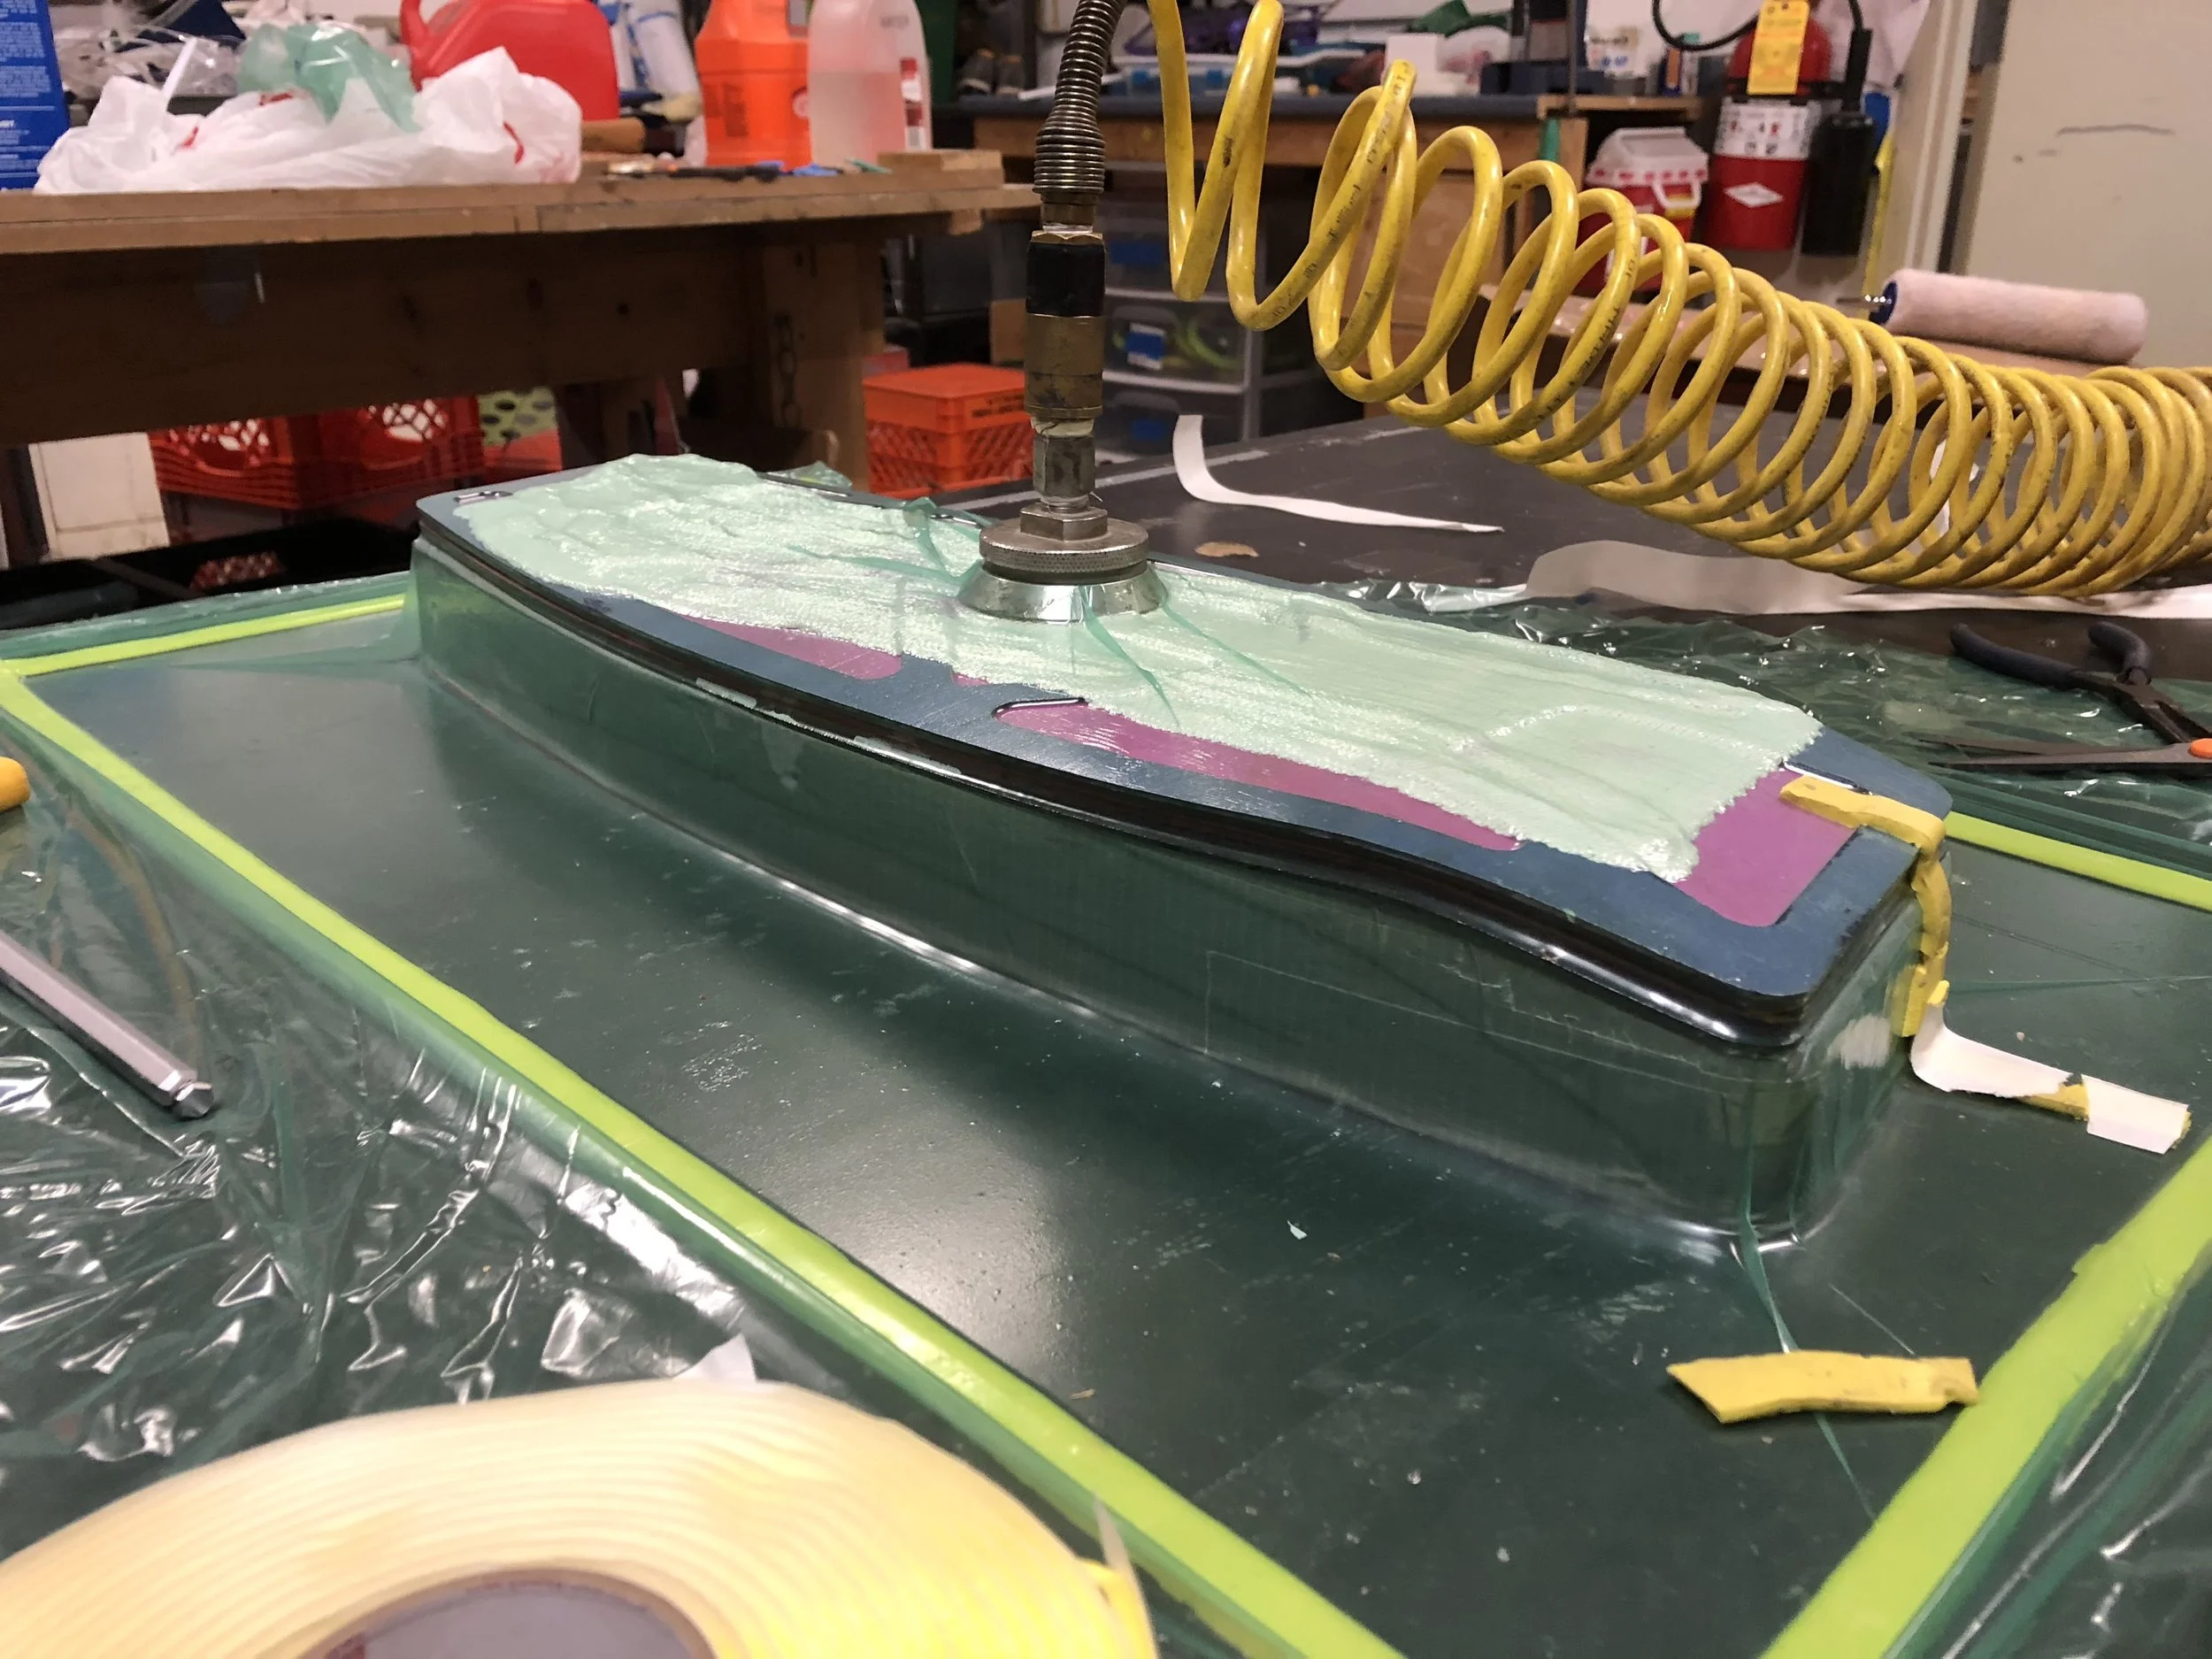
The materials glued up and the vacuum nozzle and breather-strip in place

 With the vacuum drawn we can see how easily and precisely the board takes the shape of the mold.  This is one of the primary advantages to using the thin veneer plies

With the vacuum drawn we can see how easily and precisely the board takes the shape of the mold. This is one of the primary advantages to using the thin veneer plies

 With a few holes drilled for the truck hardware the wheels are on!  All that’s left now is a coat of paint to protect from water damage and some styling grip tape

With a few holes drilled for the truck hardware the wheels are on! All that’s left now is a coat of paint to protect from water damage and some styling grip tape

 A view of the overall profile of the board

A view of the overall profile of the board

 Our aesthetic ribbing really adds to the overall look of the board

Our aesthetic ribbing really adds to the overall look of the board

 A good view of the color stack we achieved on the side of the board after a protective paint coat

A good view of the color stack we achieved on the side of the board after a protective paint coat

 The money shot!  The board is ready for use and rides quite smoothly but is still small enough to shuttle between classrooms and fit under my chair

The money shot! The board is ready for use and rides quite smoothly but is still small enough to shuttle between classrooms and fit under my chair

1 2 3 4 5 6 7 8 9 10 11 12 13 14 15 16 17 18 19 20 21 22 23 24 25
Previous Next
 Initial Concept Development
 Foam core prototype to visualize and solidify the shape of the board
 This helps to ensure that the board is the right size for my feet, doesn’t interfere with the wheels when turning hard, and will be an appropriate size to carry into class
 This also allows me to adjust the kick-tail angle experimentally rather than just guessing and hoping for the best.  I discovered that the necessary angle was shallower than my initial CAD design
 Fleshed out CAD design for aluminum permanent mold casting
 Engineering drawing for the permanent mold casting
 The raw material is 1/16in maple veneer. Each piece is dyed already so I just chose the color stack that I liked
 We laid out the mold on 2in insulation foam and shaded the areas the need to be tapered to achieve the desired curve
 Profile shaping was done on the bandsaw
 Some rough grit sanding blocks made quick work of the curve sections
 The side bend has a relatively shallow angle but it gives the board additional rigidity and a location register for the rider’s heels and toes
 A closer look at the angle and size of the kick-tail.  Large enough to get the width of your foot on but just barely.  No sense in making the wheel base any shorter than needed
 The mold was then covered in duct tape to make it more durable and less likely to stick to any of the adhesives we will use
 Basic profiles (slightly oversized to allow for later edge cleanup) were cut out of the veneers to allow us to line the parts up with the mold
 Plies were cut one at a time but luckily did not take very long because the material is thin
 Here we can see what the stack taking shape in this dry-fit
 All the pieces of the puzzle on the work station and ready to be put together
 It’s important to coat both sides of the layers to ensure that there are no dry spots that could cause delamination down the road
 The materials glued up and the vacuum nozzle and breather-strip in place
 With the vacuum drawn we can see how easily and precisely the board takes the shape of the mold.  This is one of the primary advantages to using the thin veneer plies
 With a few holes drilled for the truck hardware the wheels are on!  All that’s left now is a coat of paint to protect from water damage and some styling grip tape
 A view of the overall profile of the board
 Our aesthetic ribbing really adds to the overall look of the board
 A good view of the color stack we achieved on the side of the board after a protective paint coat
 The money shot!  The board is ready for use and rides quite smoothly but is still small enough to shuttle between classrooms and fit under my chair
R-logo-white.png

(828)-514-5442 • rideouthtr@gmail.com